This boat belonged to my father and after he passed away it became mine. The year was 2002 and the port engine had a leak in the block and the fuel tank was leaking. So we pulled her out and I began taking engine and fuel tank out. That same month my wife gave birth to our first child and I was also recently promoted. Needless to say other things became a priority. Now fast forward 12 years, another kid and 2 more promotions and I finally am starting to have time, $$$, and the drive to start this project and most importantly the bosses endorsement. The interior concerns me. I have not dove in there and removed anything else since 2002 so I don't know what awaits. After some research I can only imagine what everything below decks looks like. I have never done any type of boat restoration or fiberglass work. I have recently signed up on a couple of boat forums and have been watching and following several restorations learning a lot. I have been researching and planning for the past month or so and getting the garage ready for this project. My wife or more befitting the nautical theme, The Admiral has endorsed the project and is even willing to pitch in where and when she can. The funds have been set aside so next month I will rehab the trailer enough to get the boat from my moms house to its new home where all the fun will begin. This is what she looked like after sitting in my moms yard for 12 years.
The premier site for owners of the famous 233.
Restoration of my 1972 Formula 233 with twin Merc 165hp. Started on July 2014.
72 Thunderbird Formula w/twin 165hp Mercs
Views: 2279
- Attachments:
Replies to This Discussion
-
Permalink Reply by Mark A on
-
Brought her home and started the tear down. Found what I expected to find. Rotted stringers, bulkheads and transom.
- Attachments:
-
-
 photo.JPG, 1.3 MB
 -
photo 1 (2).JPG, 2.8 MB
-
photo 3.JPG, 2.4 MB
-
-
-
Stern Plate is shot. After 42 years and all that abuse. Pictures are a little out of order. Trying to figure out how this forum works and copying and pasting from another forum

Engine bay and the rest of the boat almost striped clean.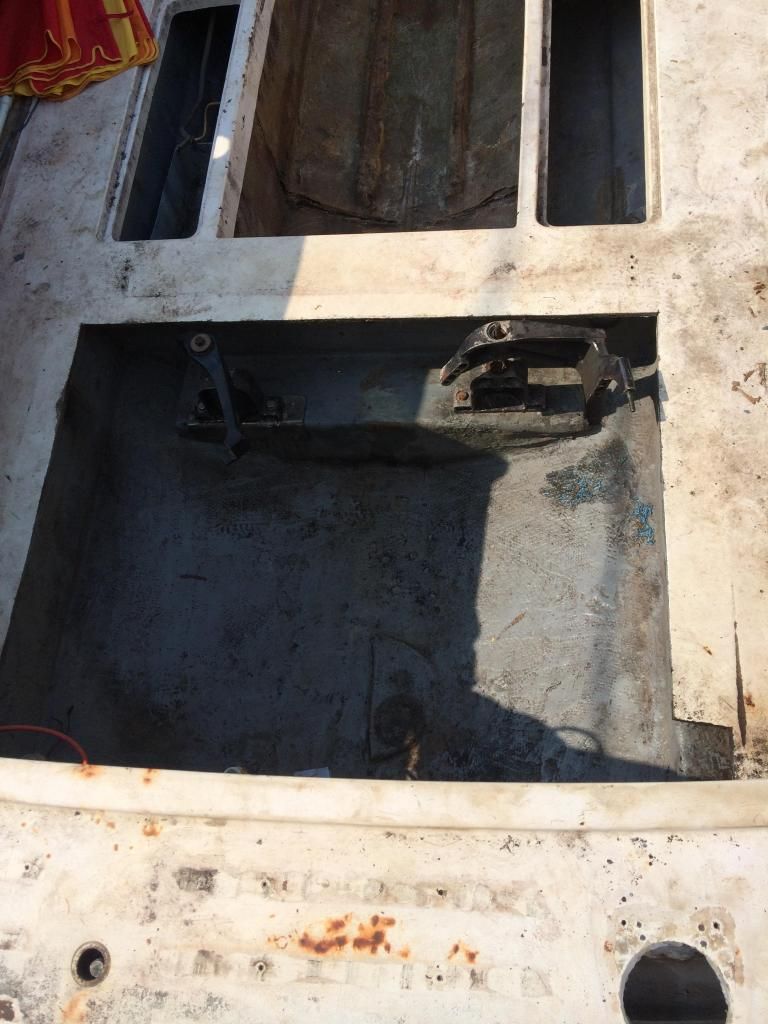
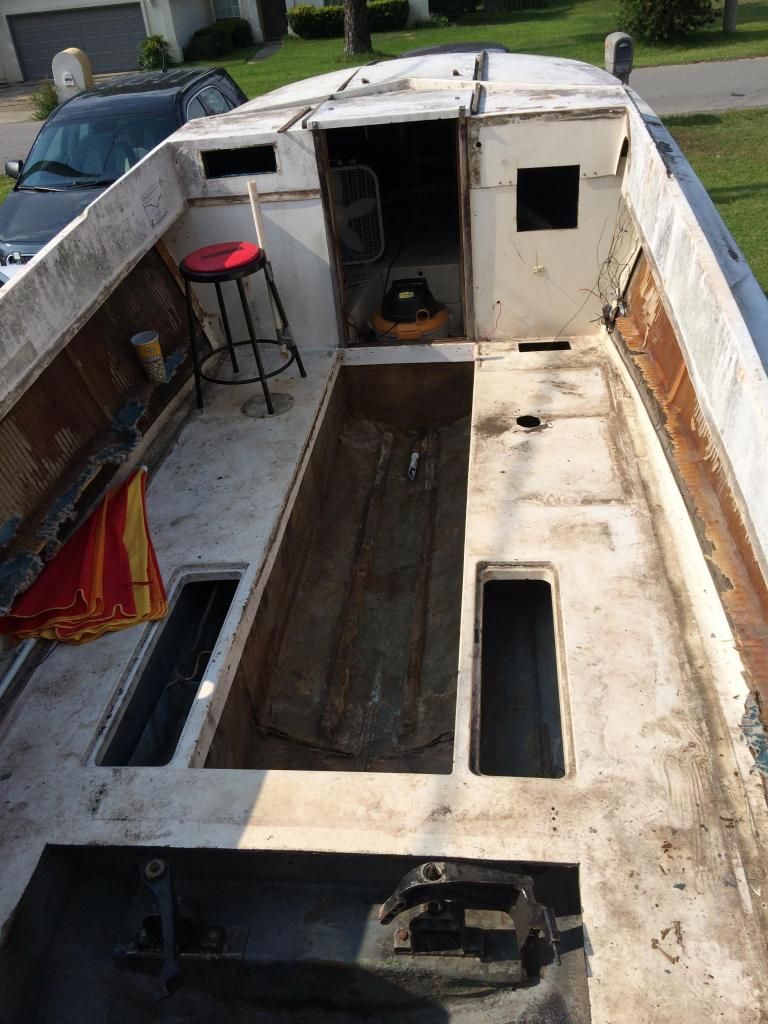
Everything is out of the boat except for the dirt.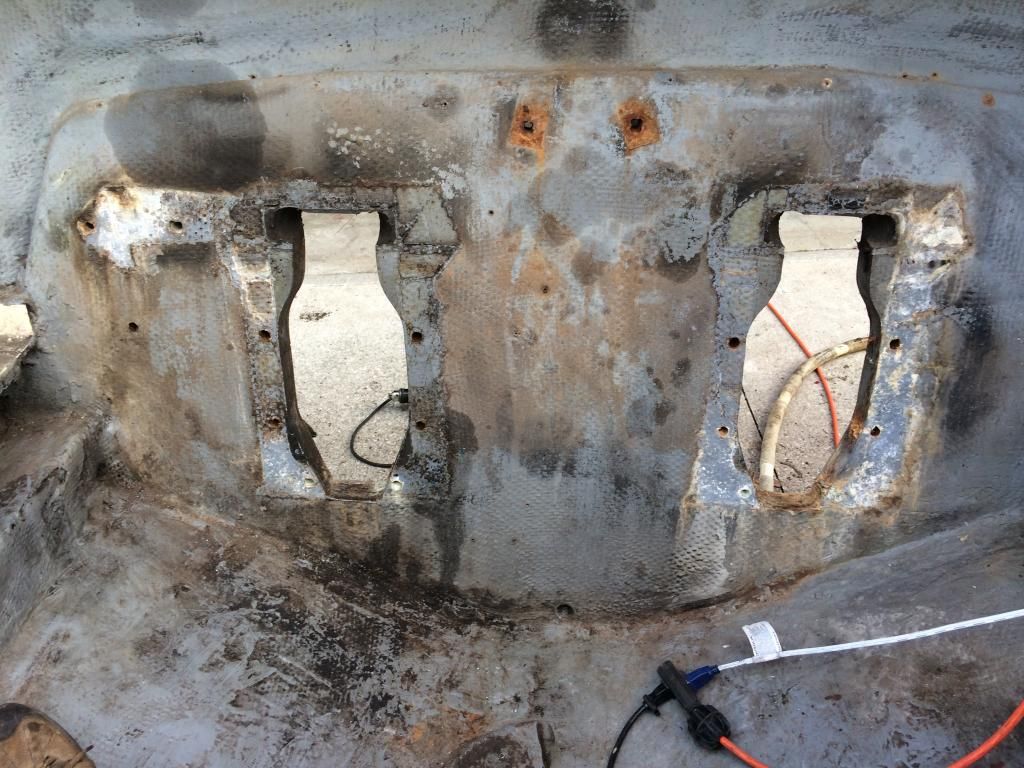


-
-
Started drilling the transom,stringers and engine mount.
Transom.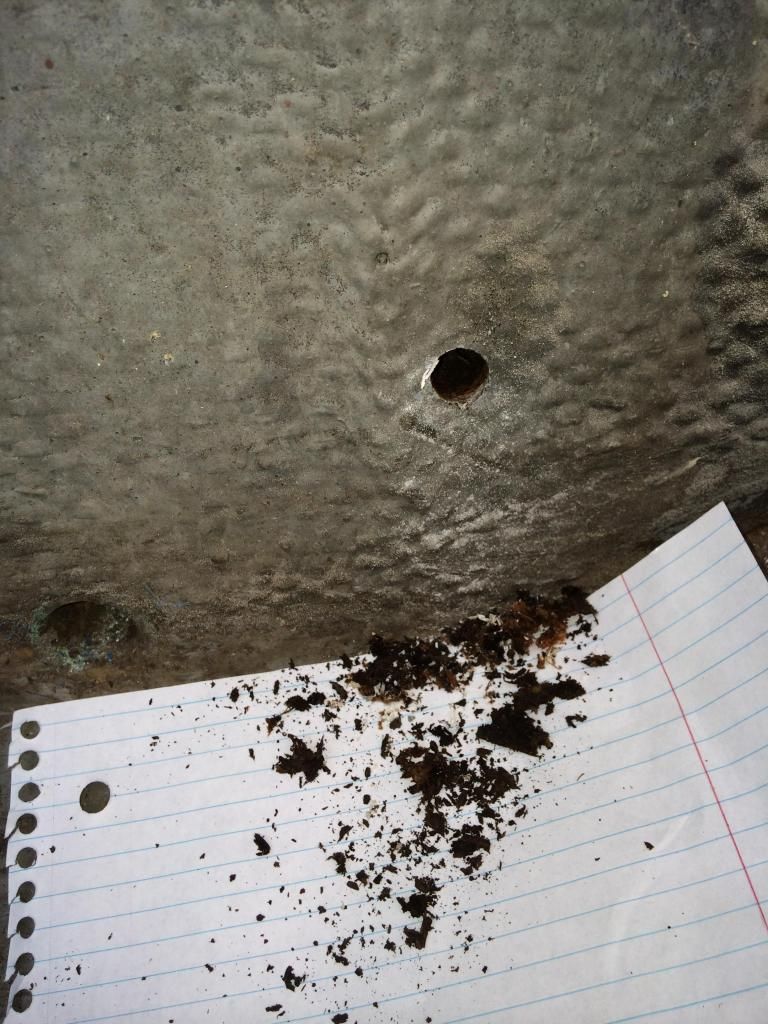
Motor mount.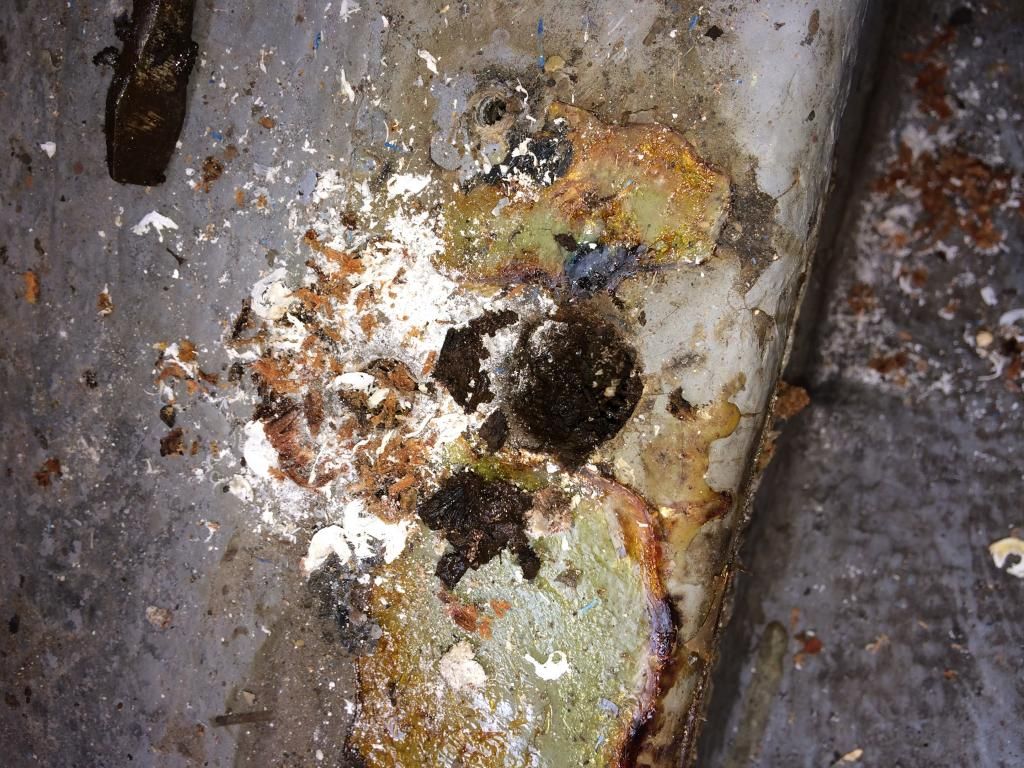
Overall it was better then I thought it would be. Transom,motor mounts and bulk heads have to be replaced. The main port stringer up to the cabin bulkhead needs replaced.


-
-
Bulk head going into the cabin right in front of the fuel tank.
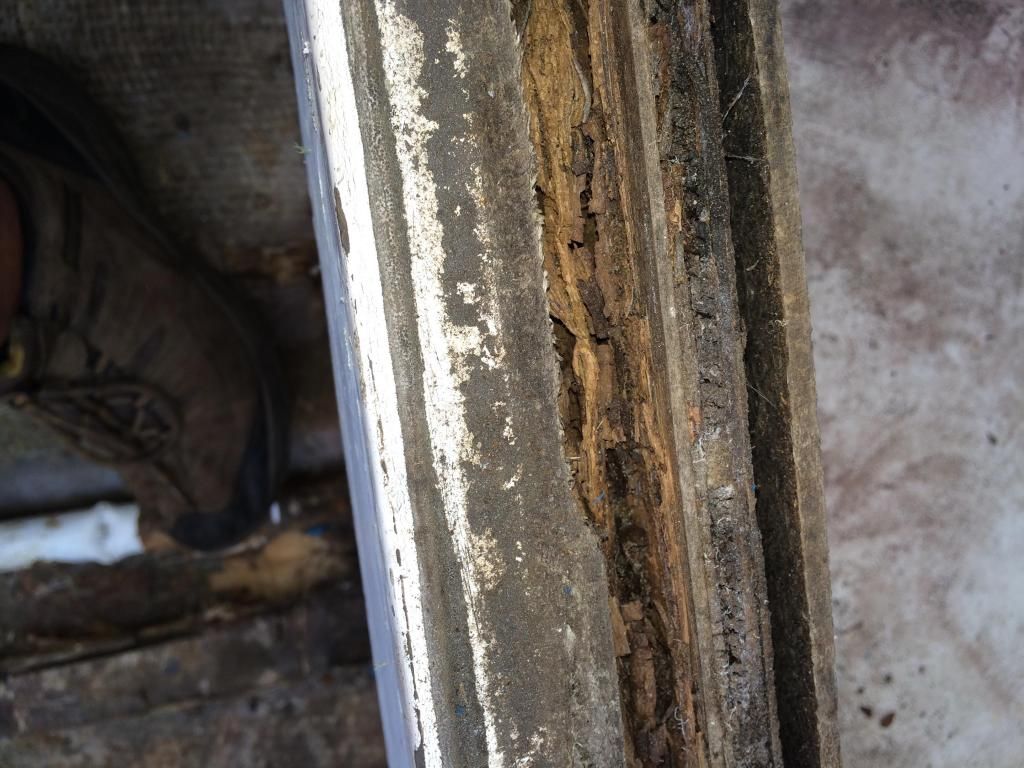
Exploratory hole in the port stringer and it is dry and solid. Correction from an earlier post it is the starboard main stringer that is shot. Rotten wood and delamination.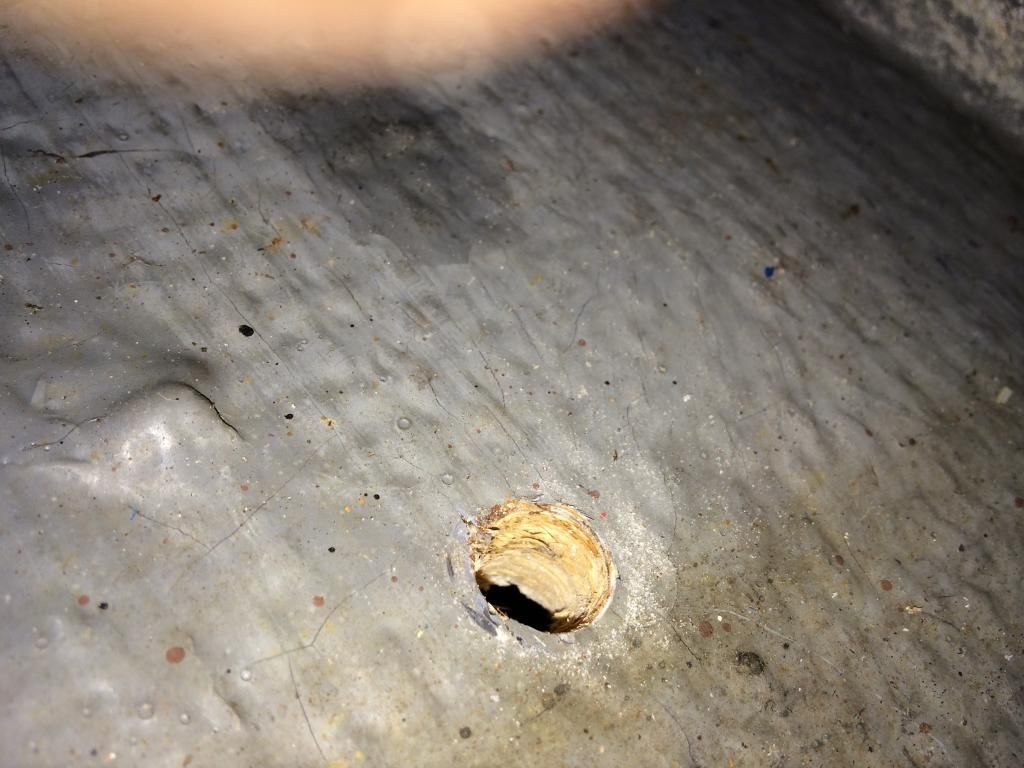


-
-
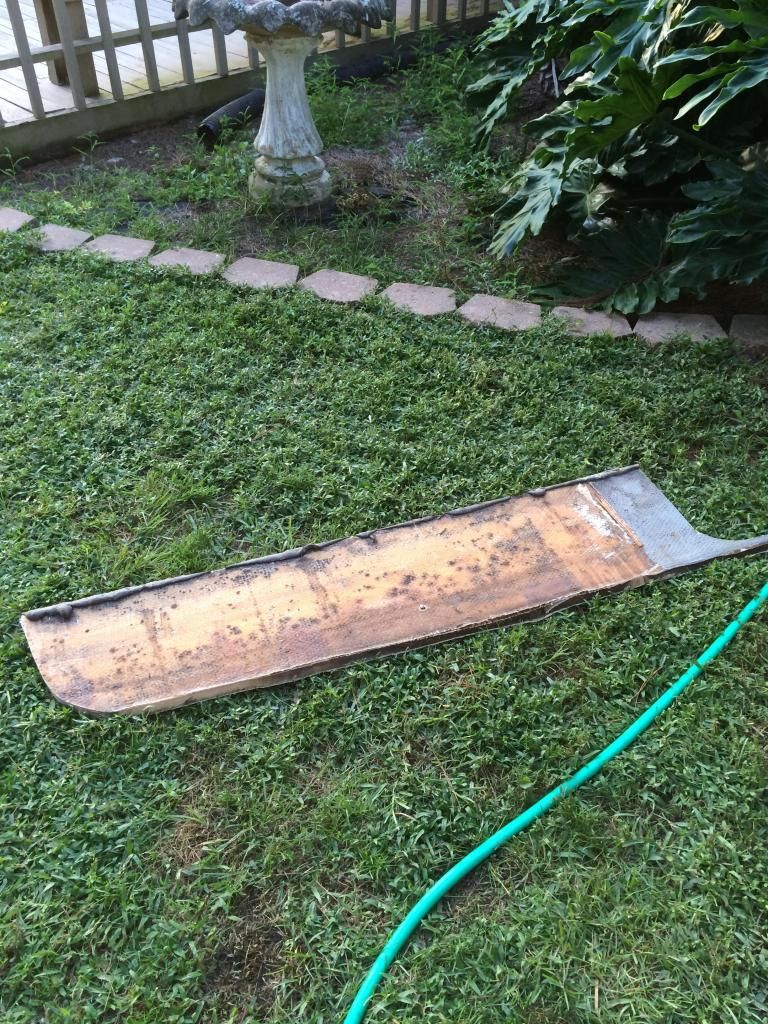
Manufacturers defects. This is on the upper port side transom. Water was able to go straight into the transom wood through the skin and must of the wood in this area is gone or rotten. I noticed a few spots like this.

-
-
I don't know if the picture will be viewable but if it is this is a picture of my dad on the Formula enjoying the day in the Gulf trolling for Kings. I think he is about to open a can of Vienna Sausages. I would never think about eating them on land but a long day on the water changes your prospective on what is edible or not. Out in the Gulf they tasted great. Along with some sardines in mustard and crackers and we were good to go.


-
-
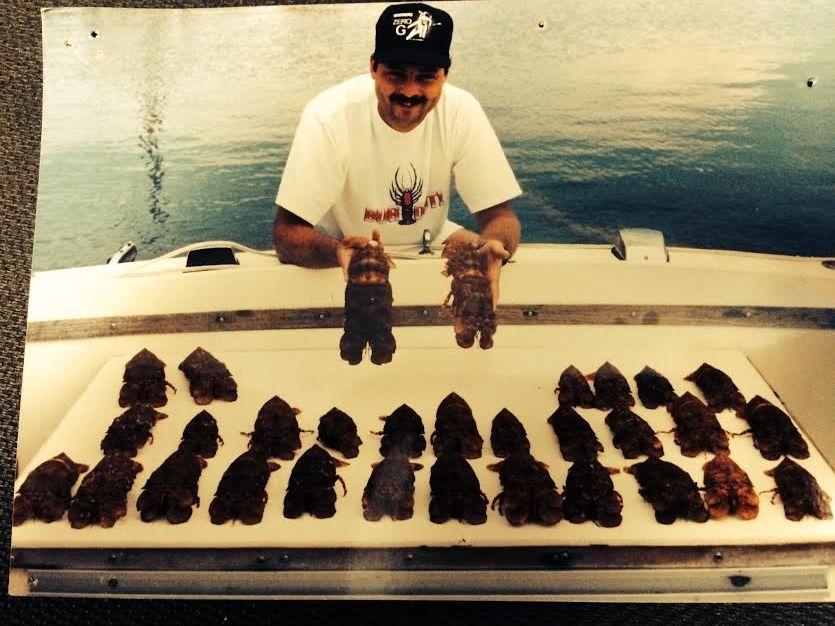
Another pictures from when the Formula was running. A good day diving for Shovel nose lobsters or bugs.

-
-
After cutting the floor out or at least most of it I am liking what I see. Most of the stringers are solid (I know you have heard that story already). I did drill holes high,middle and low in the stringers from aft to the cuddy cabin door.
This is in the bilge, motor mount for the twin engines and a bulk head. This is straight forward, both are rotted and will be cut out.
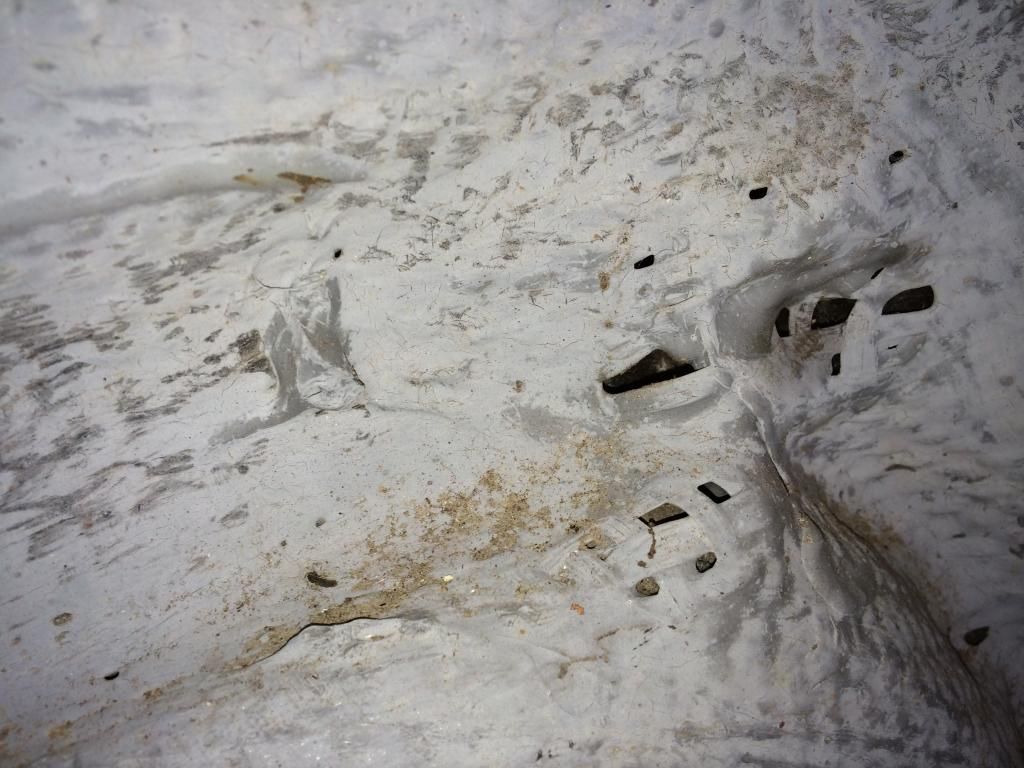
This is the fuel bay to the right and the port main stringer. Ignore the last piece of decking it is being stubborn. The first 18 inches from the bulk head forward are a little wet and then from there all the way to the bow the wood is solid and dry. The fiberglass is tight against the wood and I see no issues. I was thinking of cutting that first 24 inches out and replacing it with fresh 3/4 exterior ply.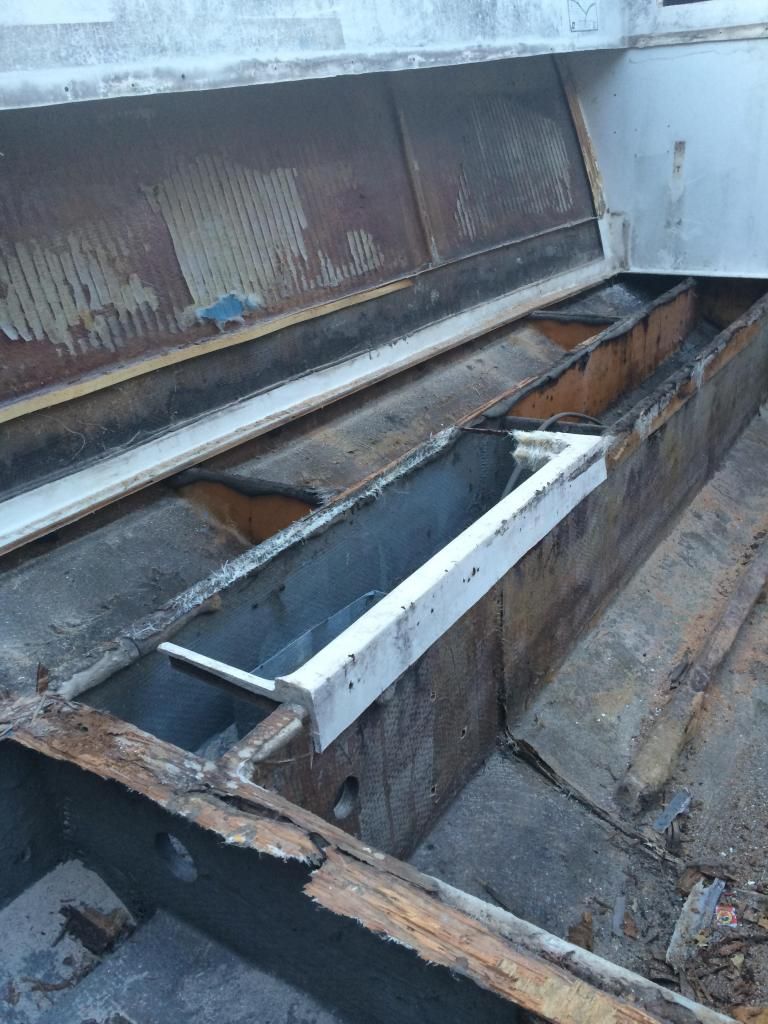
This is the transom port side along with the port bilge stringer. It is also dry and solid except the first few inches which are a little wet probably from the drain hole that was drilled right at the transom and the base of the stringer. It appears where these type of drain areas were created they did not seal the wood inside the cut area. I was thinking of again just cutting it out from the transom forward about a foot or at least well into dry solid wood.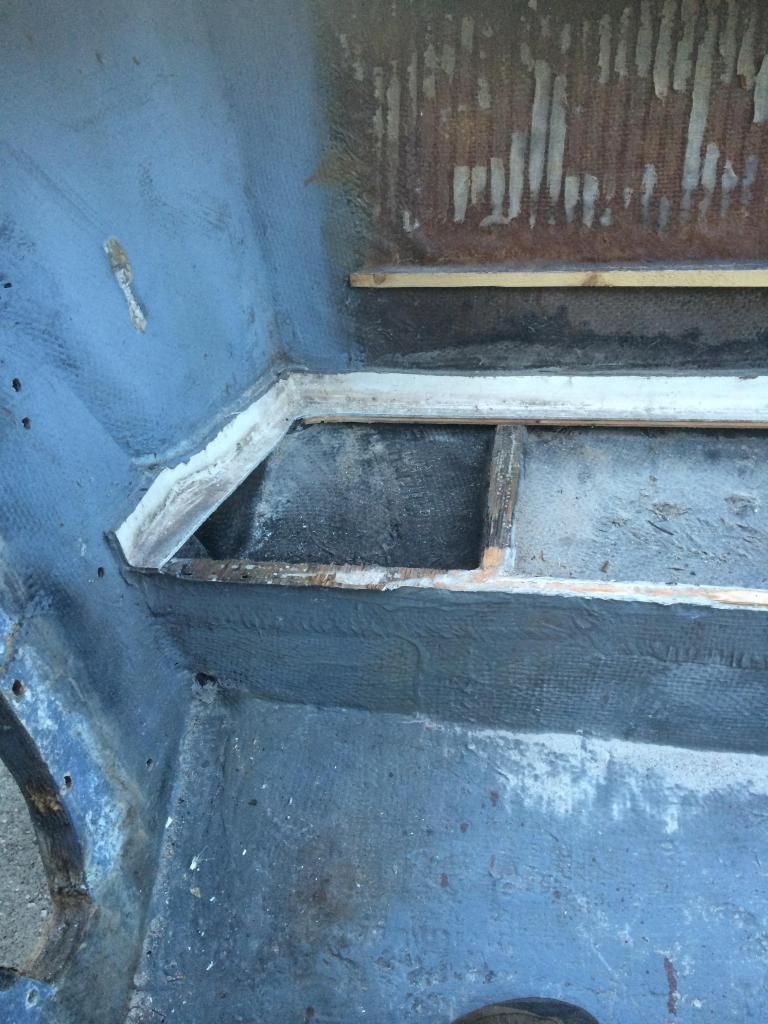
The transom there is no question on it is mushy in several spot down low and one spot high on the port corner.


-
-
Scored an entire engine package on evil bay. Had to take a 6 hour round trip to Jacksonville,Fl to look at it but once I saw it I bought it on the spot. Elbow and manifold brand new. Everything on the engine and drive works.

Now back to cutting the stringers and transom out and making my first order to US Composites today. -

-
-
Steve, Thanks for checking it out here is some more update.
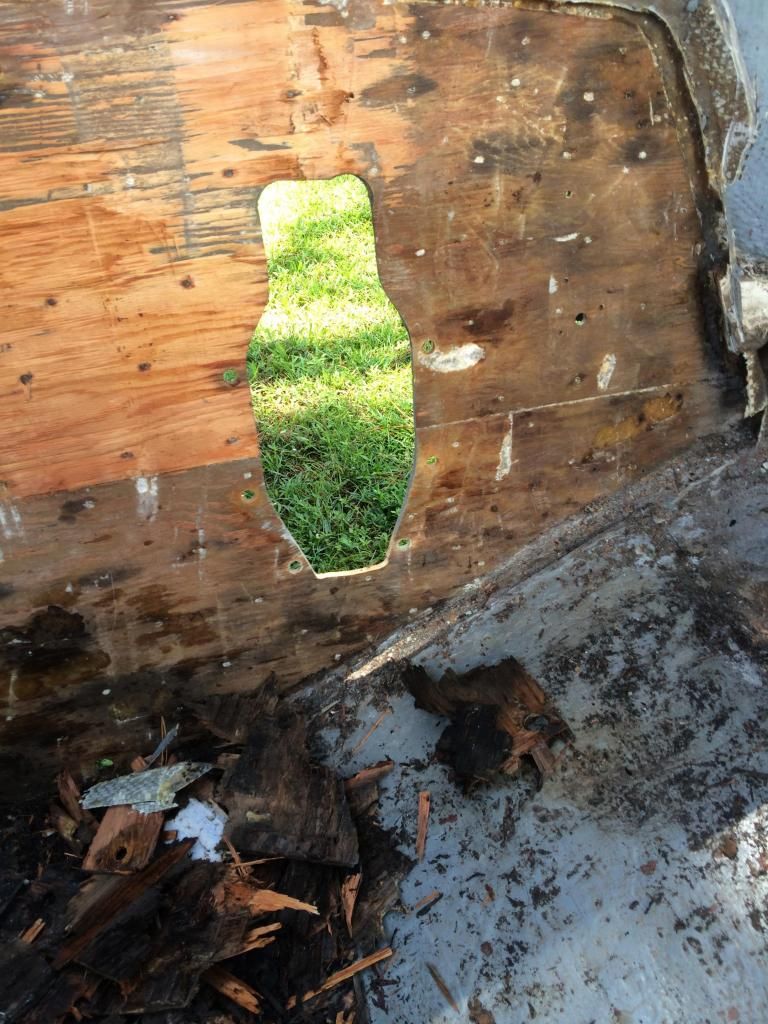
Finally started on the transom removal. After cutting the transom skin with a Skil saw I used the typical tools to remove the fiberglass and wood.
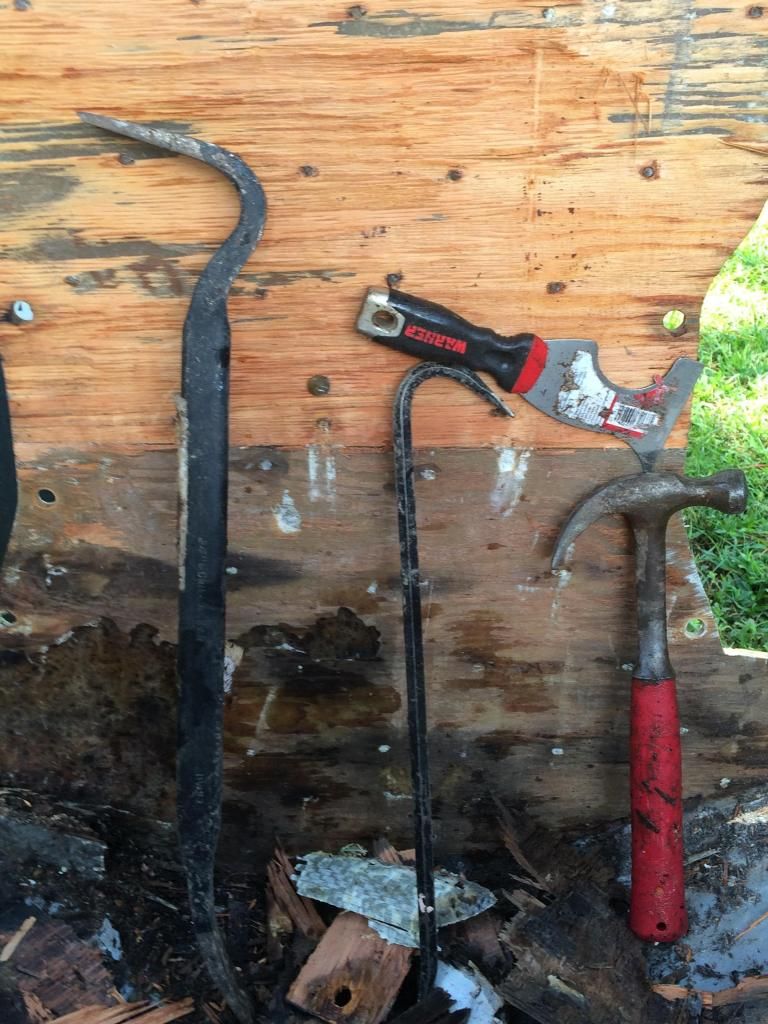
After the bigger pieces came off this tool was perfect for getting the rest.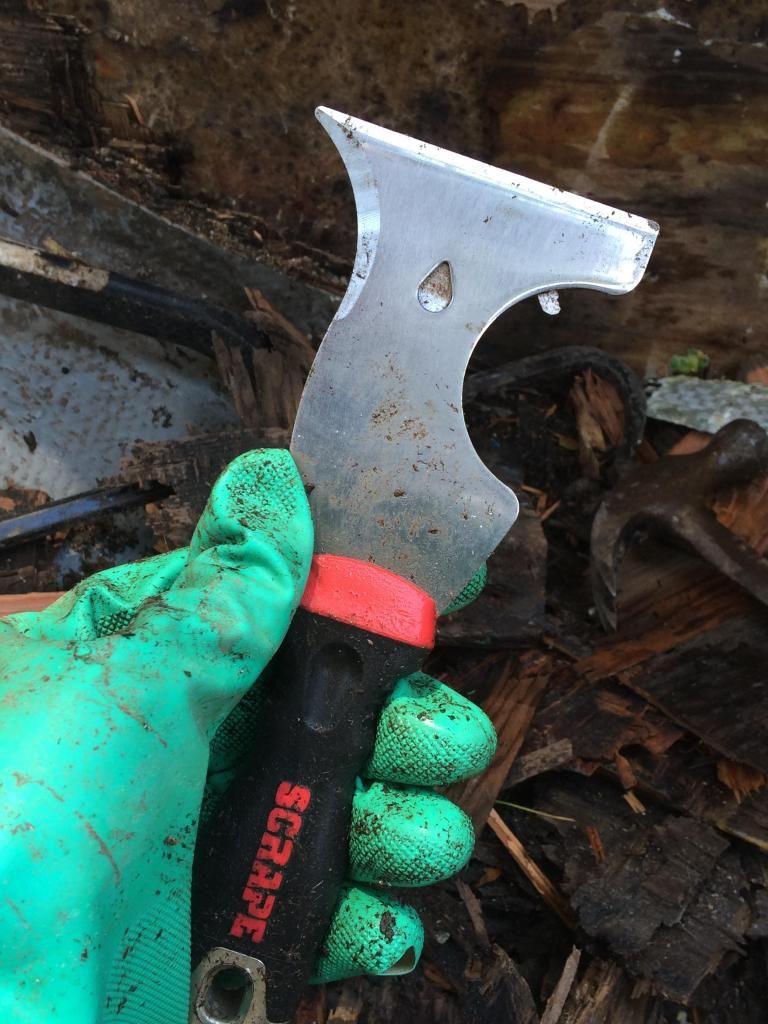
The original transom from 42 years ago had nails in it.
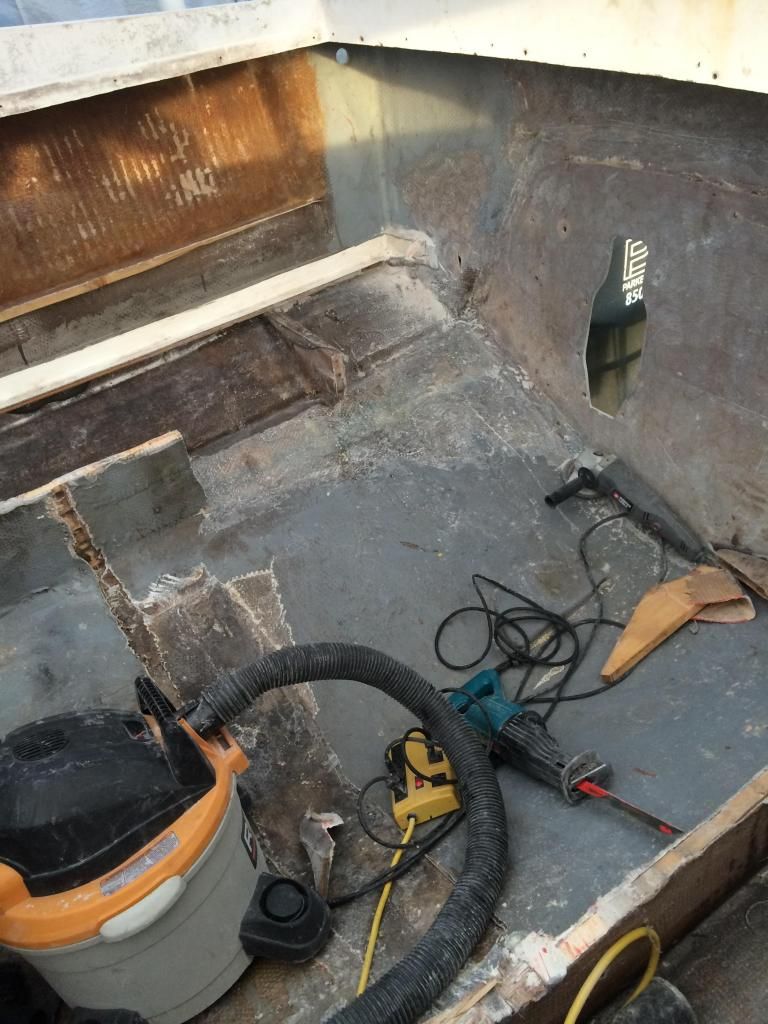
Most of the wood is off and time to start grinding.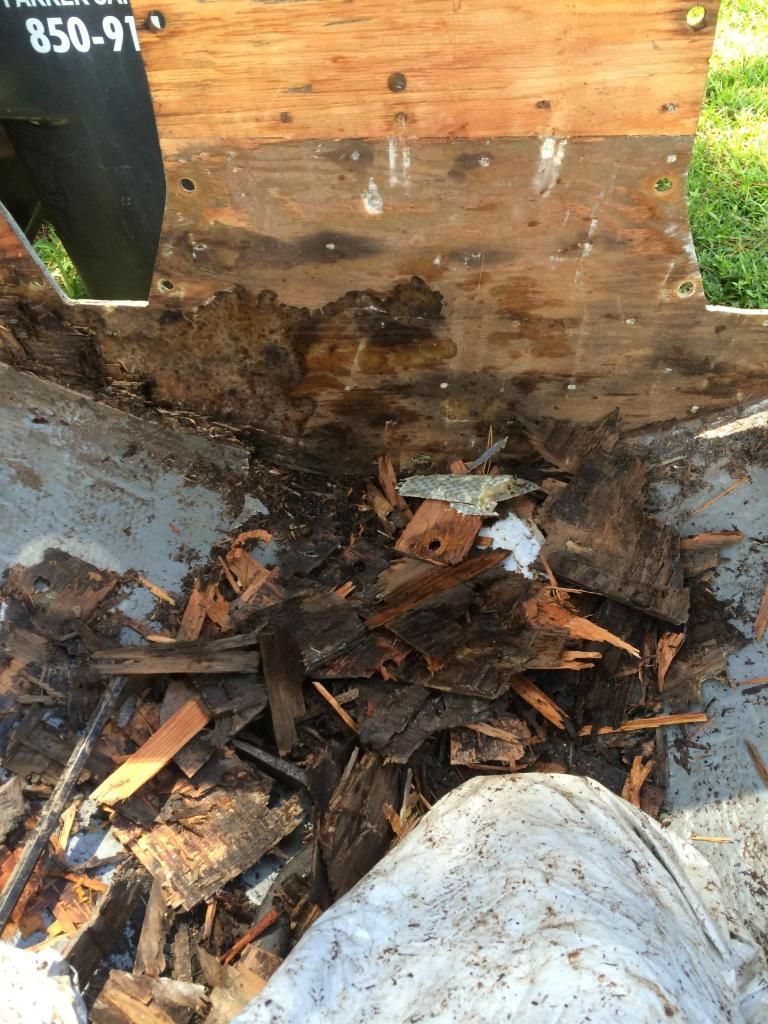


-
-
I have the transom almost done. Mostly trying to get a handle on which grinding wheel works best and which Saw blade does the best job.
Ended up cutting out the port main stringer all the way to the cabin, after closer inspection the wood near the bottom in a couple of spots was gone.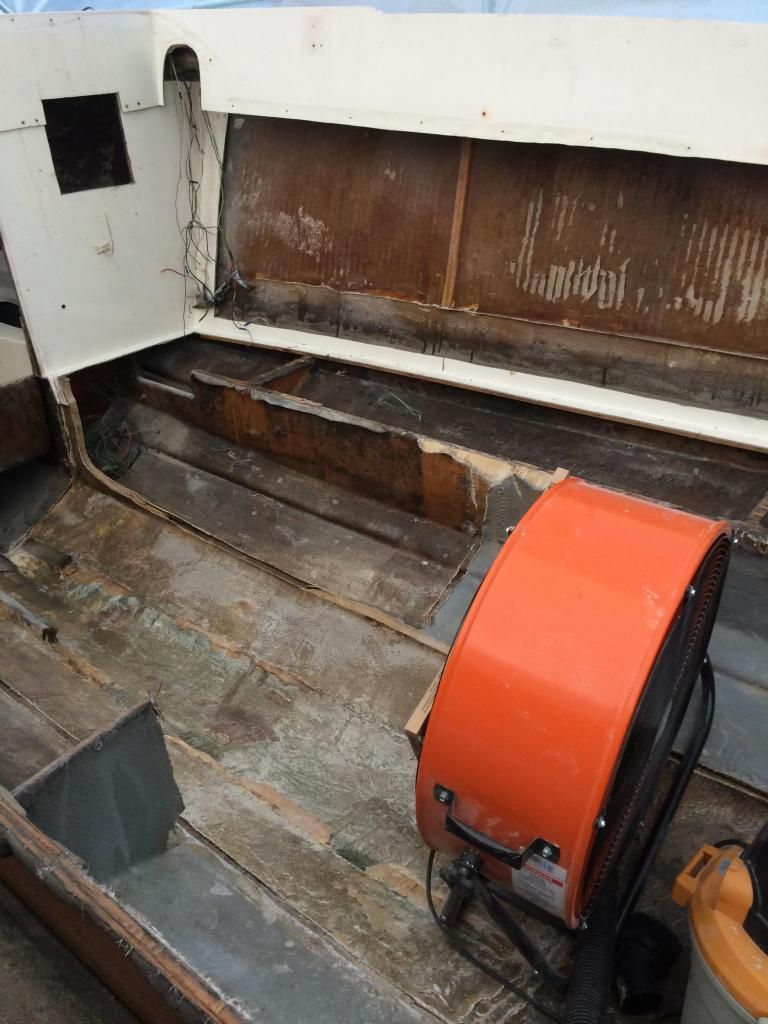
I also got my transom cardboard template cut out.


© 2024 Created by David.
Powered by
![]()