72 Thunderbird Formula w/twin 165hp Mercs
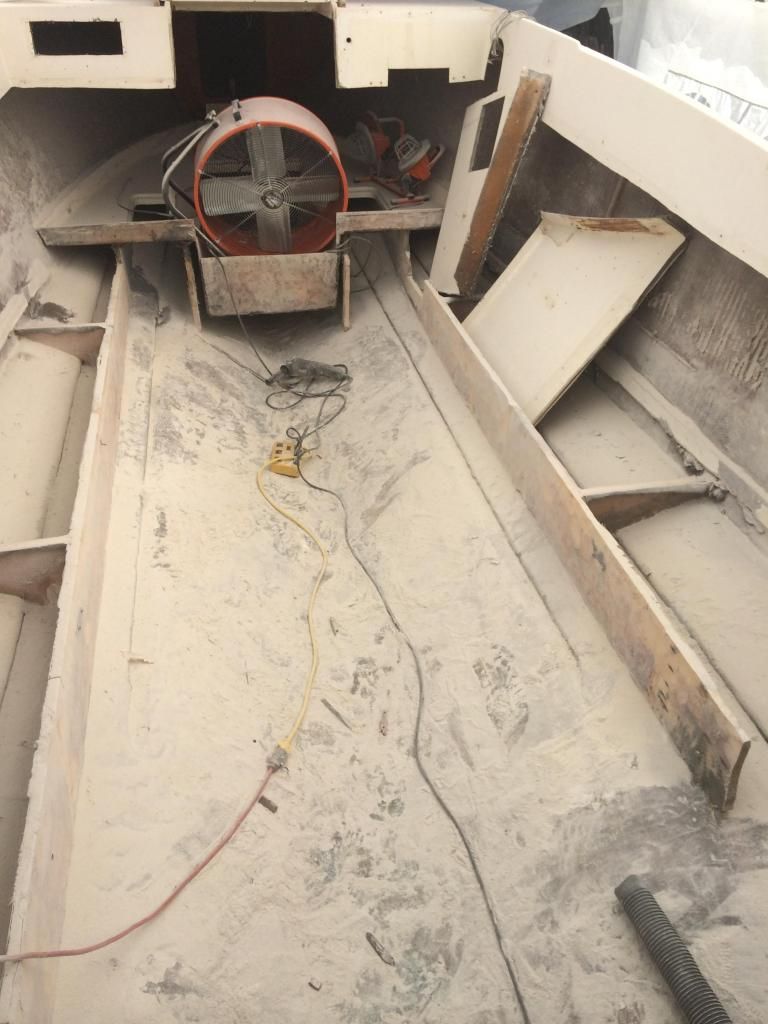
This boat belonged to my father and after he passed away it became mine. The year was 2002 and the port engine had a leak in the block and the fuel tank was leaking. So we pulled her out and I began taking engine and fuel tank out. That same month my wife gave birth to our first child and I was also recently promoted. Needless to say other things became a priority. Now fast forward 12 years, another kid and 2 more promotions and I finally am starting to have time, $$$, and the drive to start this project and most importantly the bosses endorsement. The interior concerns me. I have not dove in there and removed anything else since 2002 so I don't know what awaits. After some research I can only imagine what everything below decks looks like. I have never done any type of boat restoration or fiberglass work. I have recently signed up on a couple of boat forums and have been watching and following several restorations learning a lot. I have been researching and planning for the past month or so and getting the garage ready for this project. My wife or more befitting the nautical theme, The Admiral has endorsed the project and is even willing to pitch in where and when she can. The funds have been set aside so next month I will rehab the trailer enough to get the boat from my moms house to its new home where all the fun will begin. This is what she looked like after sitting in my moms yard for 12 years.
Views: 2388
- Attachments:
Replies to This Discussion
-
Its been a little while since I have posted any updates but have been working on the boat every chance I get.
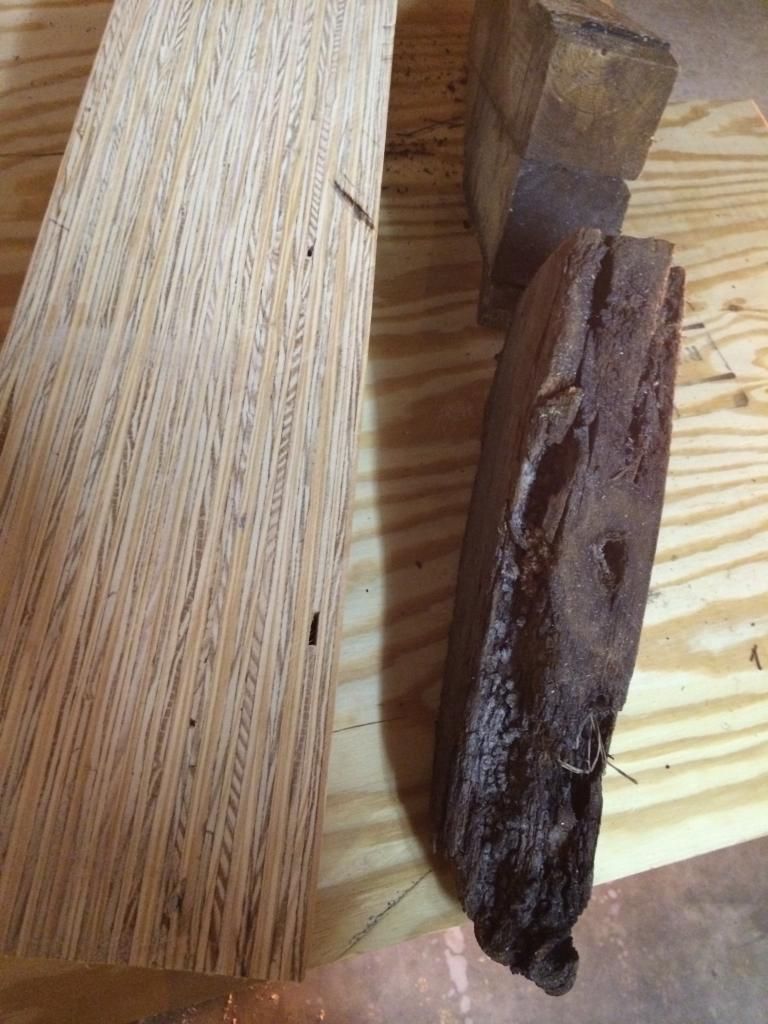
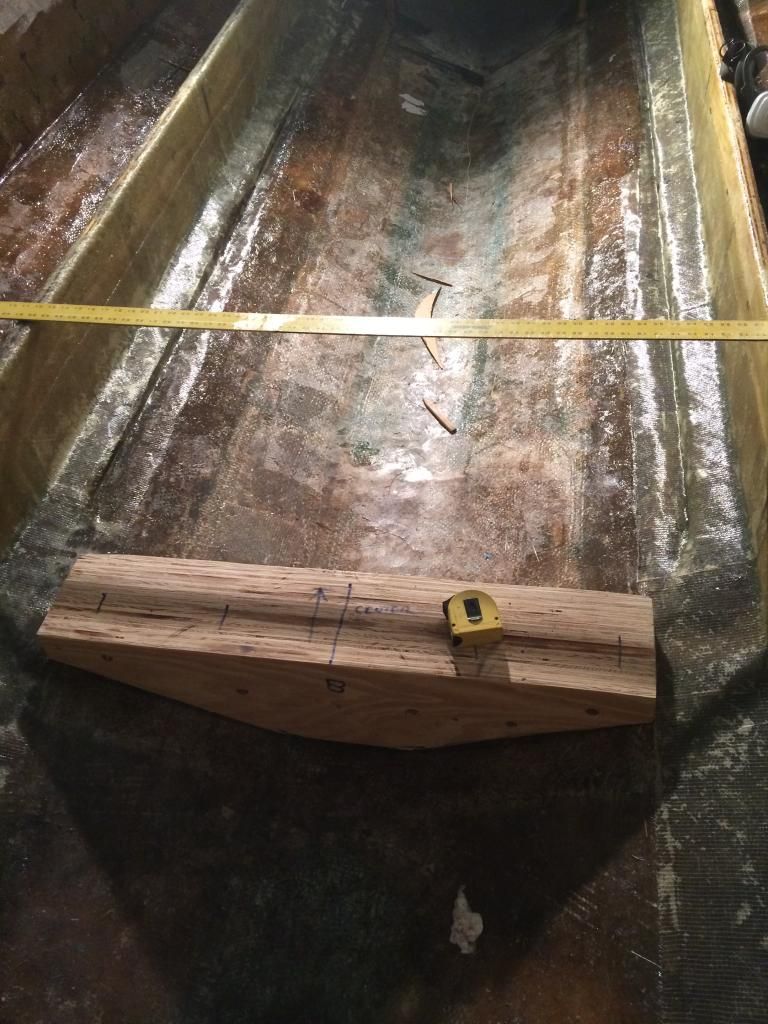
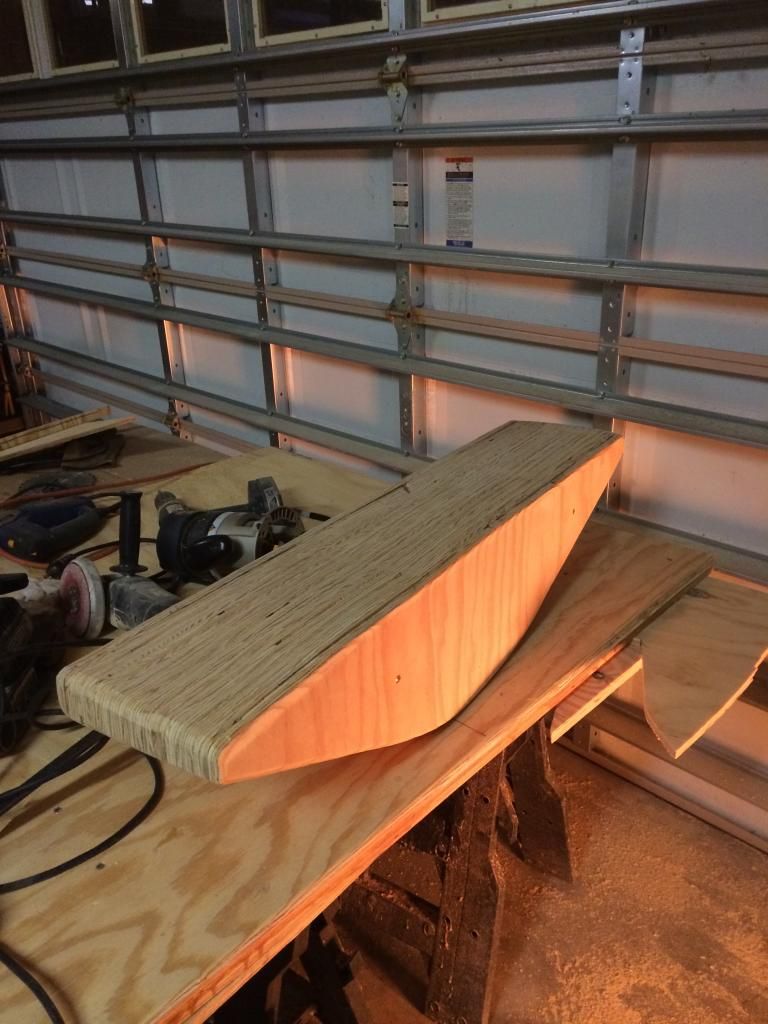
I cut and shaped the transom and 2 stringers so far. The transom was easy to build compared to the two stringers. Since I have to sister the new stringers onto the old stringers right as they go under the cockpit floor I decided to make them a little beefier. The originals are 3/4" and the new ones are 1 1/4" (3/4" and 1/2" ply laminated together). I took the basic measurement and made two laminated blocks that were just a couple inches to long and about an inch to high. This gave me a 13 foot long 10" high glued piece of bullet proof plywood to cut the stringers out of. I used the Tribond III waterproof glue which works very well. Took a sample piece of 1 1/4" glued piece of ply and tried to separate it at my glued seam, It would only separate or break at the factory glued seam. The first stringer took me all day to make and get the angles and height changes just right. The second one took me an hour.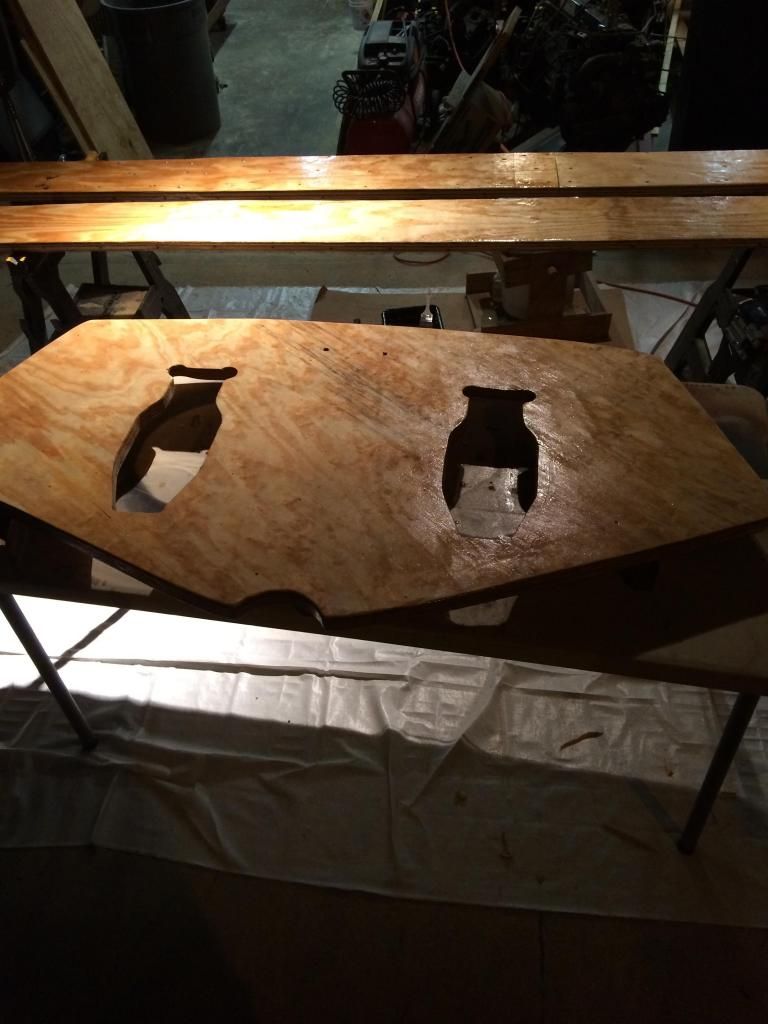
I have coated everything in resin and filled any holes or gaps with PB.
-
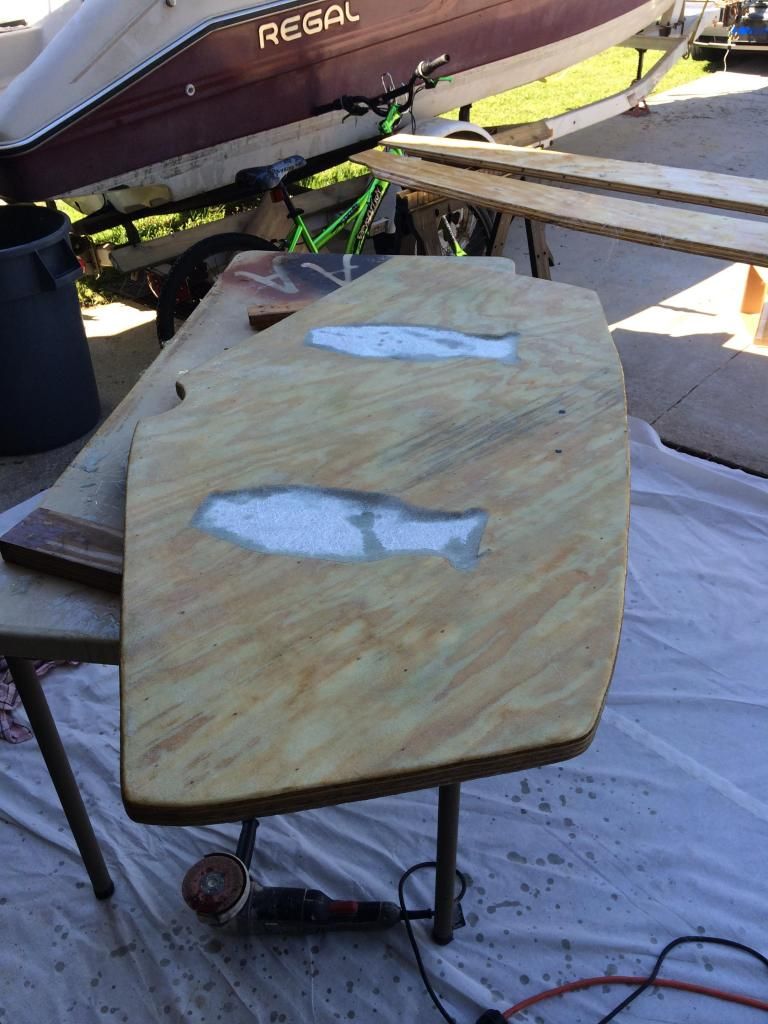
I put resin on the transom and filled all the gaps and holes with PB. After it hardened I grinded down any high or rough spots and put a layer of CSM on the back side. I cut the CSM just about 2 inches to big all the way around and then tore the edges all the way around. To make it easier to conform to the curves. This was my first time fiber glassing anything and thanks to what I have learned from forums it went without any complications. The torn edges stretched and laid down nicely on the rounded edges of the wood and left no air pockets or waves. The Regal in the background was a donor boat I bought for $200. It has the same engine and stern drive as what this Formula has. A 165hp Merc in line Chevy 6 cylinder.
-
Sunday I was finally able to start putting things back into the boat.
 Cut and dry fitted my clamps and transom. Mixed a thick batch of hairy peanut butter first and filled in the holes I made while grinding, yes holes I did it 3 times
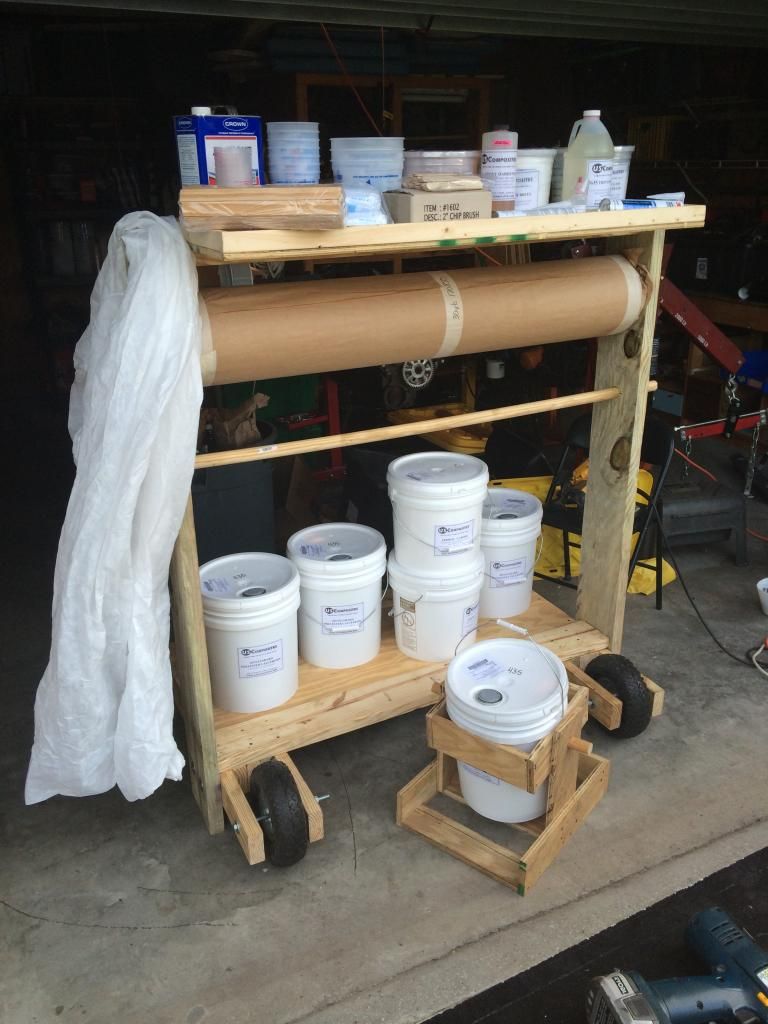
 . The hairy PB I made with 500ml of resin, a small cup of hand torn CSM, 30ml of the 1/4" chop strand, 750ml of Cabisol for thickener and 1% on the hardener. The 1% was a little slow to kick but this was at night and about 75*. Then I mixed 2 batches of PB ahead of time leaving out the hardener and about 25% of the Cabisol. This let me add the hardener to the first batch and still be able to mix it before I added the rest of the thickener (Cabisol). With the second bucket already mostly mixed it made transitioning to the second batch easy and quick. The batches were 1500ml of resin, 120ml of 1/4" chop strand, 1750ml of Cabisol and 1.5% on the hardener. It was about 88* Sunday and it gave me plenty of time to work with it.
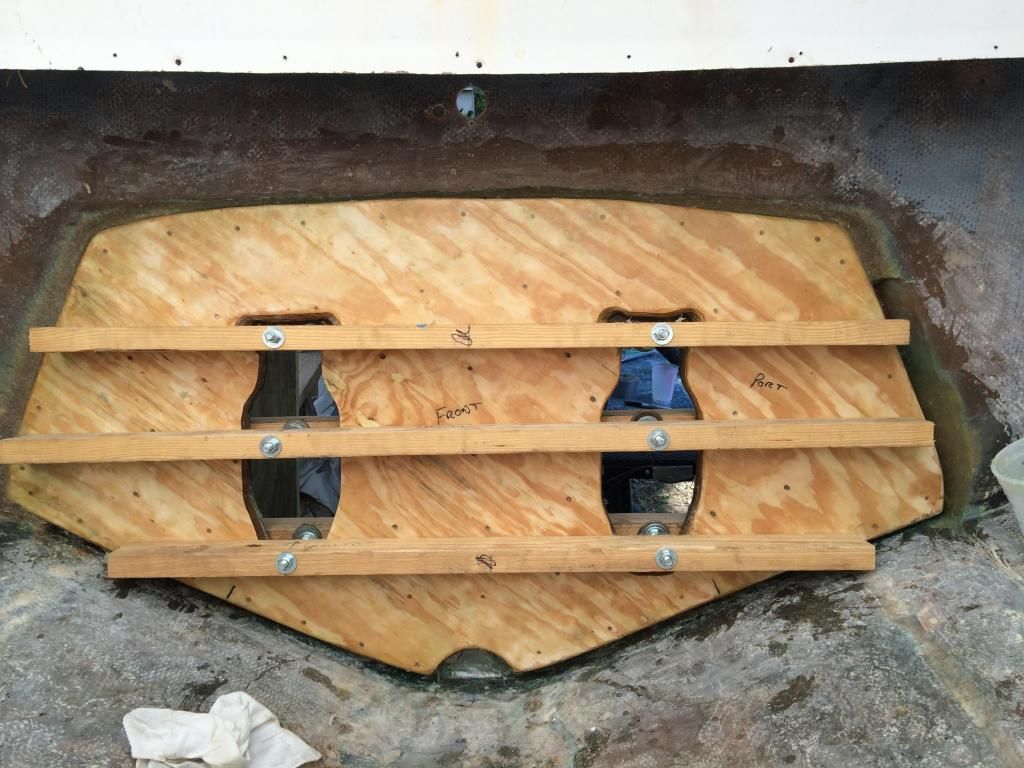
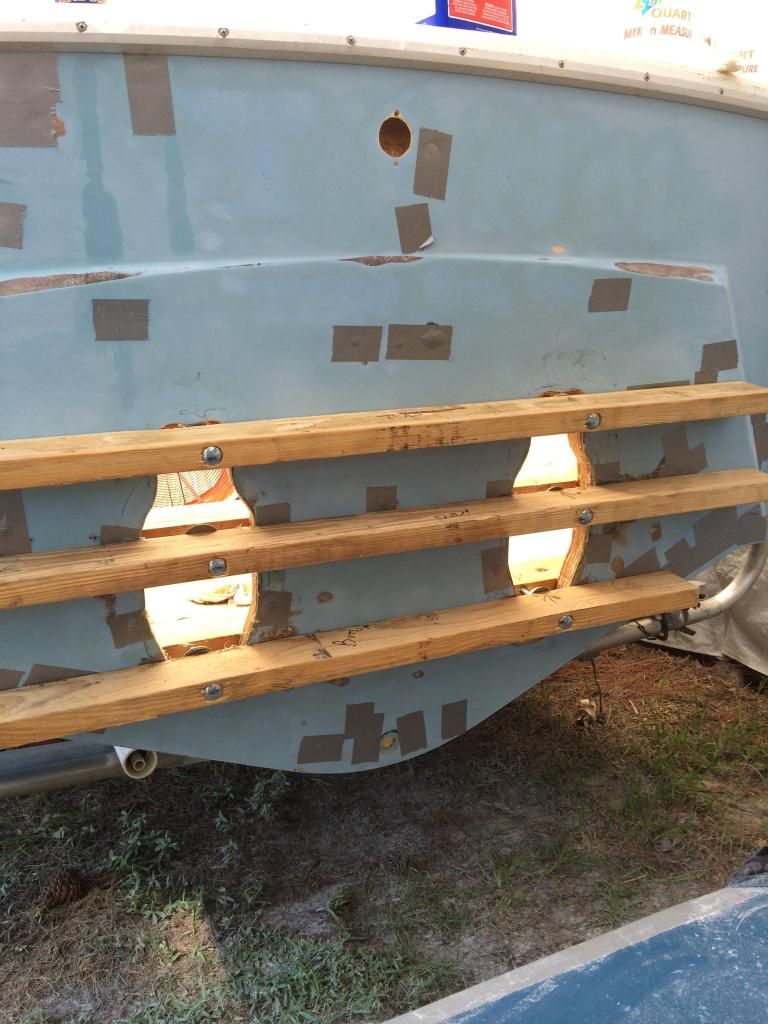
The duct tape is covering all the holes made over the past 42 years from 2 sets of trim tabs, 3 different bottom machines and speedos, 2 swim ladders and a swim platform.
-
After the transom was solidly in place I mixed up more PB and started filling in the gap around the plywood part of the transom and the fiberglass part. Some of these spots are over an 1 1/2" deep and I learned real quick what exothermic reaction means (chemical reaction that releases energy in the form of light or heat) with fiberglass it is heat and a lot of it. I started making smaller batches and putting it on with thinner layers.
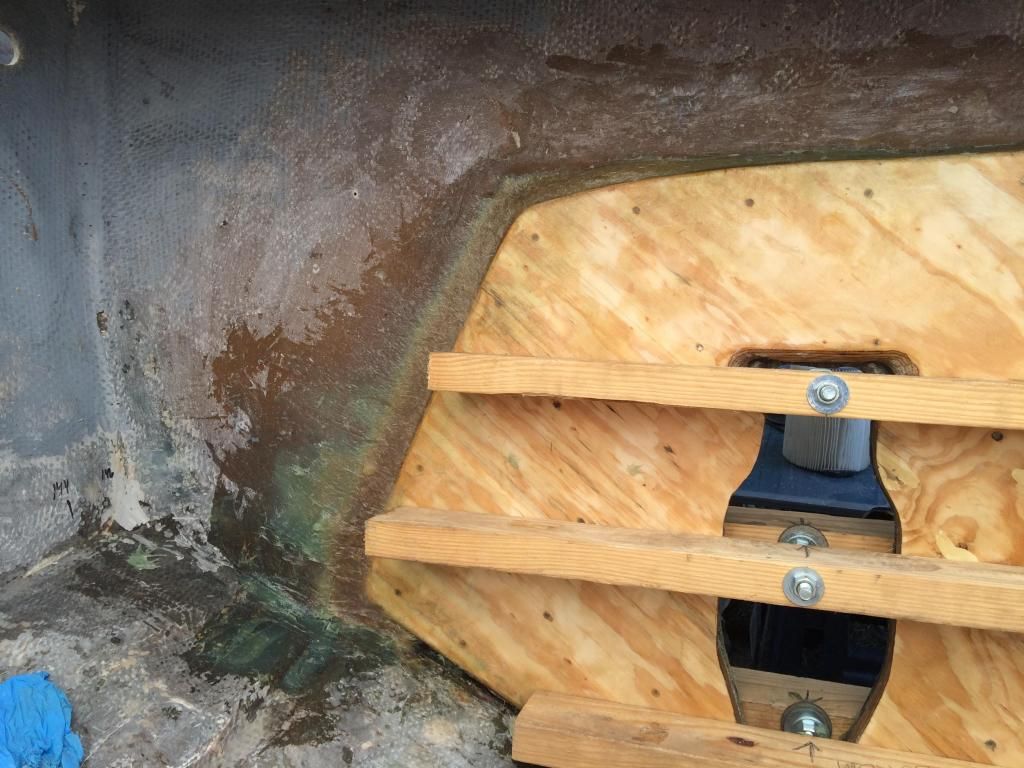
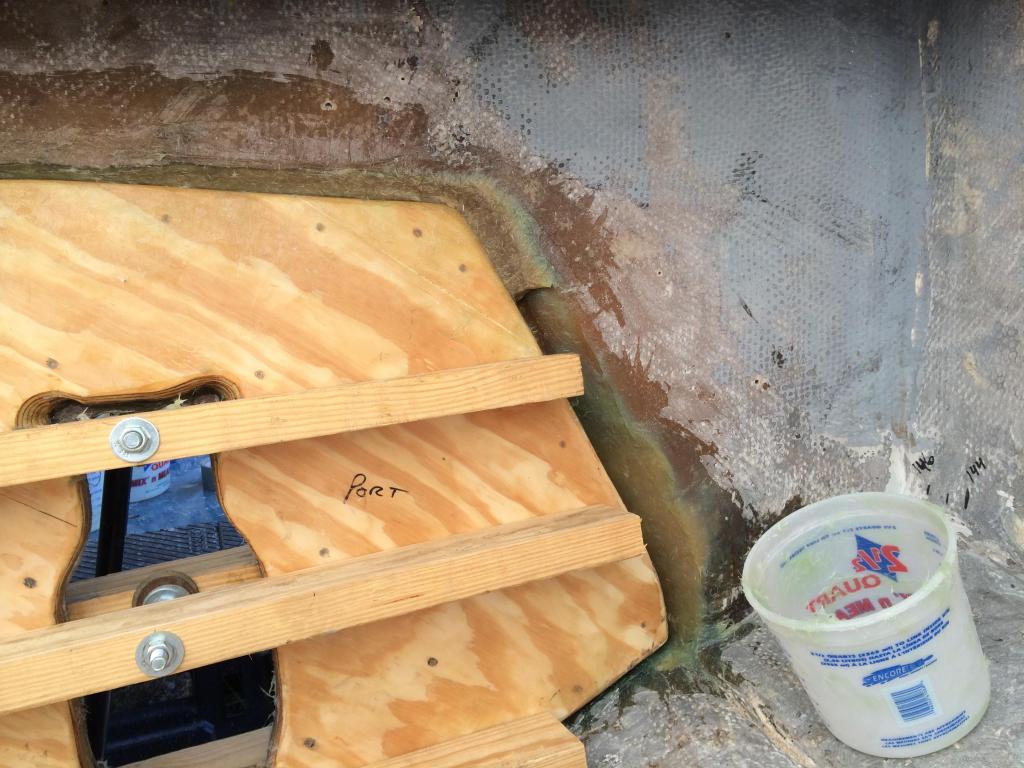
-
-
Just so everyone understands this restoration started last year in July of 2014. I have been posting on another forum and decided to post my progress on this forum. The restoration is still on going I am just trying to catch everyone up on this site. So continuing with the restoration.
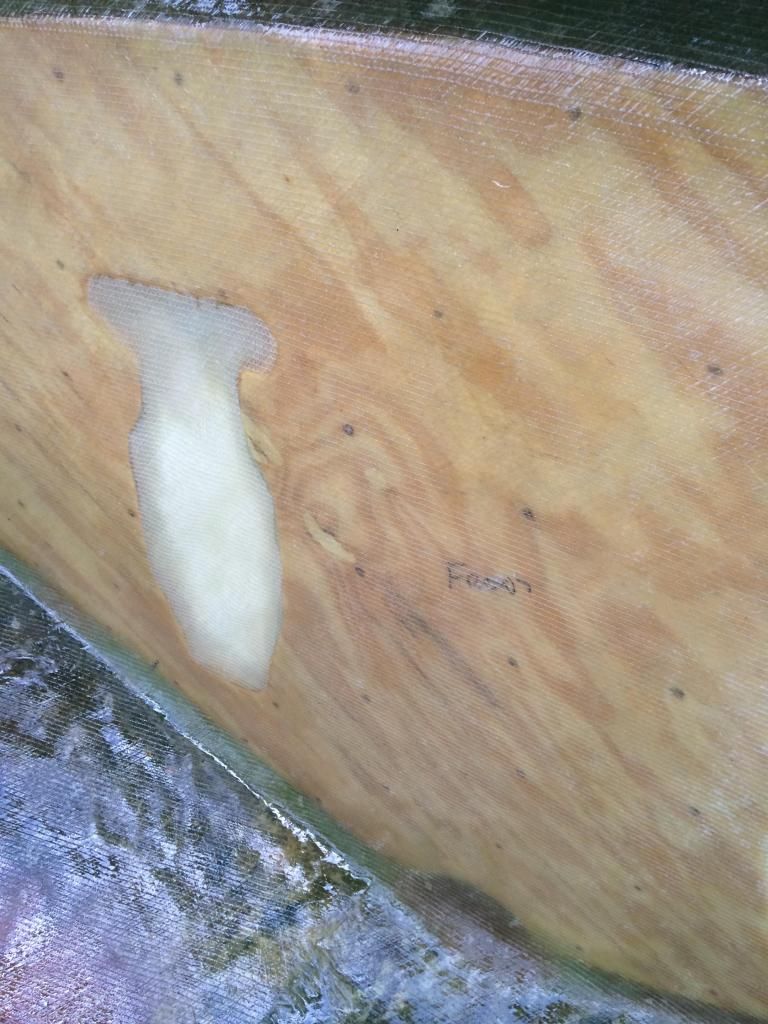
This weekend I covered my transom wood in fiberglass. First I PB the entire perimeter some it was either a flat transition or a nice angled transition to the hull. I then vacuumed and cleaned everything with Acetone refolding my rag and changing out to a fresh rag to make sure I had as little contamination as possible. I then wetted out the wood and laid a sheet of CSM with about 3" over lap. It turned out nice and was so easy I decided to slap on the second layer which was the 1708 over lapped another 3". I should have stopped there but of course now that I am a fiberglass expert (two layers successfully applied made me think that). So I grabbed the third and final layer which was the second layer of 1708 which was another 3" or so over lap. It was a pretty big piece about 50" high by 72" wide. That 1708 is heavy stuff. After a lot of fighting it and one big mess I finally won the battle and got it all wetted out with no bubbles or dry spots. In a few spots I got a little carried away with the resin.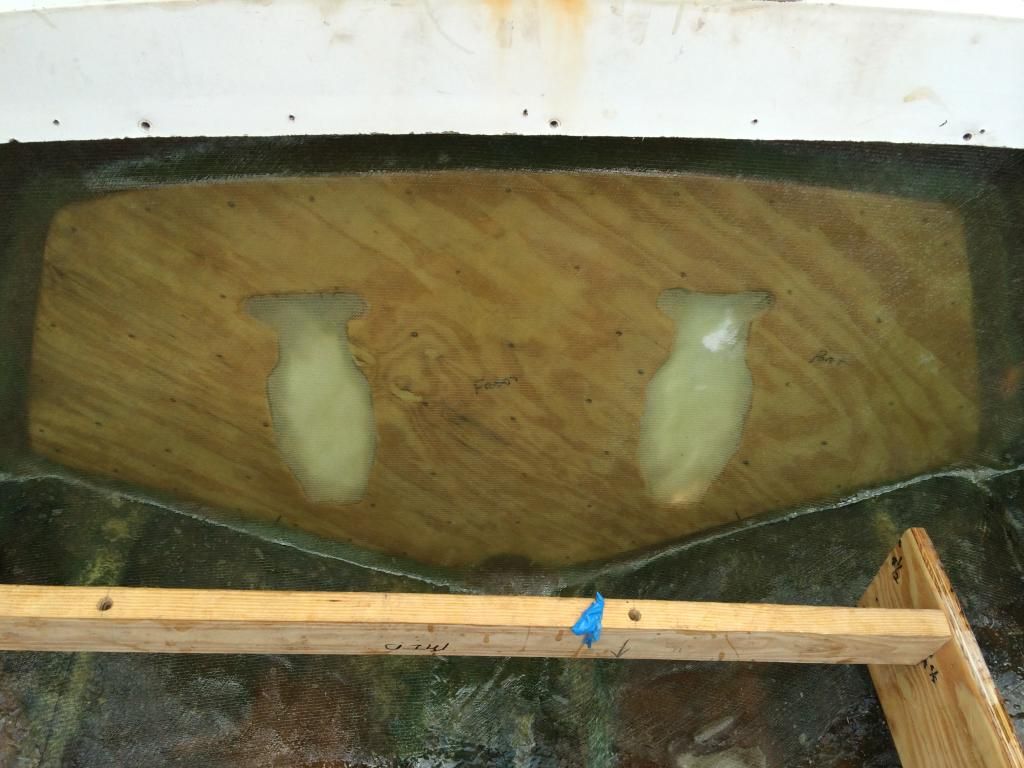
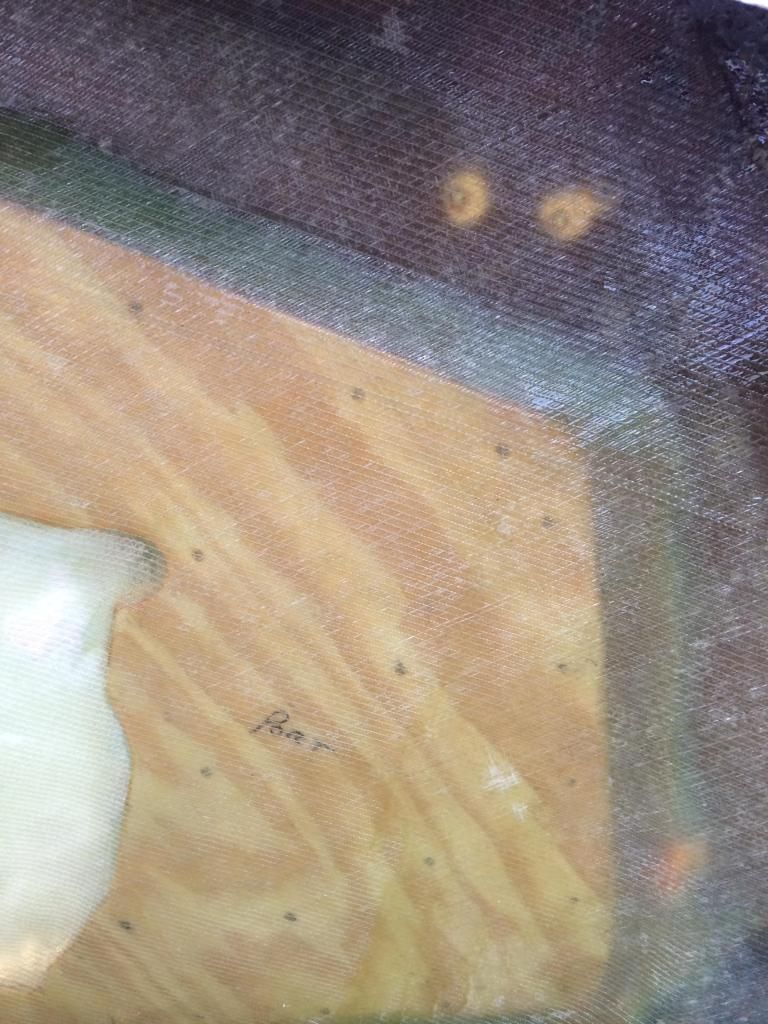
Now onto putting a couple of stringer in.Ok so I finally put the first two stringers in with PB and tabbed them with CSM about 4-5" up the stringer and down onto the hull. I PB the rear of the stringer to the transom and laid a layer of CSM so far to attach it to the transom. On the front side where the new stringer joins the old I had about a 6" over lap of 1/2 ply and I PB them together and put about 10 SS screws before covering it with a layer of CSM.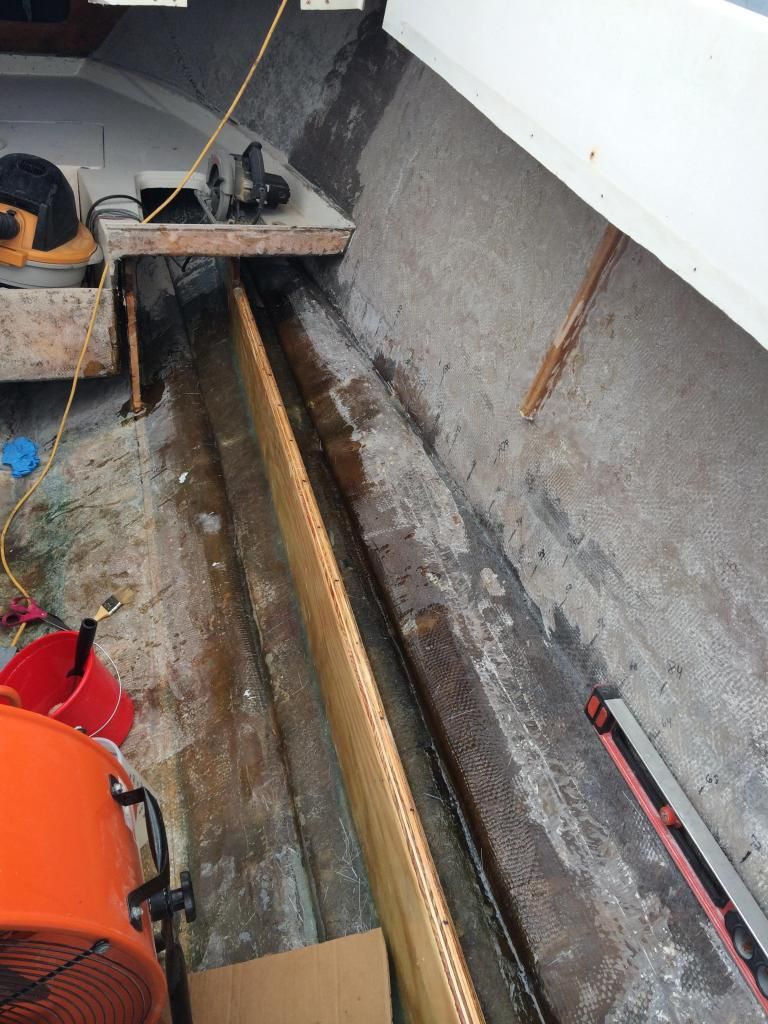
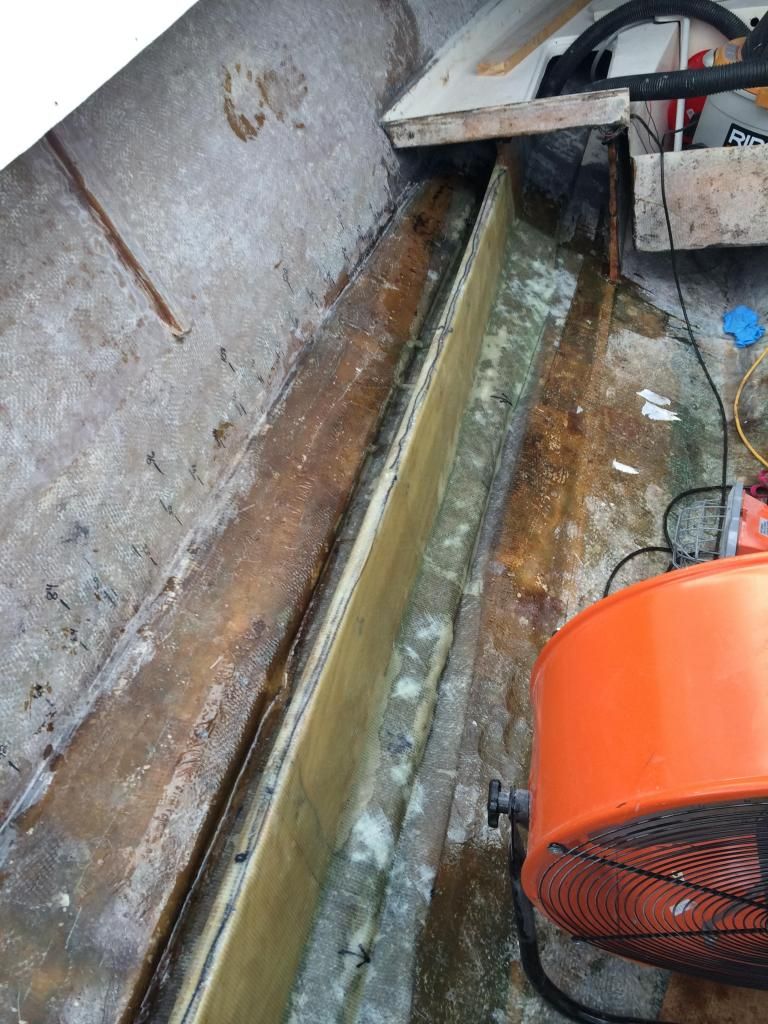
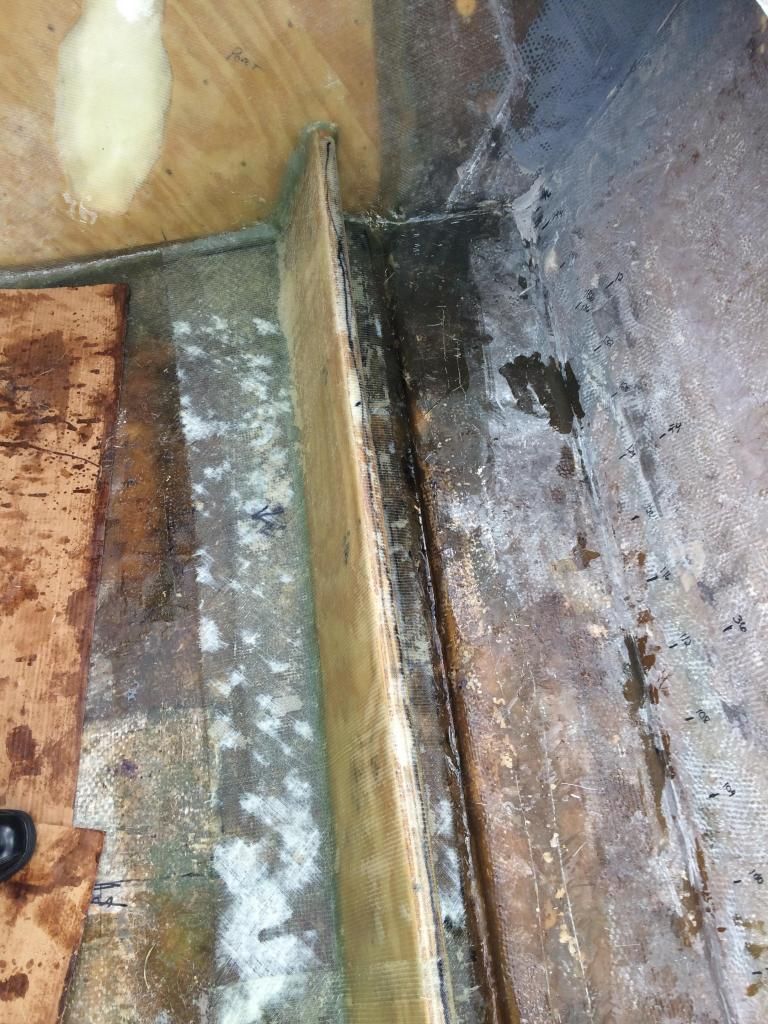
After that dried and jumped in and tried putting down the 2 layers of 1708 with each over lapping the next by about 2-3" but that was tough going and I ended up with what I guess are dry spots in the cloth.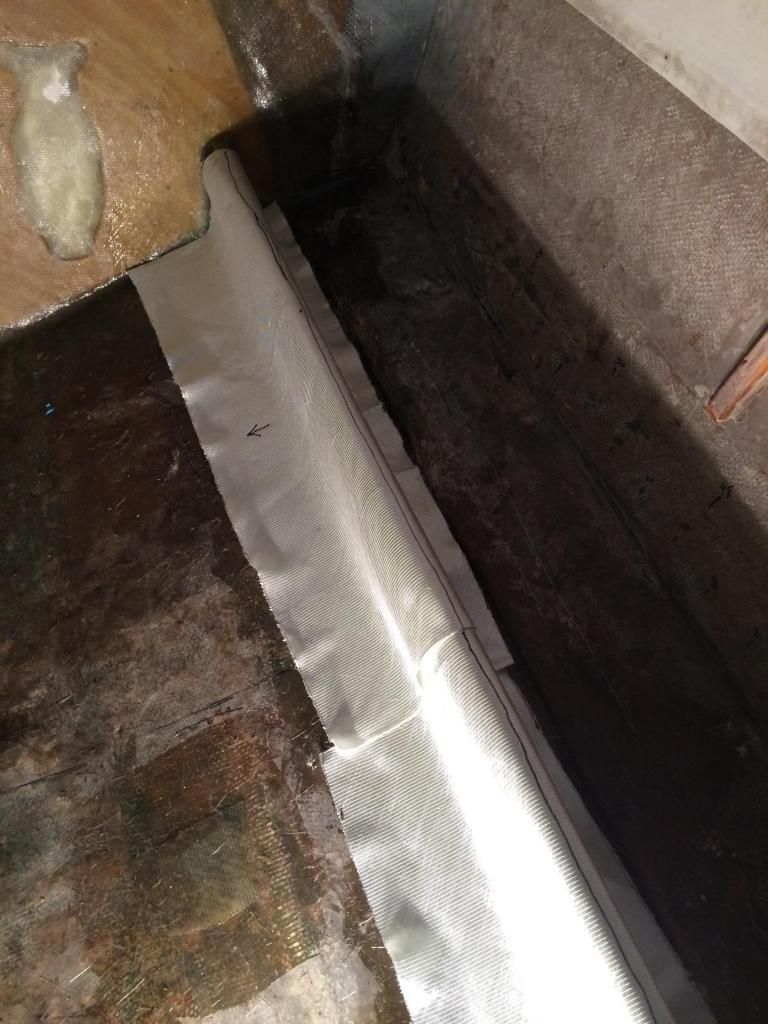
-
Later I ground down the bigger white spots and applied a layer of 1708 over those areas.
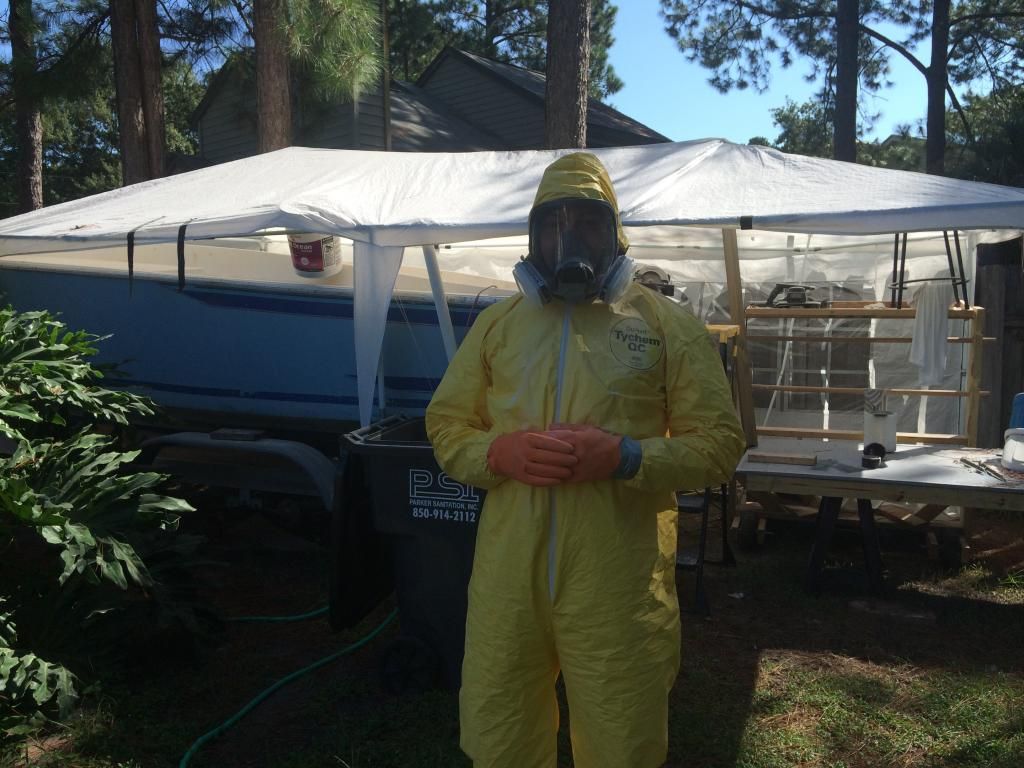
I am still here and still working on the stringers. I got delayed a little due to high winds tearing down my canopy for the second time and finally destroying the frame. I spent some time building this big ugly green thing out of PVC pipes and tarps. This time I anchored every eyelet to either the boat trailer or big stake using parachute cord.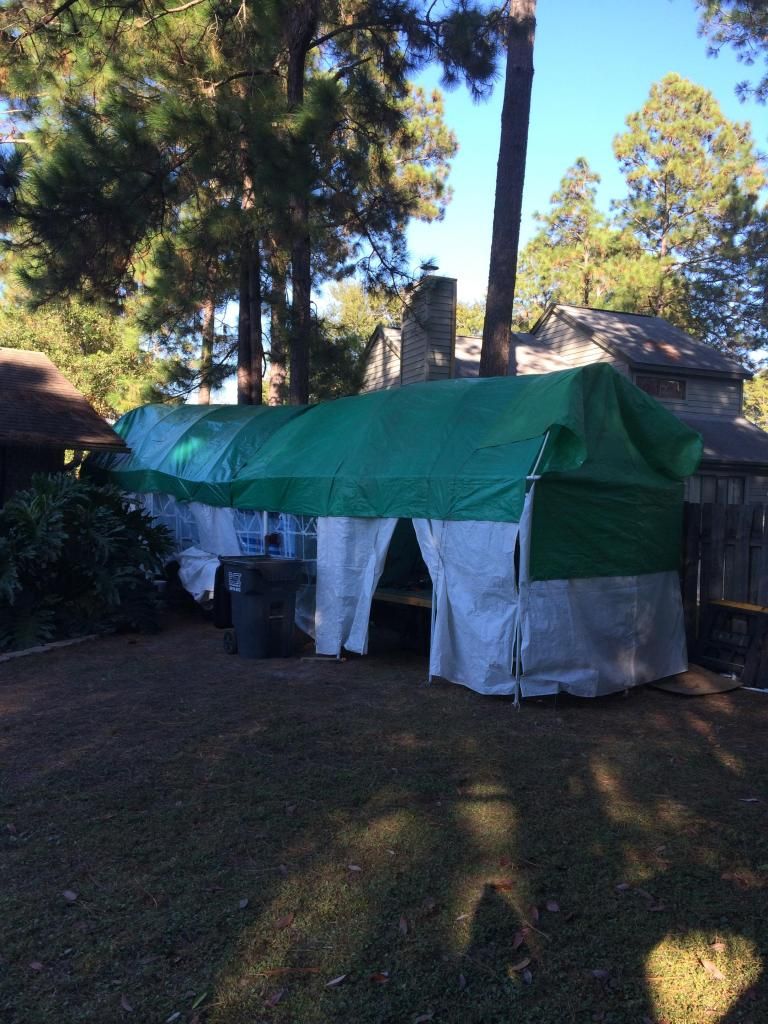
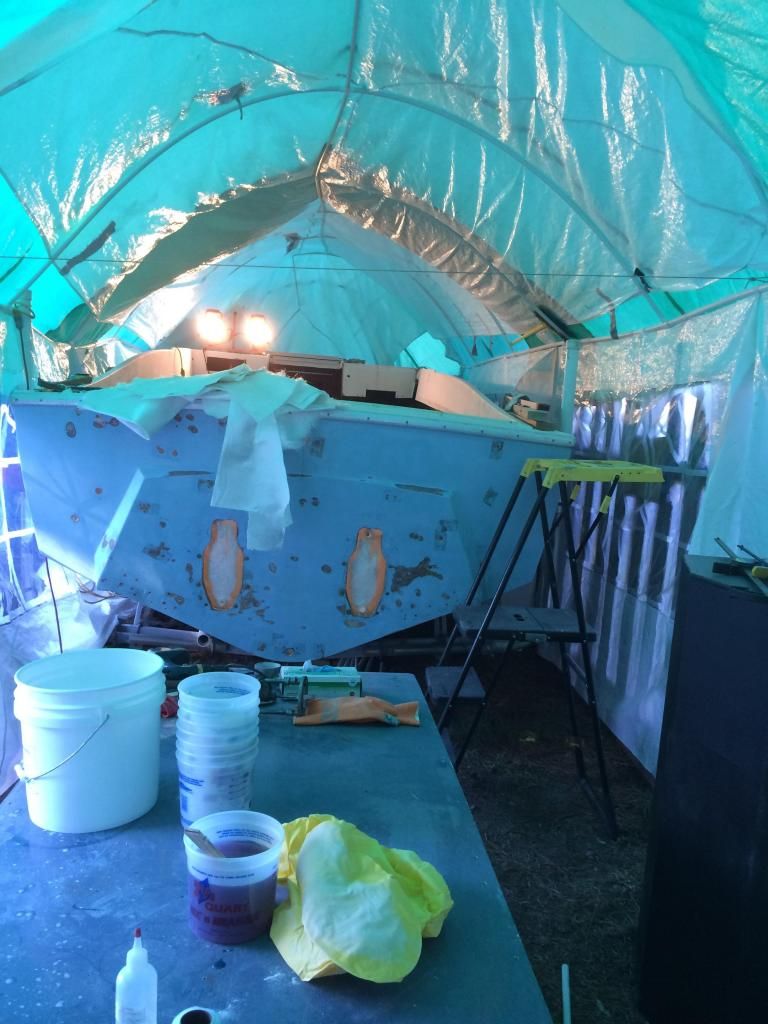
I finally gridded down the air pockets on the port stringer and finished both sides tabbing in solid with the transom, hull and old stringers up front. used the CSM and 2 layers of 1708 over lapping by about 2-3 inches. Some areas have 3 layers of 1708. Drilled out the bilge drain hole through the PB and PB a short piece of 1" PVC in place. Later I will grid that flush with the transom. I have a new Garboard brass drain plug I will put in place with SS screws and 5200.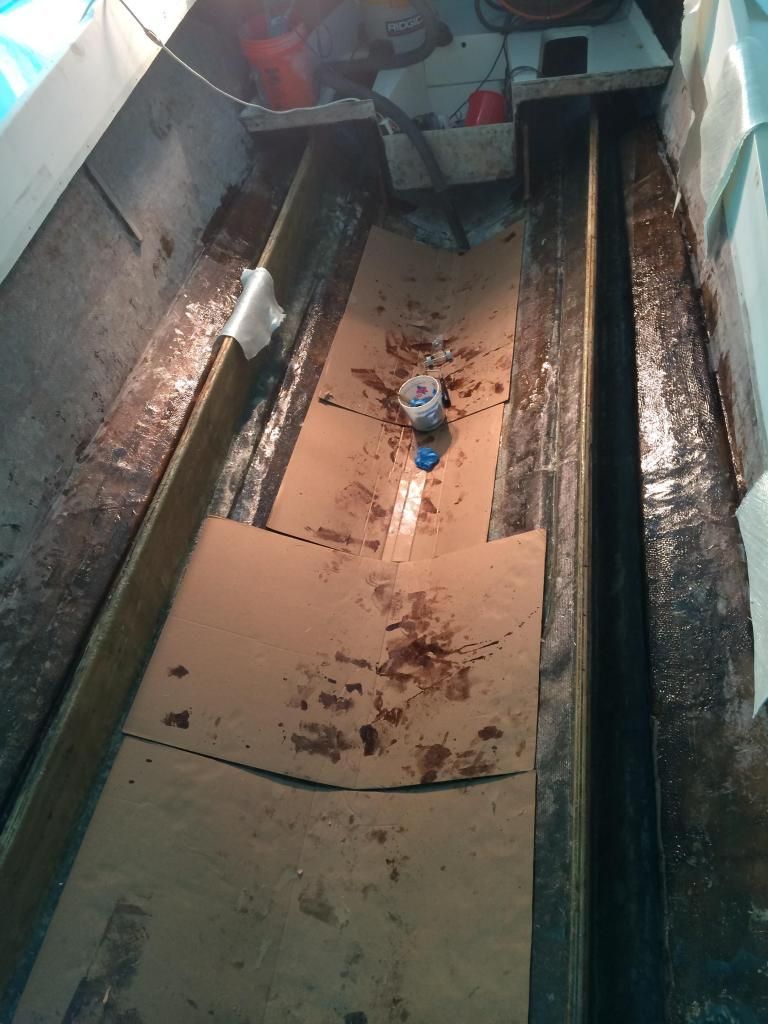
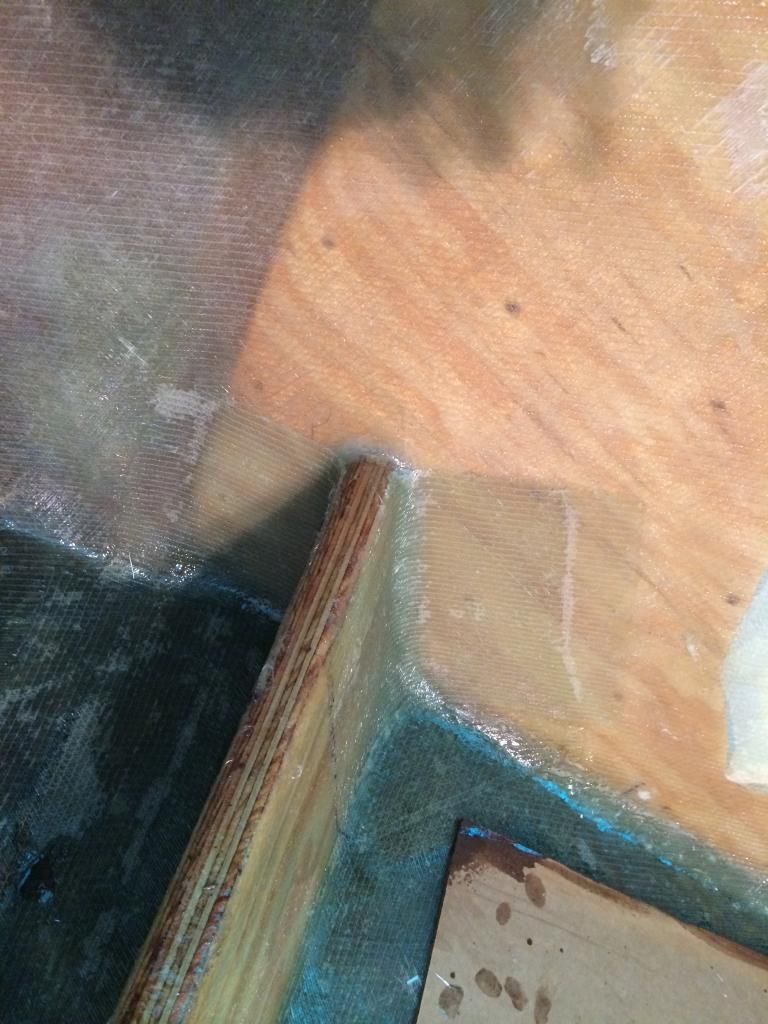
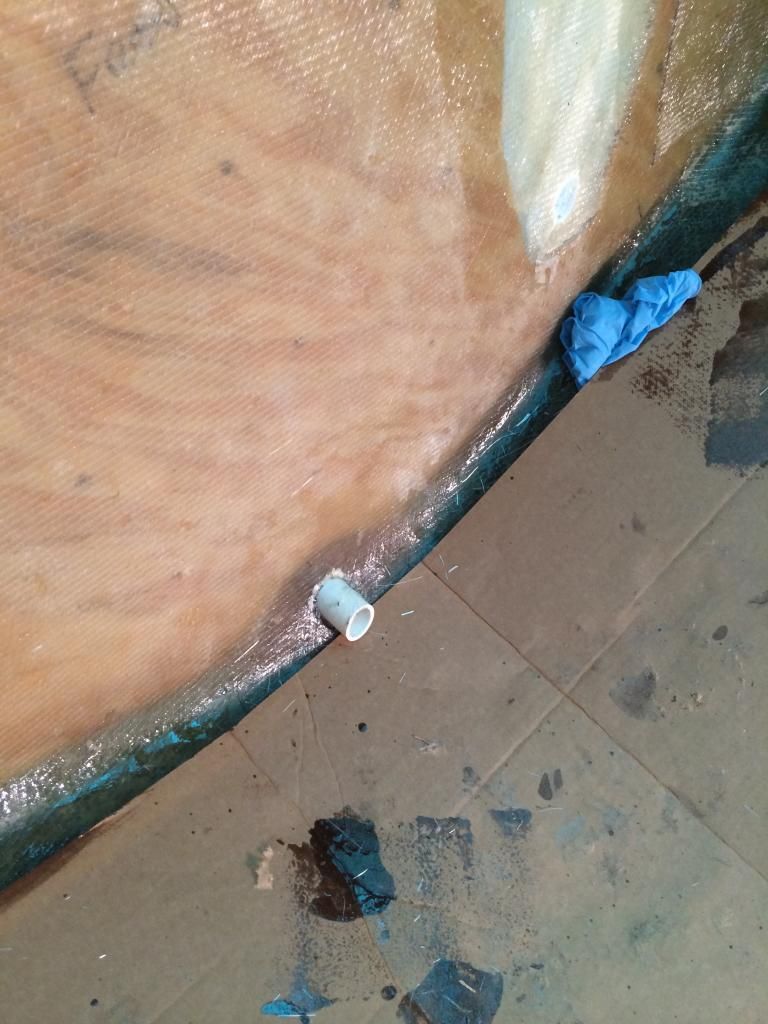
And I still have some spots that look like air bubbles or pockets but they aren't. Now I can get the next set of stringers installed after I get the main bulk head and motor mounts in.Well it has been raining and windy here in the Florida Panhandle and my new canopy has survived some 40 mph gusts so that is good. The temps have been up and down as usual for this time of year. Last week temps were as low as 32*, this weekend backup to the mid 70's and today back into the 50's. I did get some fiberglass work done while it was warm.
Got the 3 bulk heads cut and glued together. Each piece is 3/4" and 1/2" glued together with Tite Bond 3. Got them all shaped and coated in resin.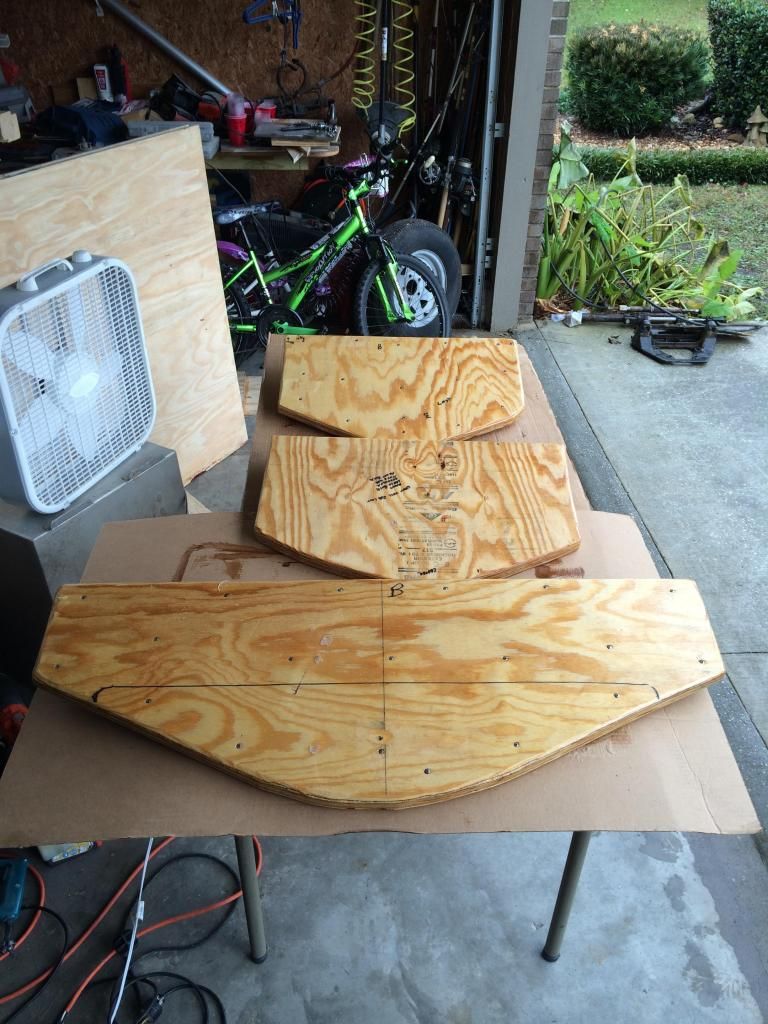
I also got the motor mount coated in resin and PB onto the hull. I just need to finish it up a little more and then start tabbing it in.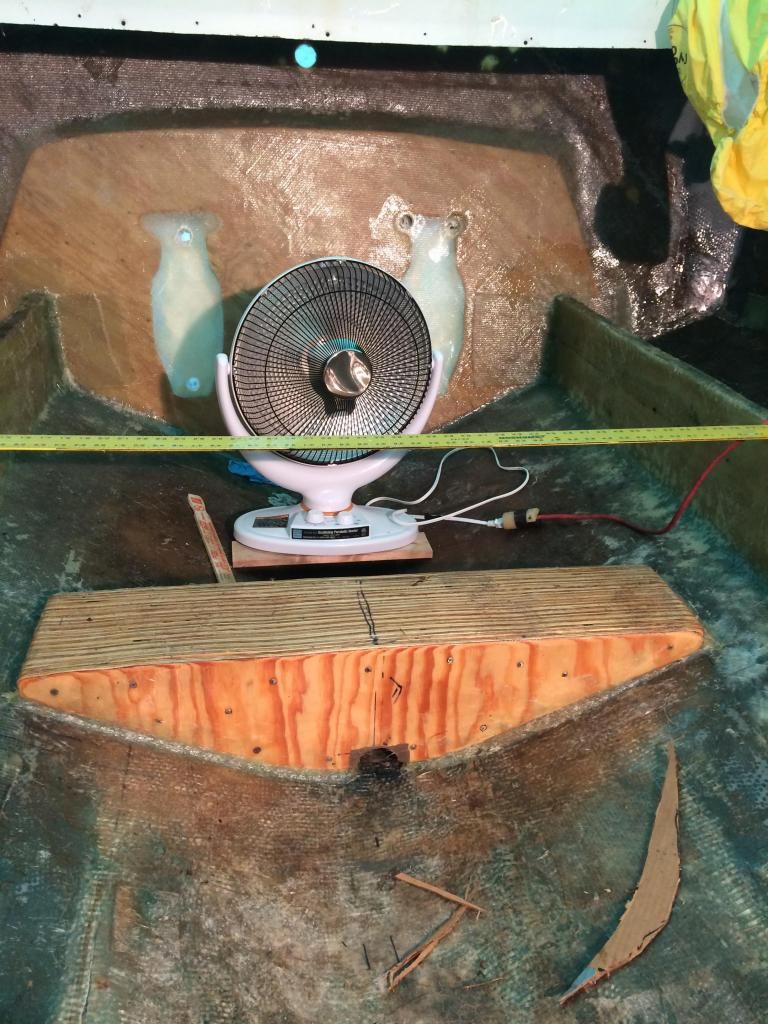
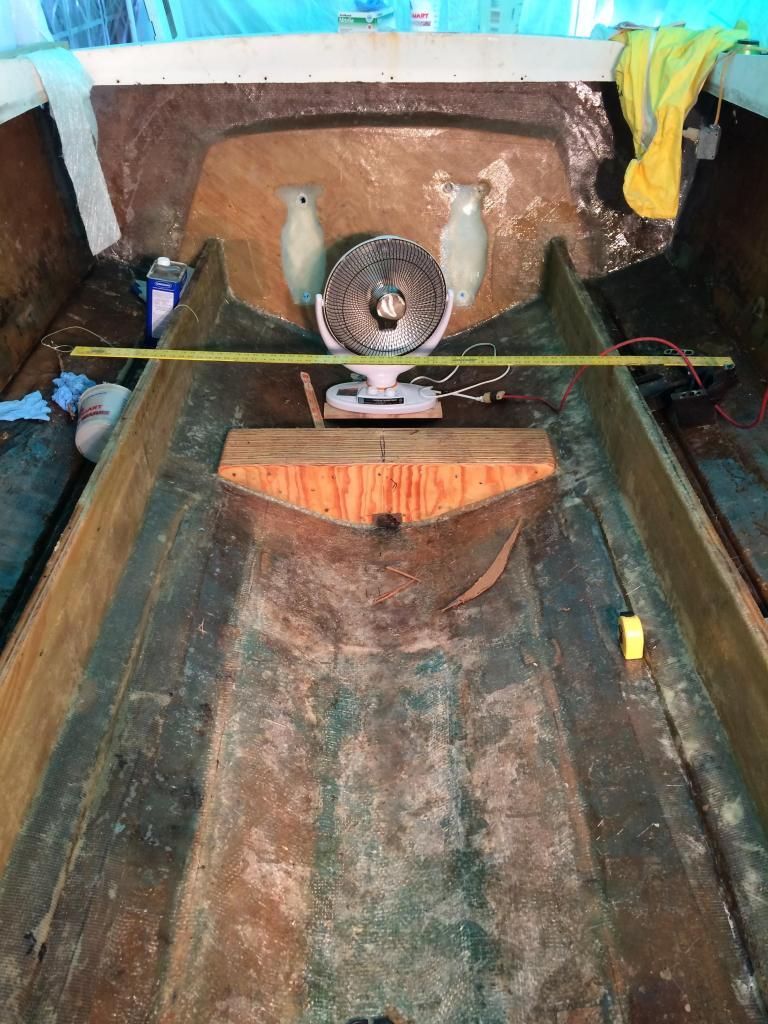
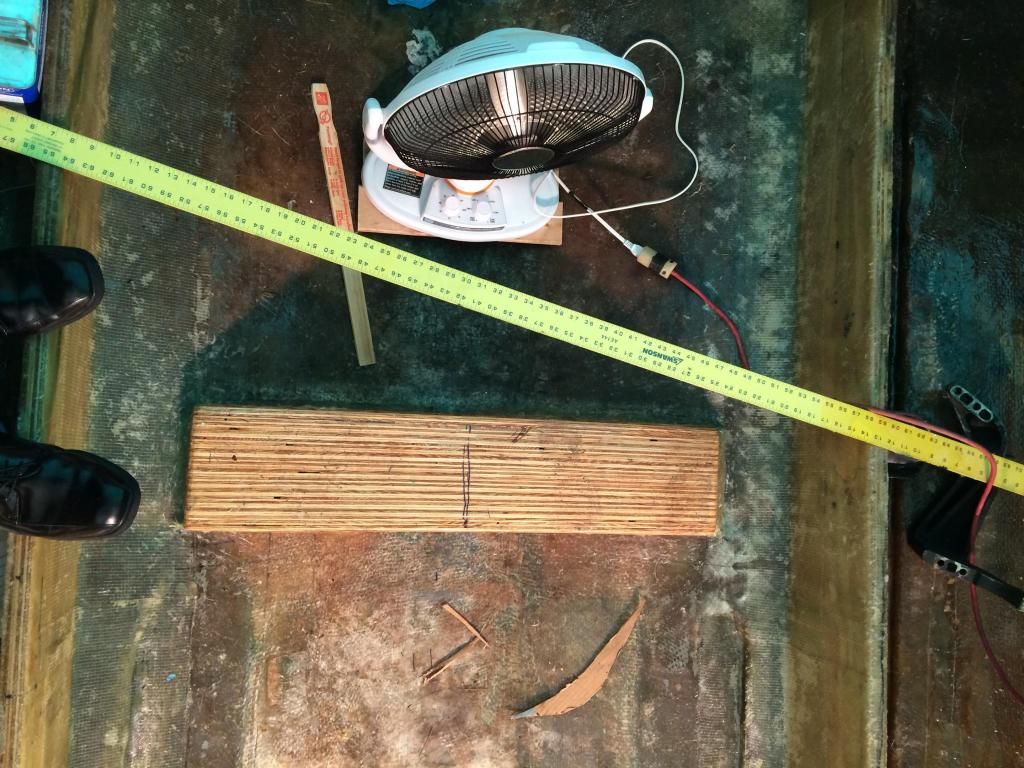
Next I will get the main bulk head tabbed in against the motor mount and put the main stringers in before the next two bulk heads go in.I could use a few more of the 70* days but I am glad we at least stay warm most of the year. The motor mount was a little over kill. When I was taking measurements and pictures of everything before I tore it apart the motor mounts dimensions were 9"s tall, 38"s wide and 8"s front to back so that is what I put in the journal.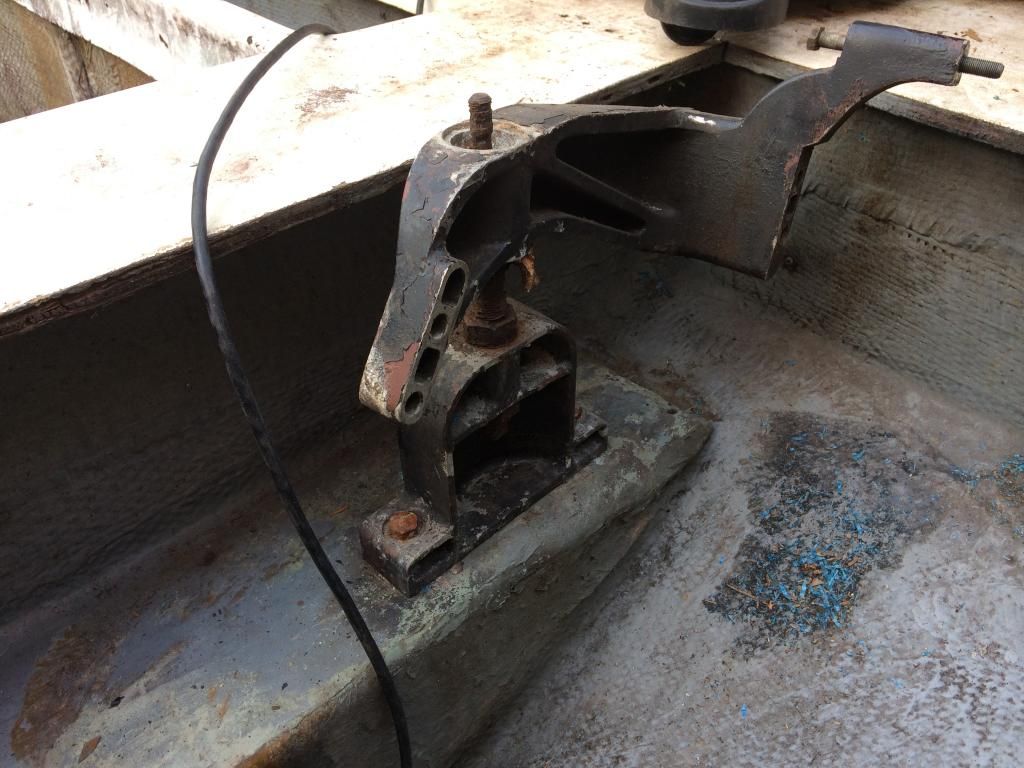
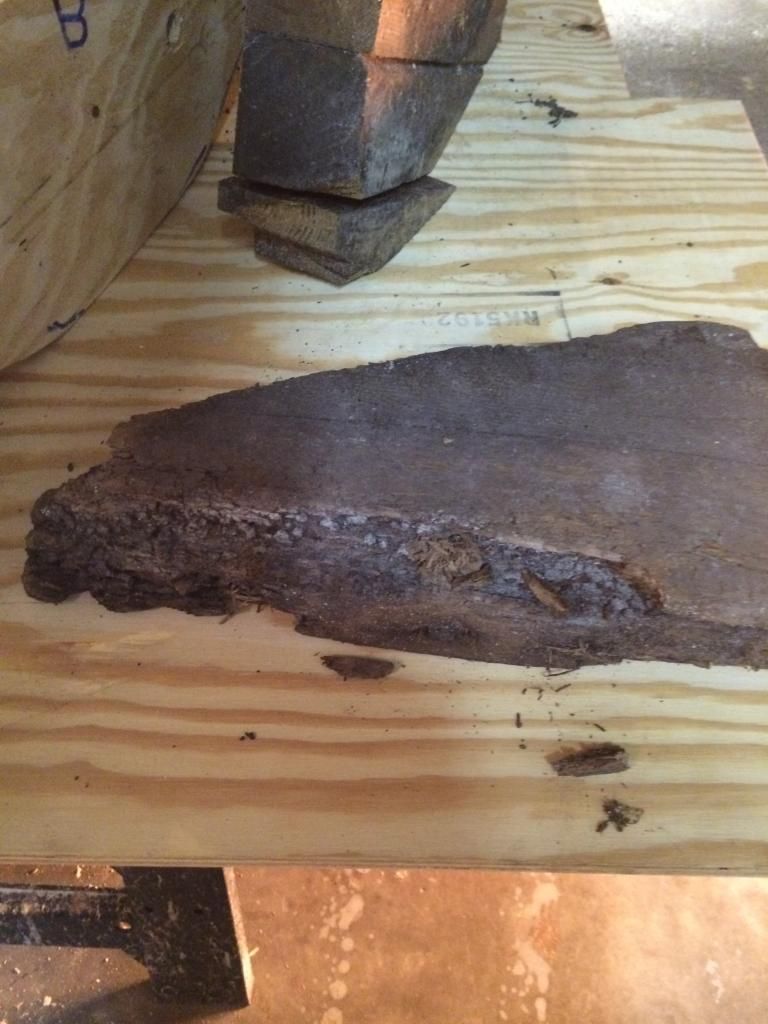
Later I torn it all out finding only 4x4s stacked up and falling apart.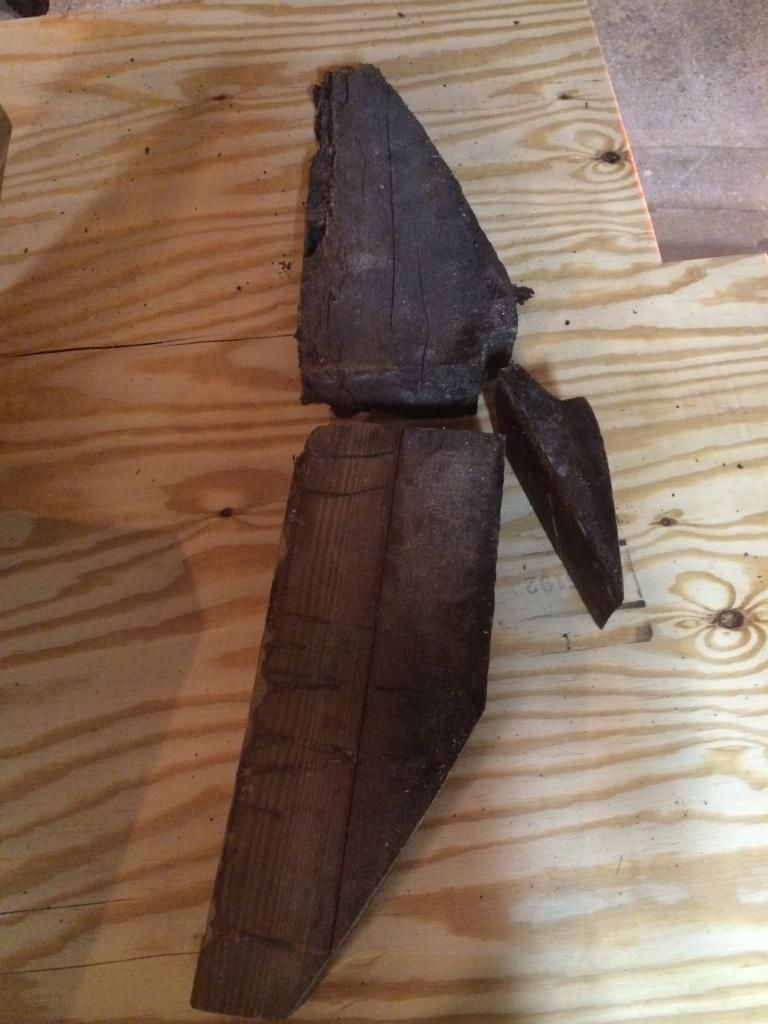
The front 4"s of the 8"s was actually dead space because there had to be clearance in front of the engine mounts. I decided to just build out the entire 8"s using laminated 3/4" and 1/2" ply. It was amazing how solid the old one felt. Even when I lifted out the engine I would have thought maybe a little rot but wow. The 4x4s weren't glued or attached to each other and not attached to the hull or fiberglass. With the new heavy duty stringers and motor mounts I could park a bus on this thing now.The last time I posted pics I had just gotten the gigantic over built engine mount PB onto the hull. So lets start catching up to where I am now.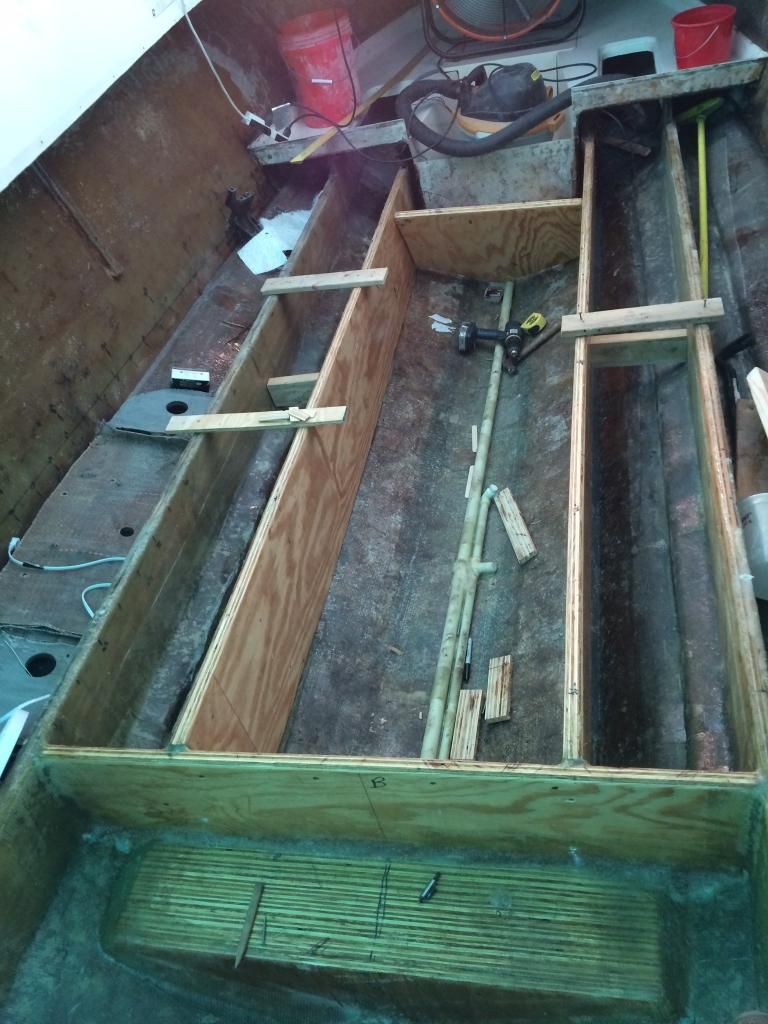
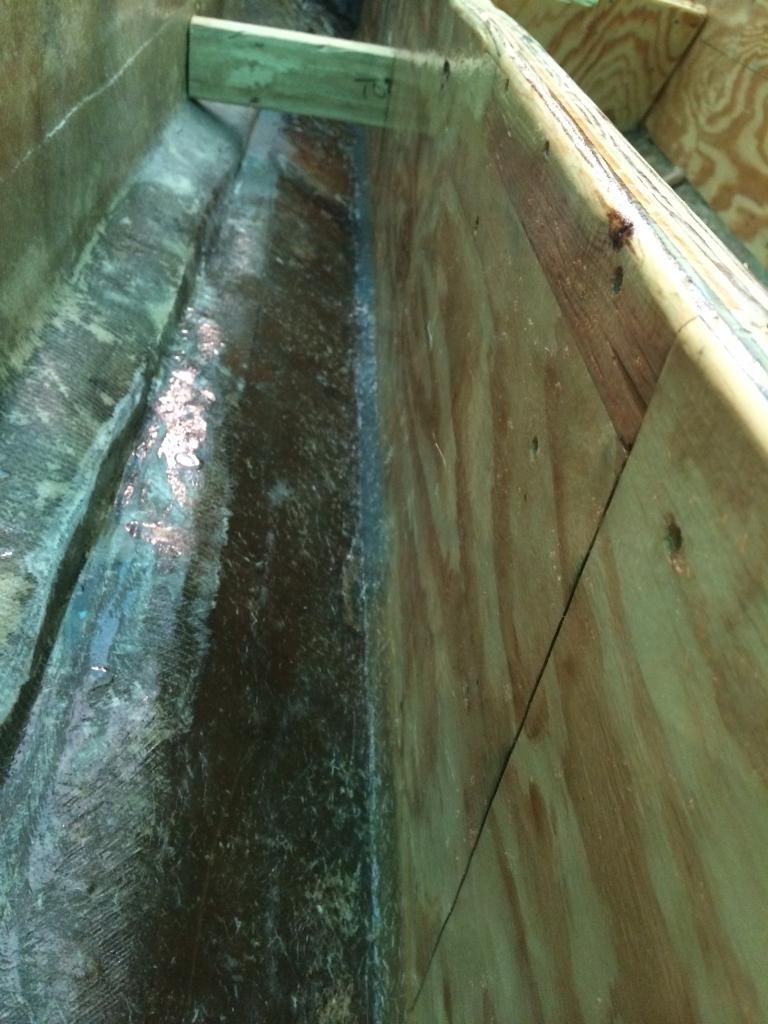
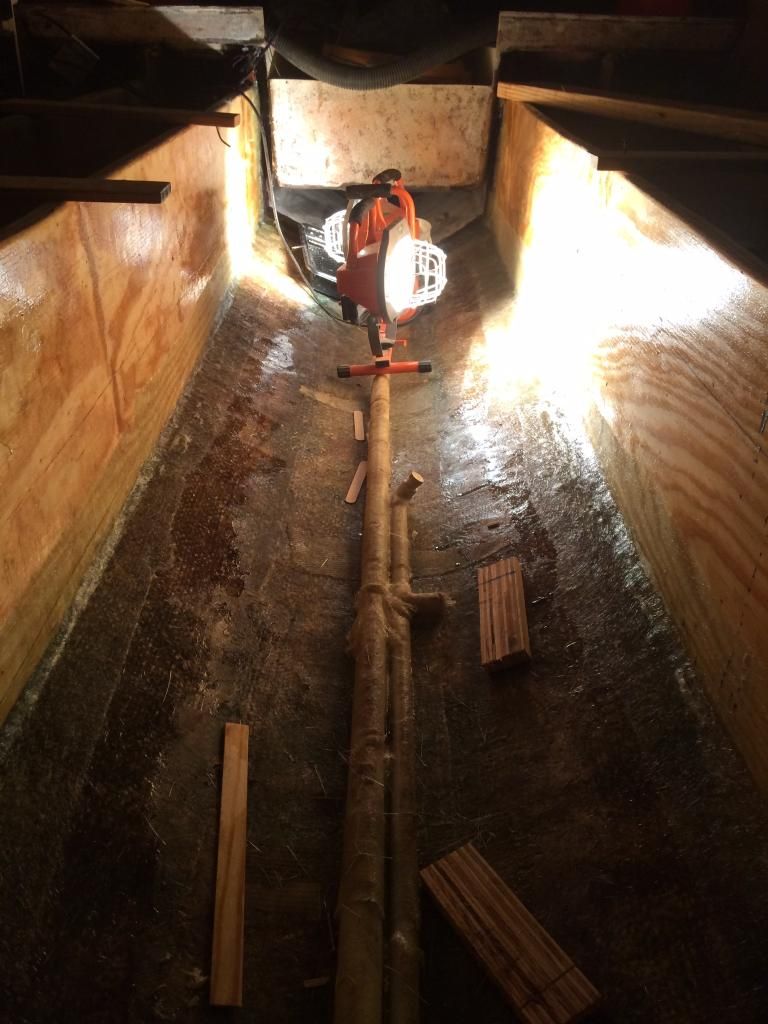
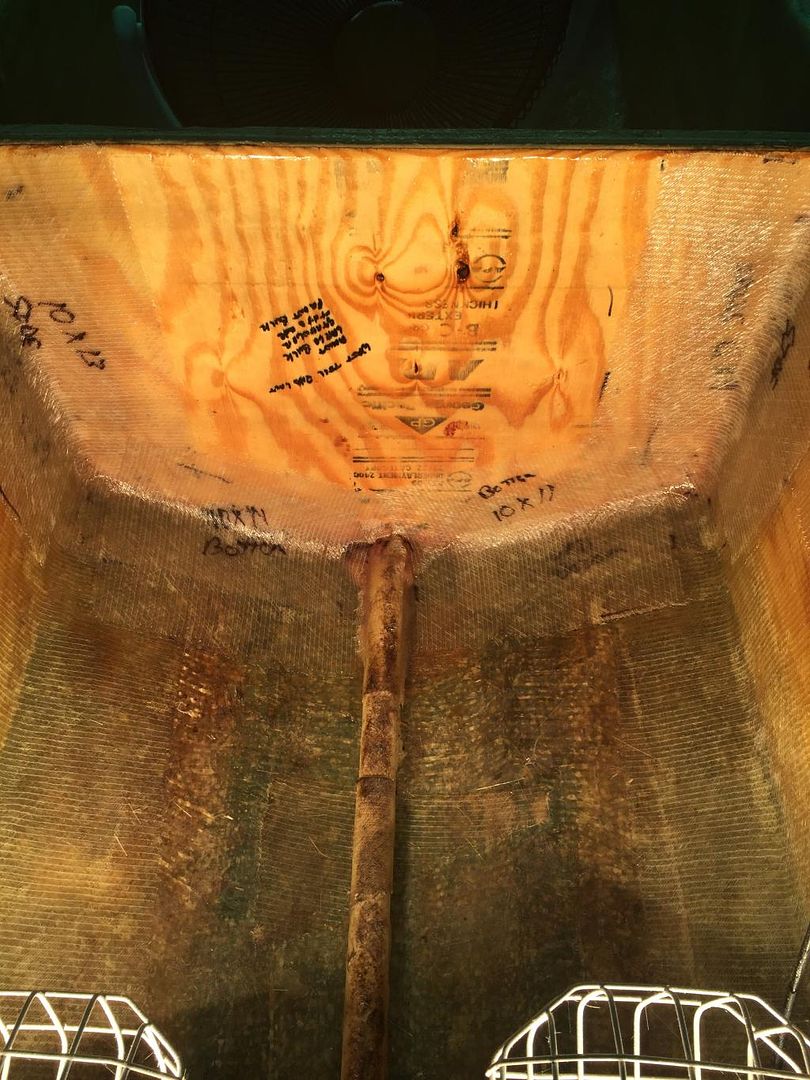
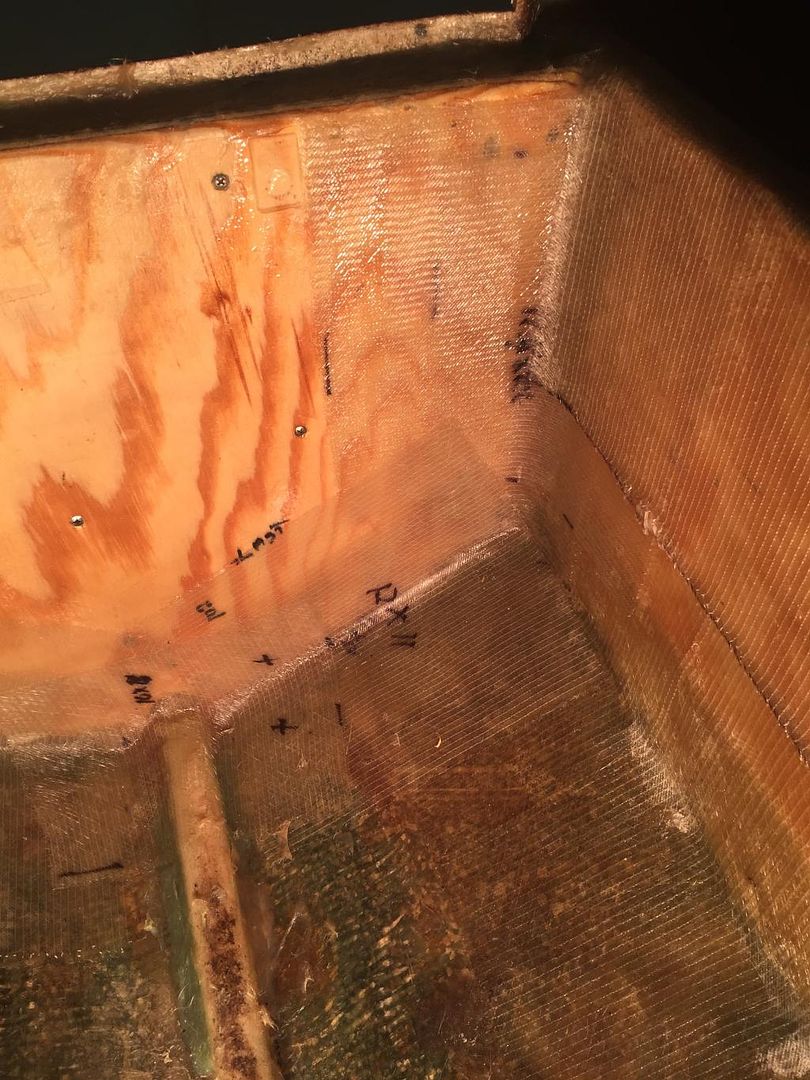
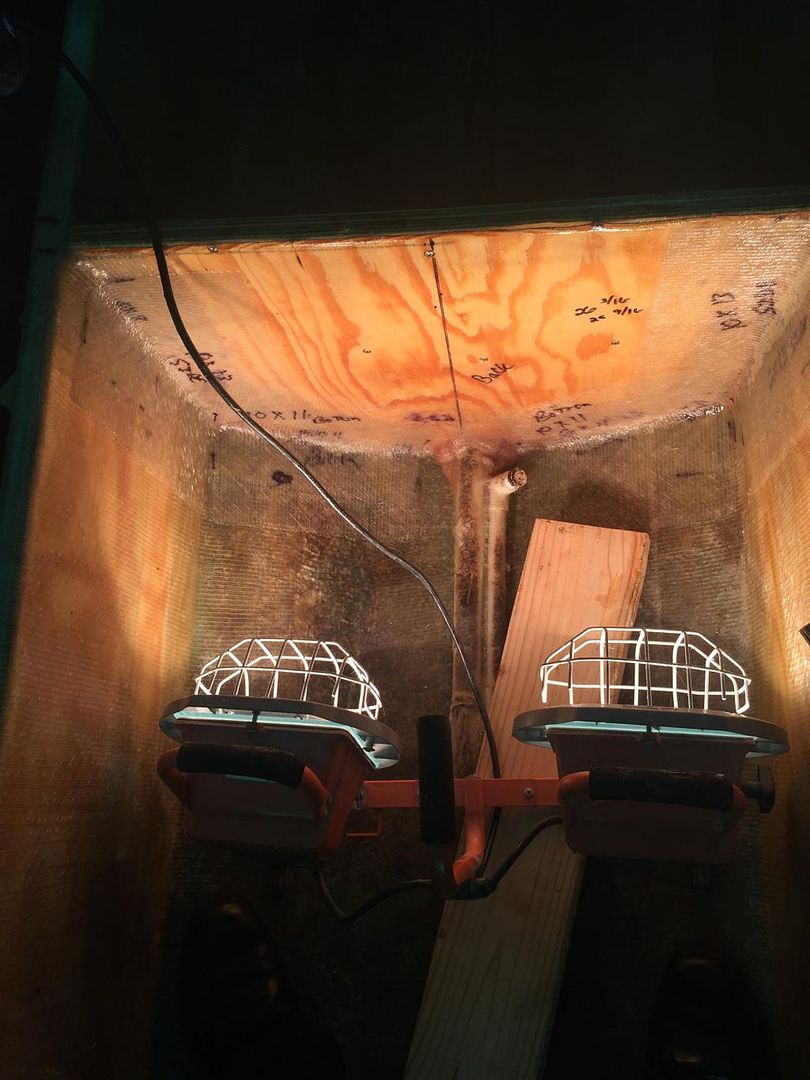
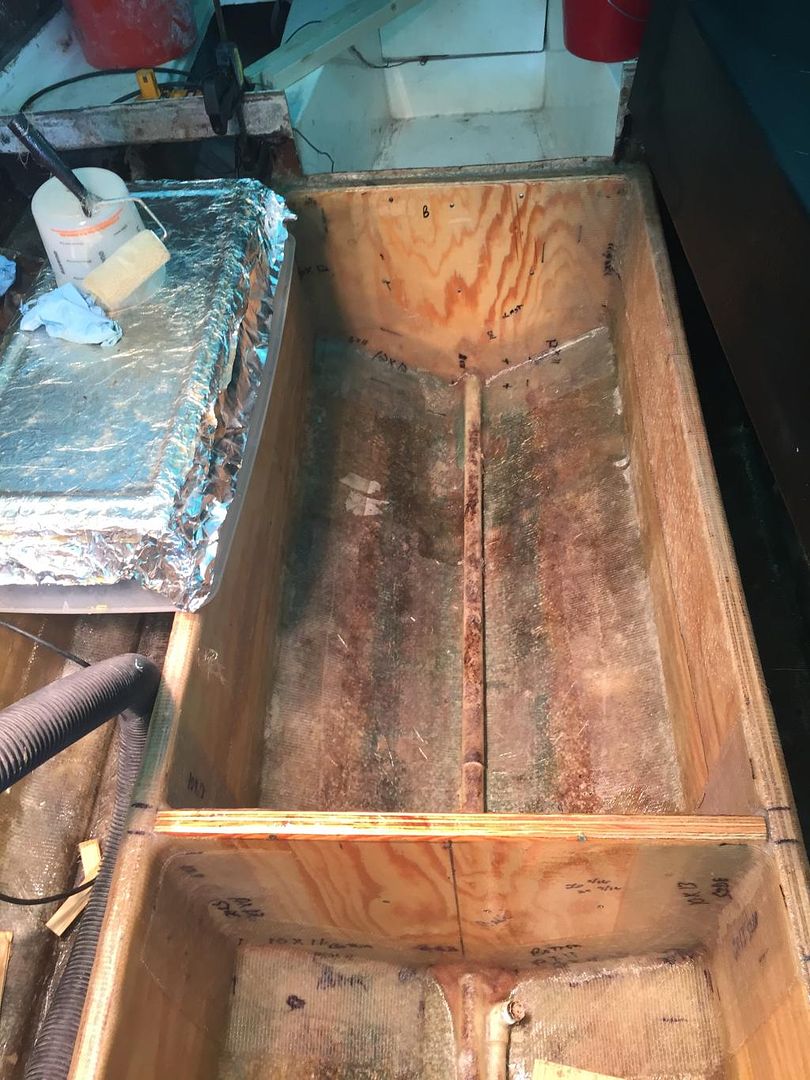
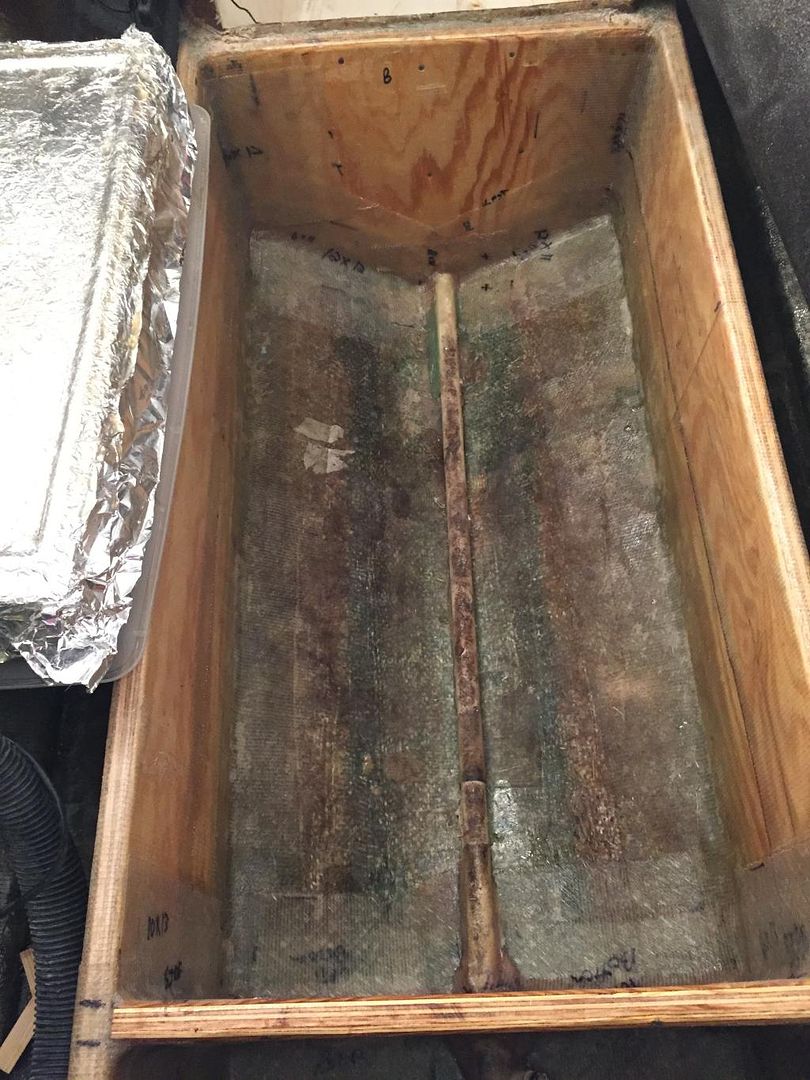
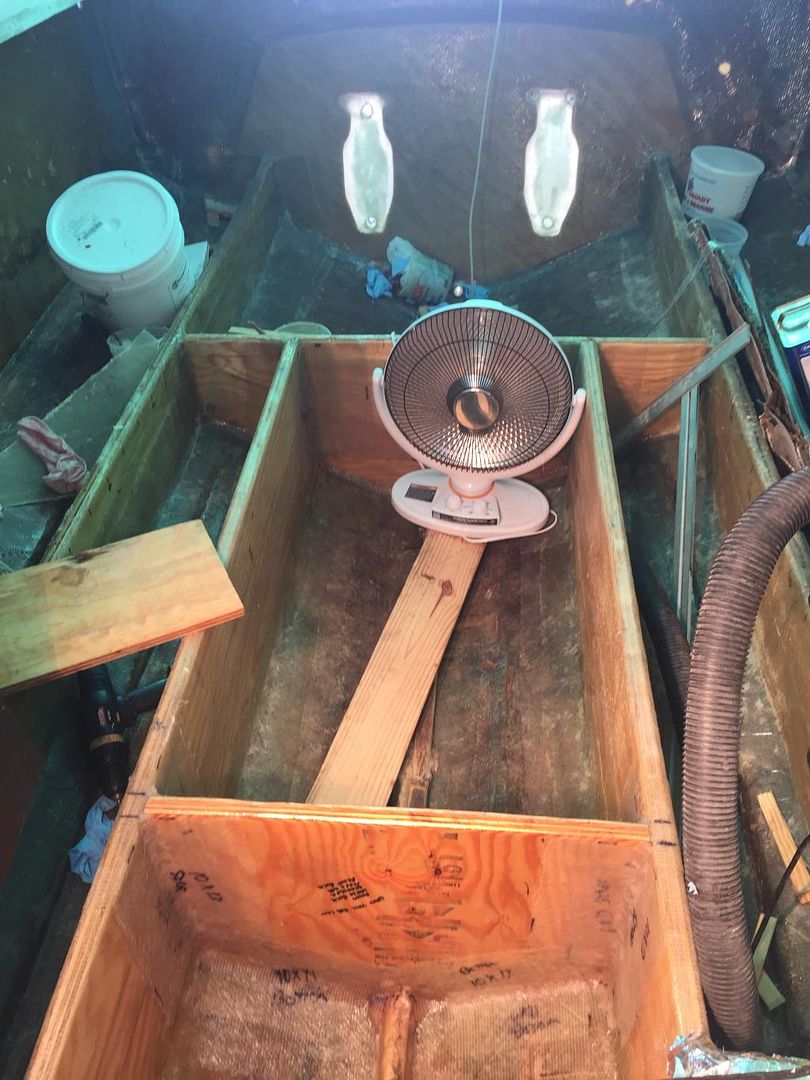
I made the inner stringers the same as the outer. 1/2 & 3/4 ply glued together with Titebond 3. PB to the hull and sistered onto the old stringers under the cabin floor that are still in great condition. I used SS screws to attached the overlap and then CSM & 2 overlapping layers of 1708 everywhere. This boat was always built like a tank. Even with all the stringers out of the back the hull would not give when I walked on it (I am 235lbs). Now that the stringer are back in it really feels solid. Next is bulkheads.I forgot in the last post I also PB and tabbed in the main bulk head to the front of the motor mount and fiber glassed 2 bilge drain lines onto the hull. The 1" pipe runs from the very front bilge through the engine mount and into the rear bilge. The 2nd pipe is 3/4" and will provide drainage for my below deck fish box and extra anchor storage box. I cut out over sized holes in the bulk heads and engine mount so there would be PB all around the pipes. This will seal the wood and not allow water any where near it. The two long areas between the stringers is going to be under deck fishing pole storage they are over 10' long going under the cabin floor. The large center bilge is 8' long, 25" wide and in the center about 15" deep. The front 4' is the under deck fuel tank coffin. The fuel tank I had fabricated new reducing the original 110 gallon tank down to 64 gallons. The rear 4' will be 2/3 fish cooler and 1/3 anchor locker.
-
Once I am done with each piece I put into the boat it will be PB to the hull, tabbed in with CSM, 2 overlapping layers of 1708 and a final layer of CSM covering the entire piece of wood so it is not exposed to water. Some pieces even have a layer of 1708 over the entire piece.
© 2025 Created by David.
Powered by
![]()
