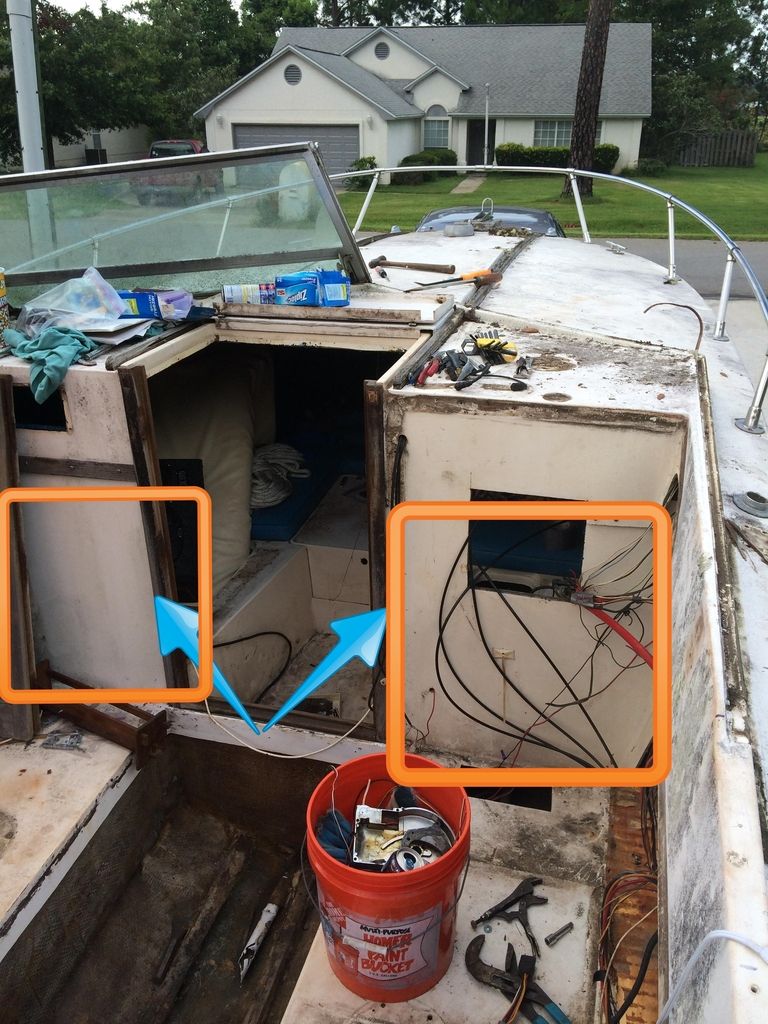
This boat belonged to my father and after he passed away it became mine. The year was 2002 and the port engine had a leak in the block and the fuel tank was leaking. So we pulled her out and I began taking engine and fuel tank out. That same month my wife gave birth to our first child and I was also recently promoted. Needless to say other things became a priority. Now fast forward 12 years, another kid and 2 more promotions and I finally am starting to have time, $$$, and the drive to start this project and most importantly the bosses endorsement. The interior concerns me. I have not dove in there and removed anything else since 2002 so I don't know what awaits. After some research I can only imagine what everything below decks looks like. I have never done any type of boat restoration or fiberglass work. I have recently signed up on a couple of boat forums and have been watching and following several restorations learning a lot. I have been researching and planning for the past month or so and getting the garage ready for this project. My wife or more befitting the nautical theme, The Admiral has endorsed the project and is even willing to pitch in where and when she can. The funds have been set aside so next month I will rehab the trailer enough to get the boat from my moms house to its new home where all the fun will begin. This is what she looked like after sitting in my moms yard for 12 years.
The premier site for owners of the famous 233.
Restoration of my 1972 Formula 233 with twin Merc 165hp. Started on July 2014.
72 Thunderbird Formula w/twin 165hp Mercs
Views: 2280
- Attachments:

Replies to This Discussion
-
Permalink Reply by Mark A on
-
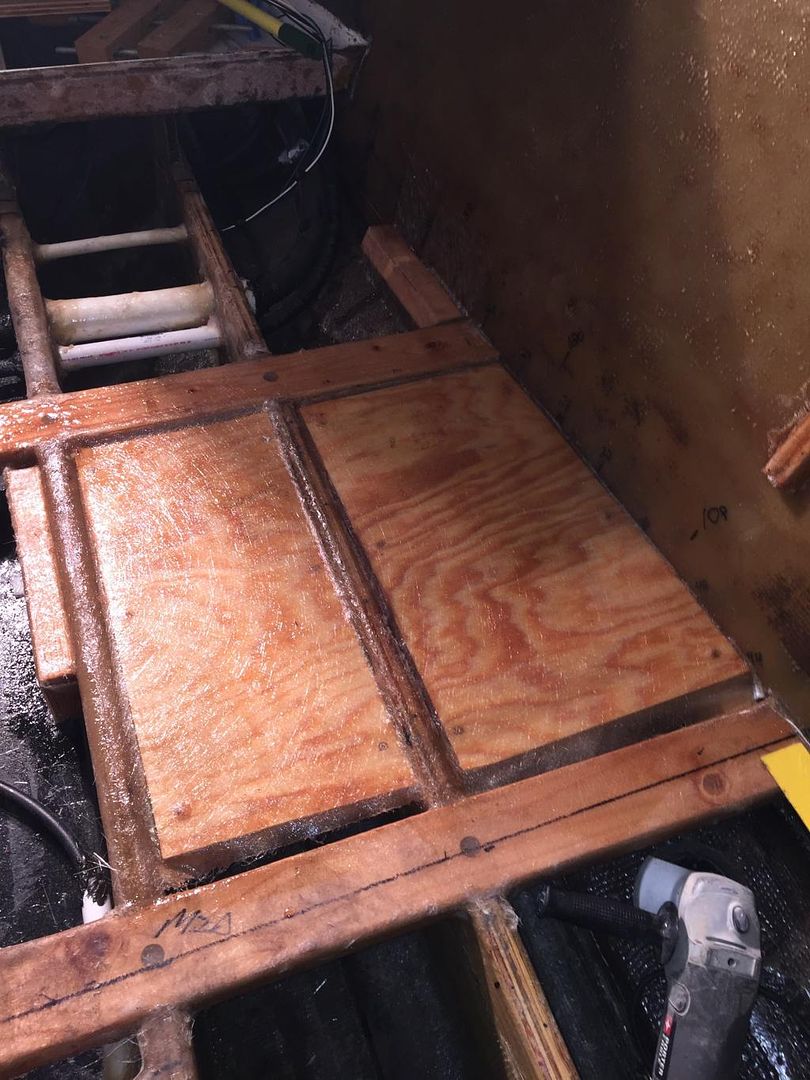
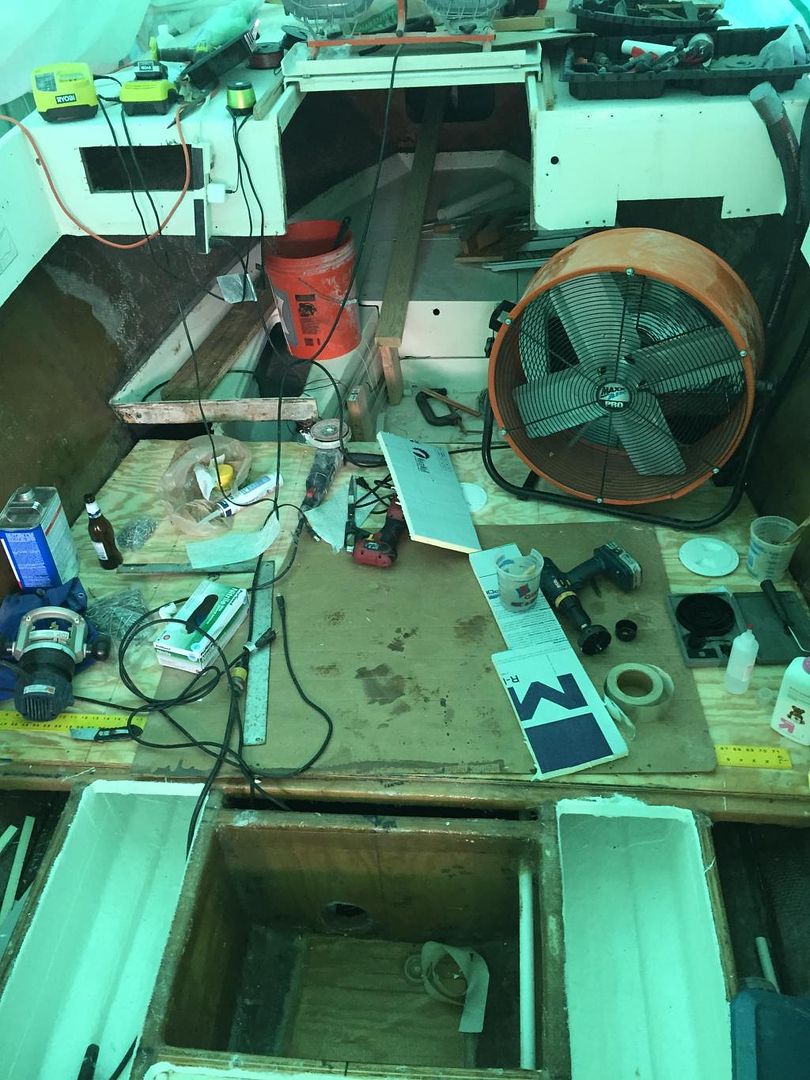
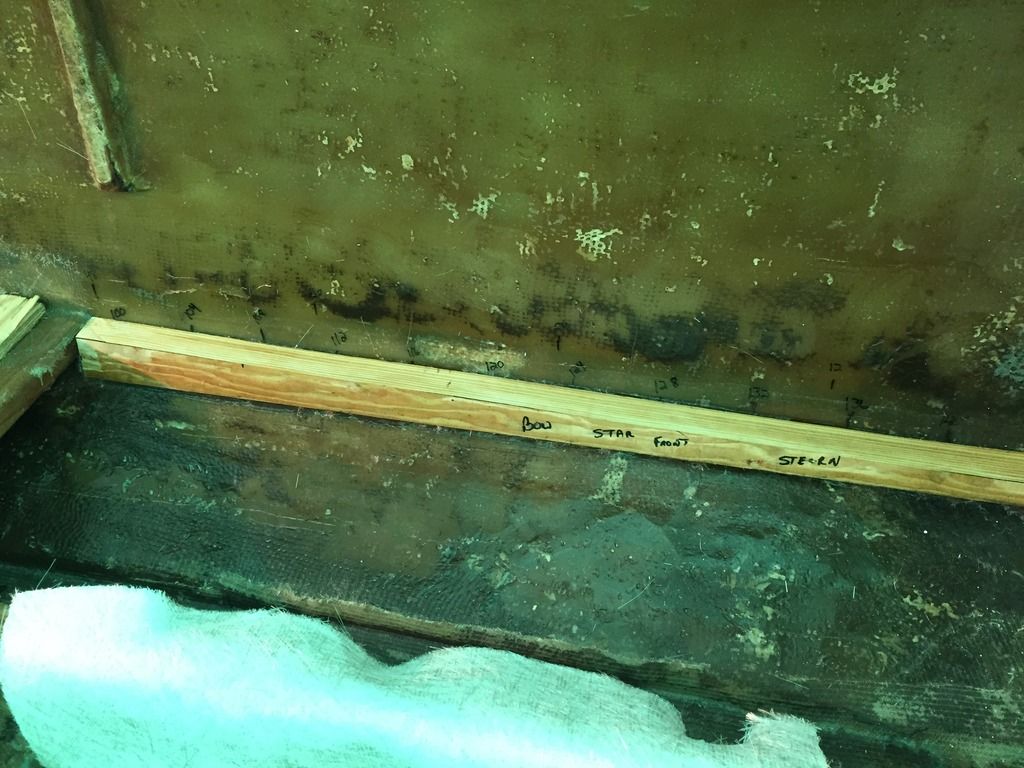
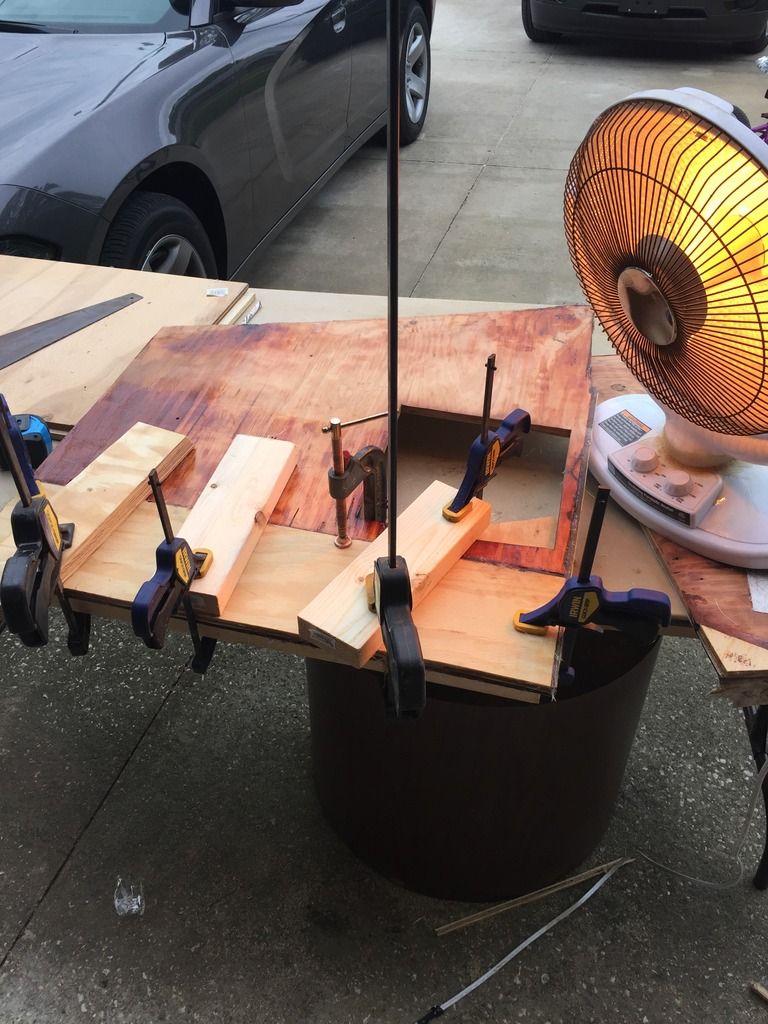
As I was day dreaming in the boat like I am sure a lot of you do as well I realized I had not reinforced the deck where I will be attached the seat bases to so I installed cleats to the side of the stringers and hull and attached 3/4 inch plywood across a large enough area so I wont have to be picky about where I install the seats.
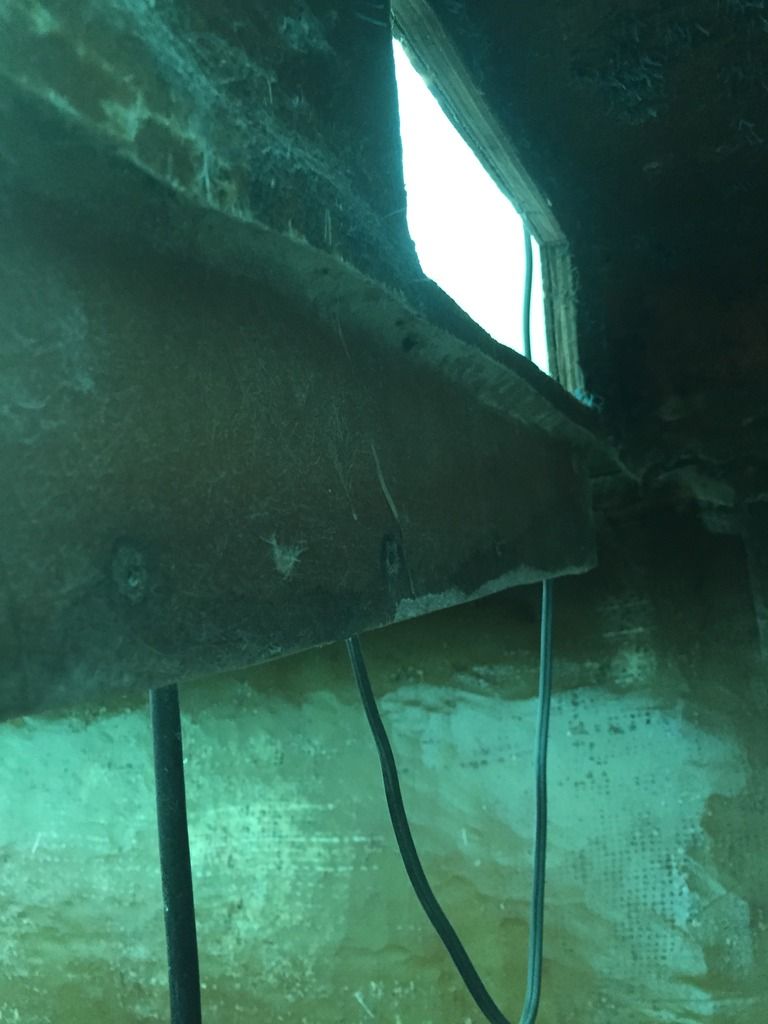
And the bilge area is getting a little trashed and yes those are my official fiberglassing Crocs. Forgot I had them on one day when I was putting down fiberglass. After I ruined them they became my fiberglassing shoes.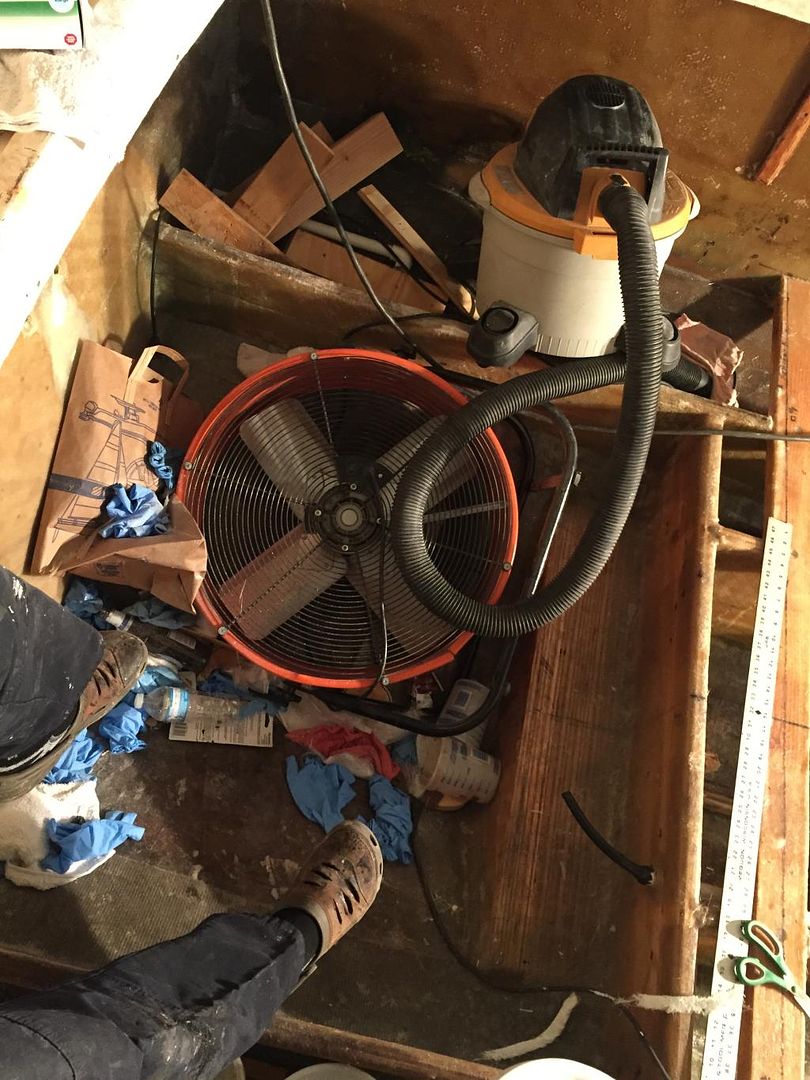


-
-
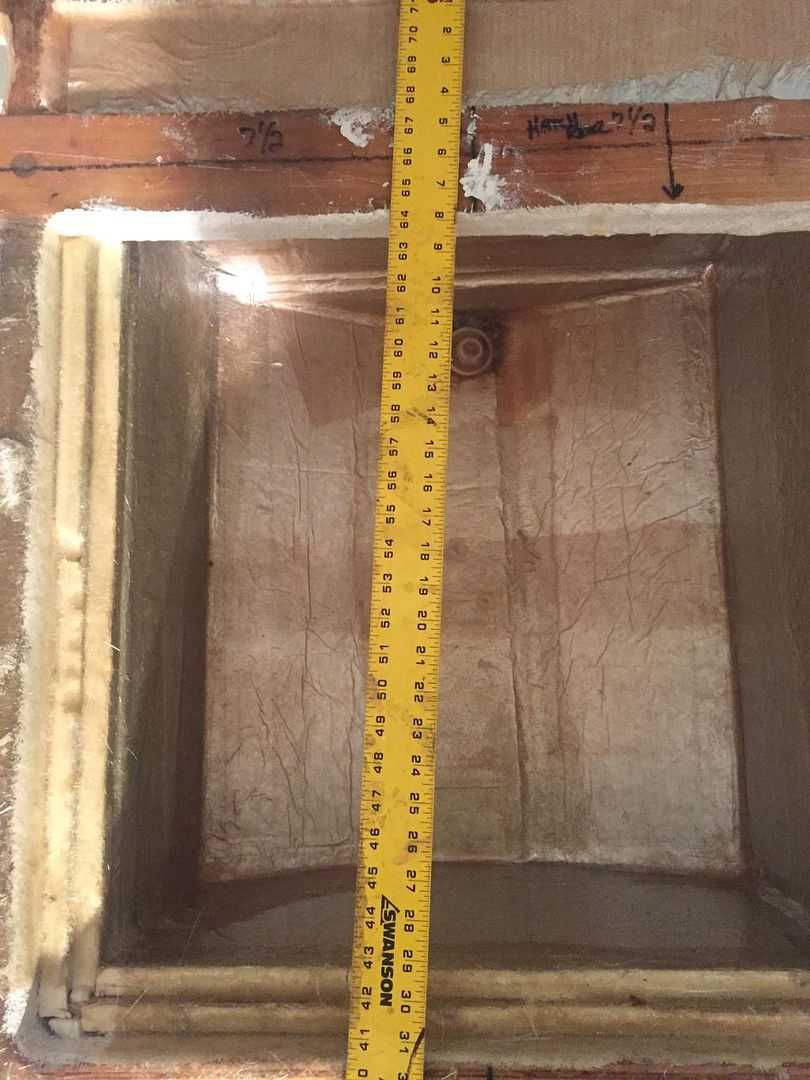
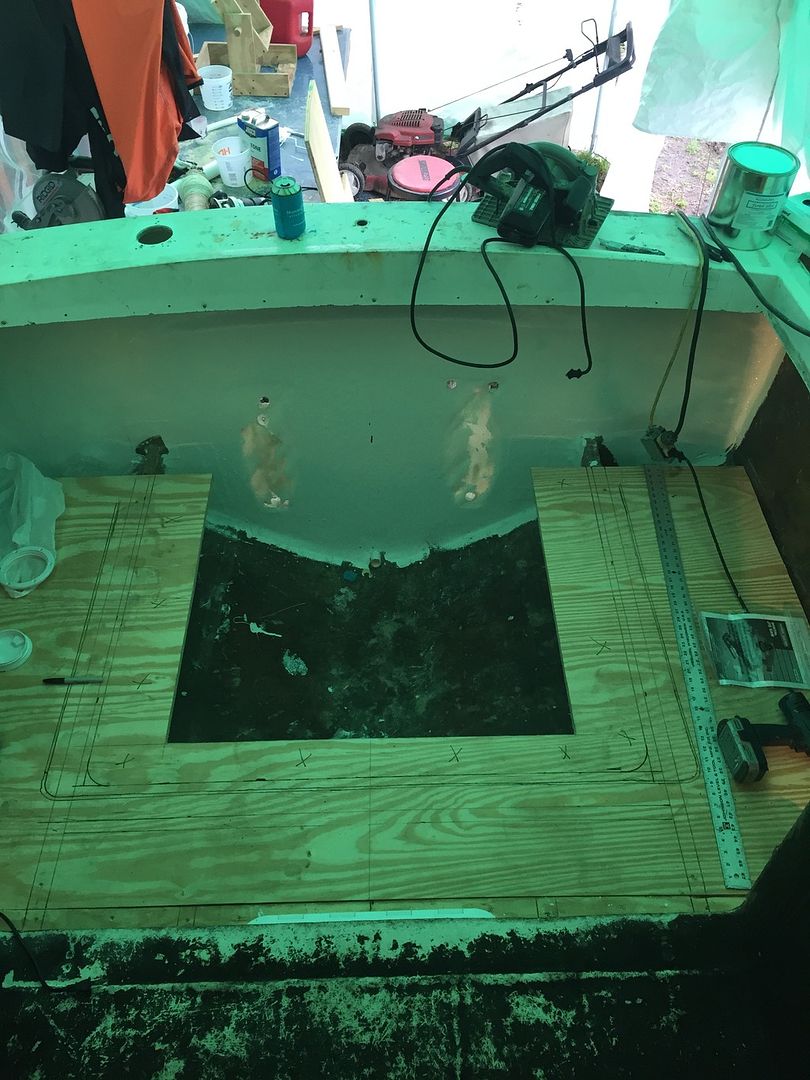
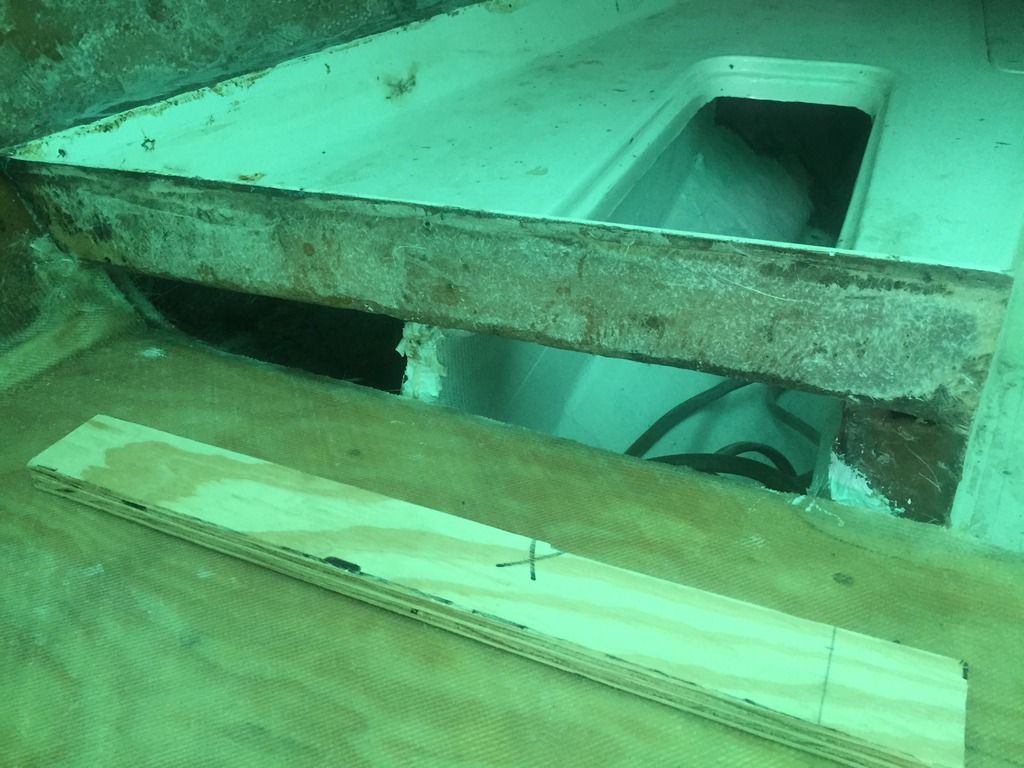
I know you cant see it but under all this stuff is the first of the deck boards in place and screwed down. The deck is about 7 feet wide by 12 feet long. This is the first piece 7 wide x 4 long. It covered the fuel tank so that is done. The next one covers the fish cooler, anchor and rod lockers so trying to get these areas done. Trying to figure out how I want to build the fish cooler now.
-

-
-
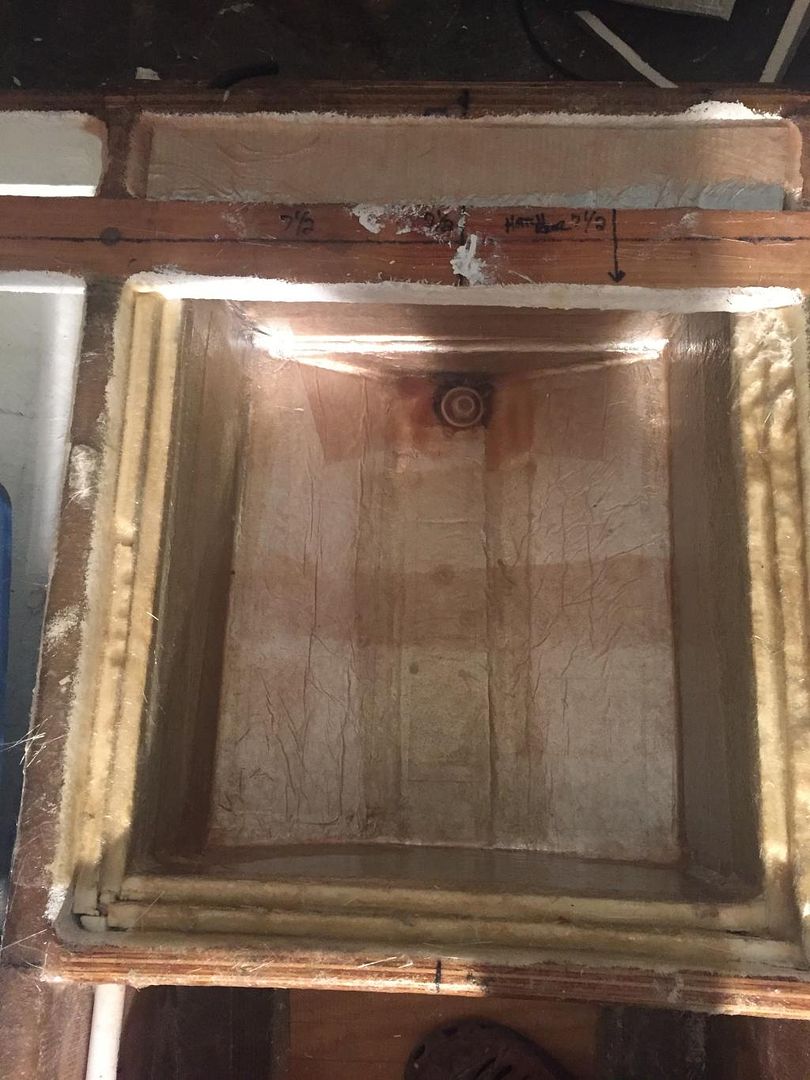
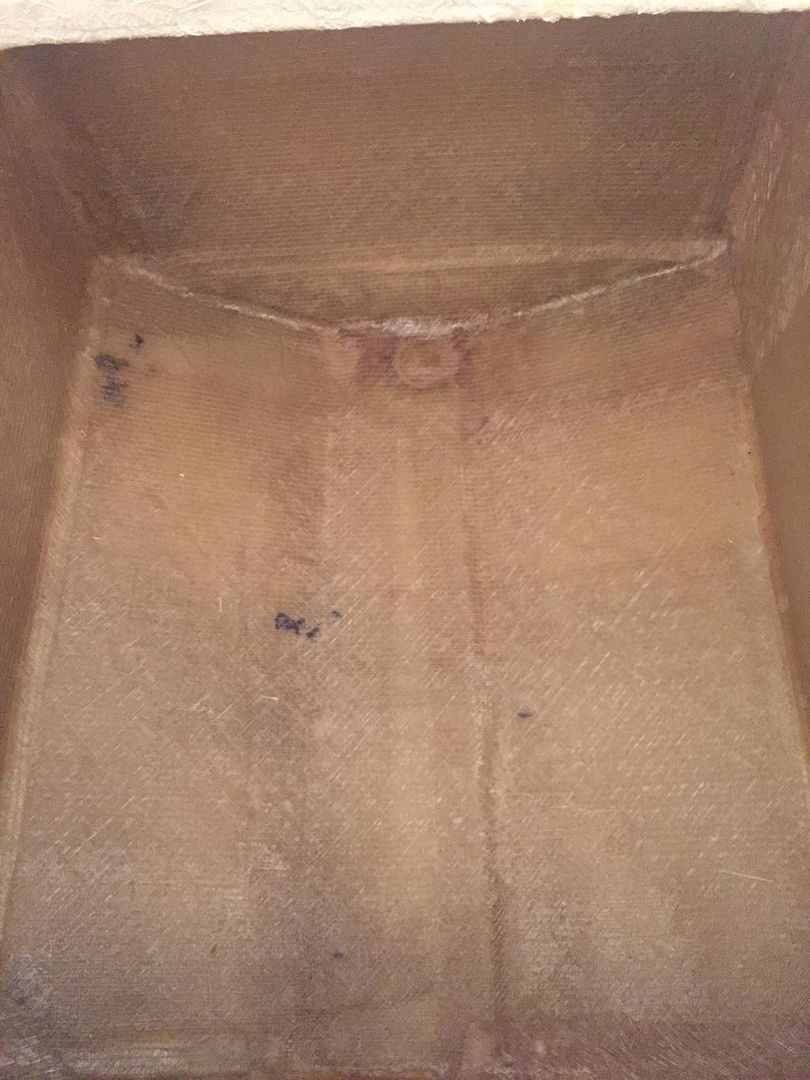
Starting to build the fish cooler or as my son has named it "The Fish Vault". Painted it with Bildgekote and started insulating with spray foam covered in about 1 1/2 inches of insulation which will be covered in several layers of 1708 and painted again.


-
-
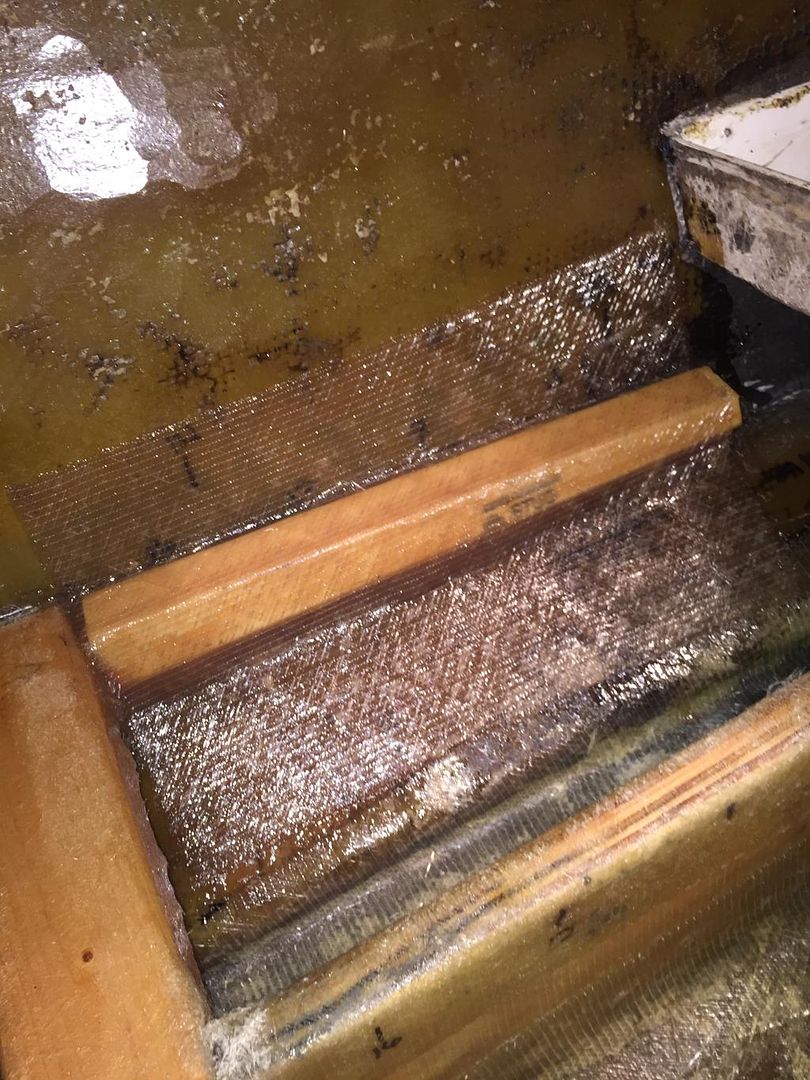
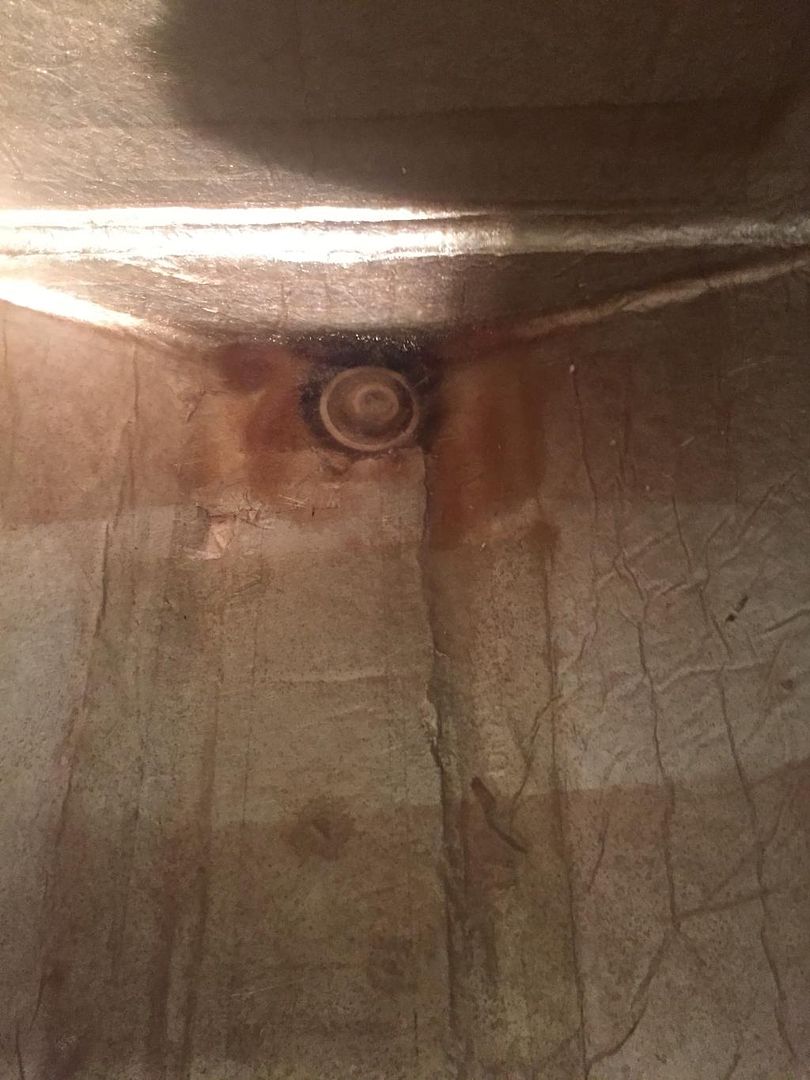
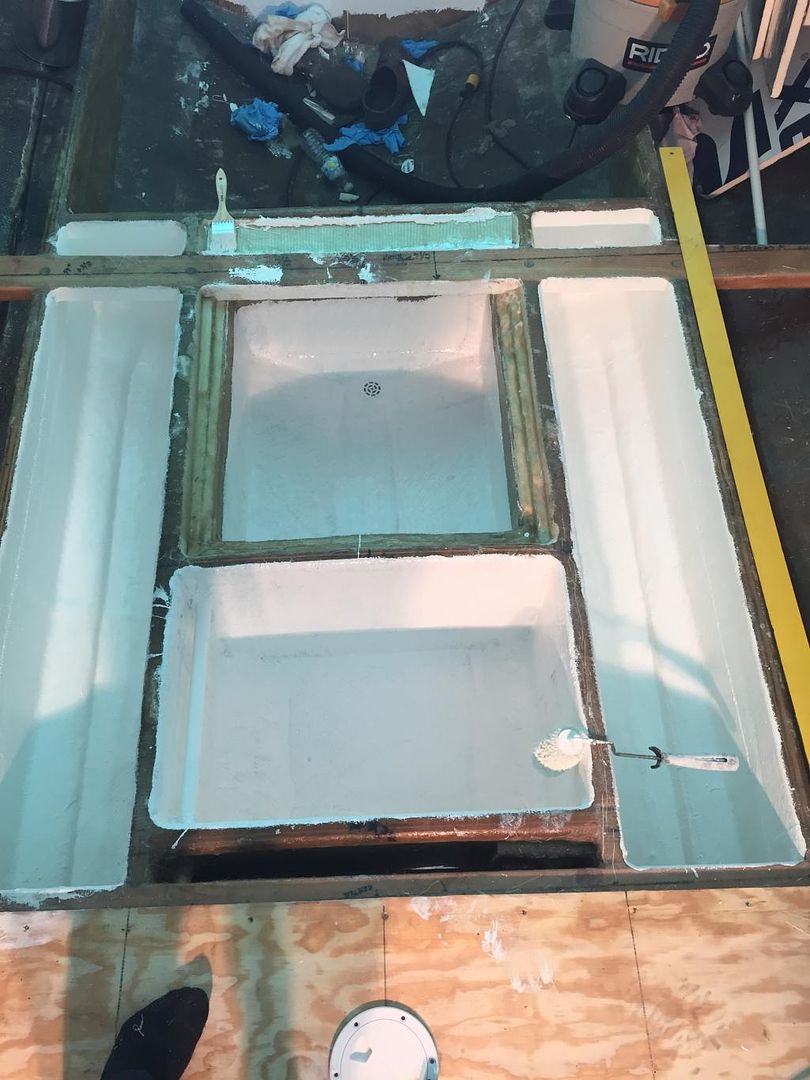
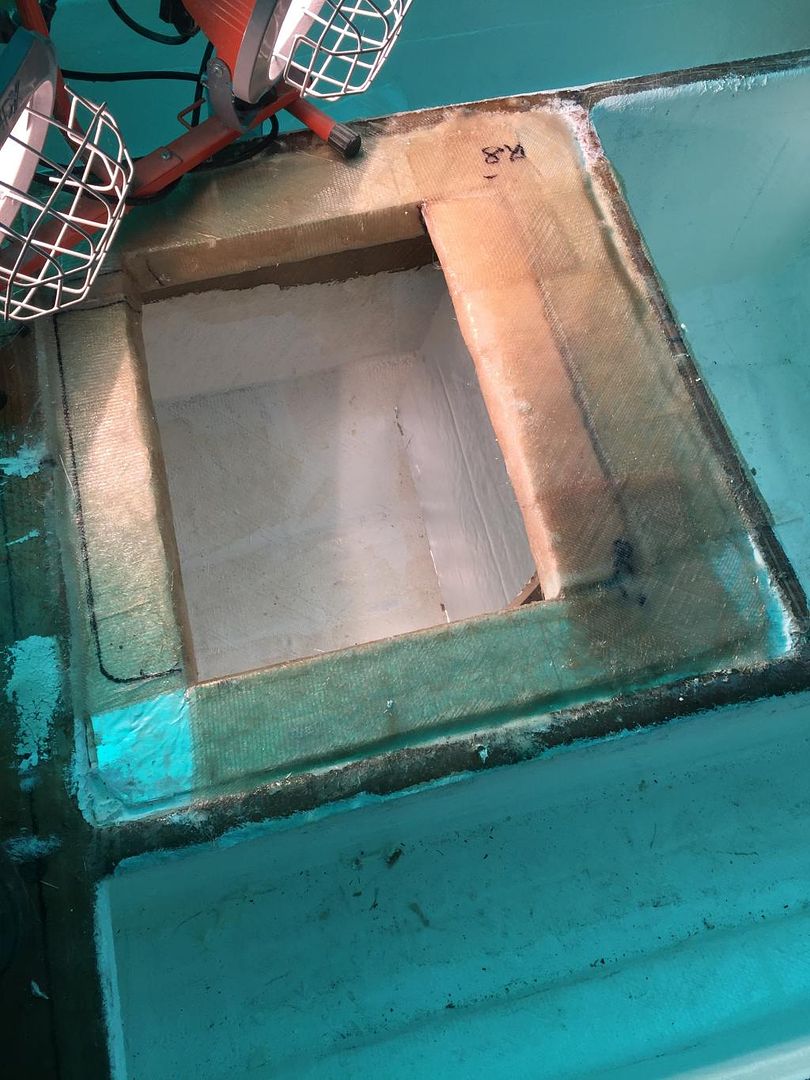
I have all the insulation in place and taped. Did a test run on the insulation by laying down a layer of CSM and a layer of 1708. When dry they both had good hold characteristics but CSM seemed to hold a little better so I laid down a layer of that first. Then covered it with several layers of 1708. I can stand in it now with no flex. You can see the drain under the 1708 I still have to cut that out and finish sealing it. The drain joins the 1 inch PVC pipe under the deck going back to the bilge. I am smoothing up rough parts and will paint it again. The top will also have layers of insulation under the deck with an insulated hatch. Then paint the anchor and rod storage areas and I can put down the next deck board again that is about 7 feet wide by 4 feet long.


-
-
Still working on the second deck piece. I have to finish building the fish ice chest below the deck and then I can attach the 2nd deck board.


-
-
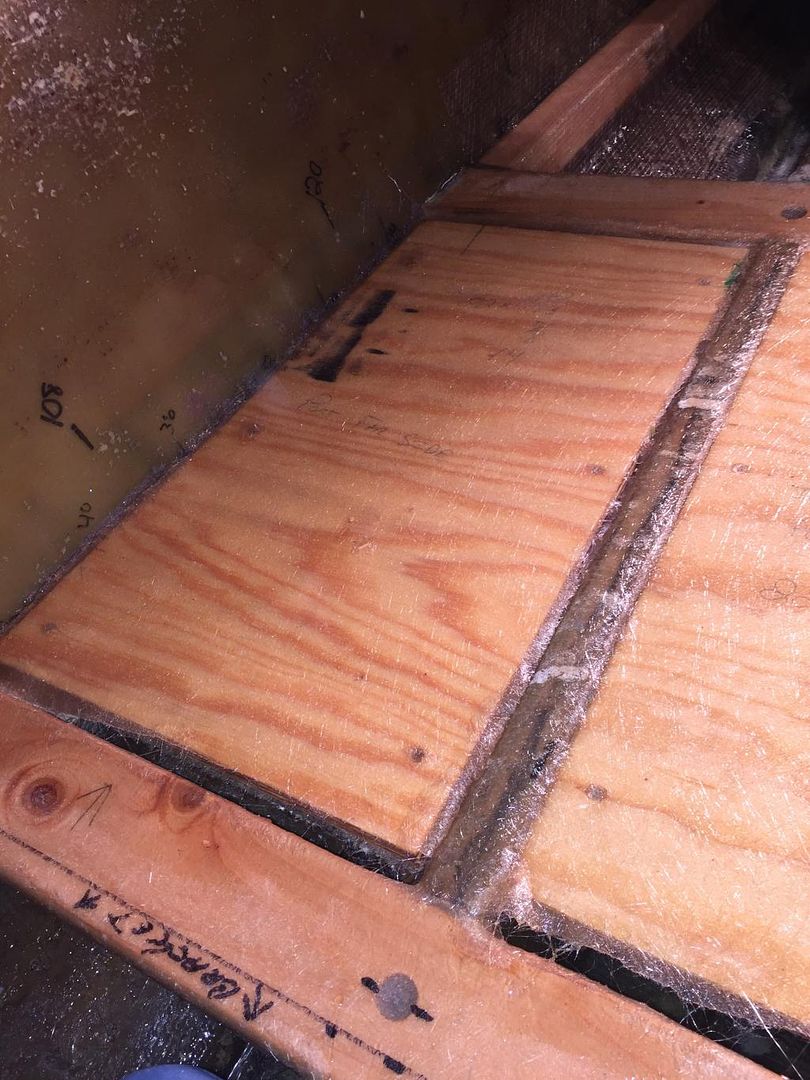
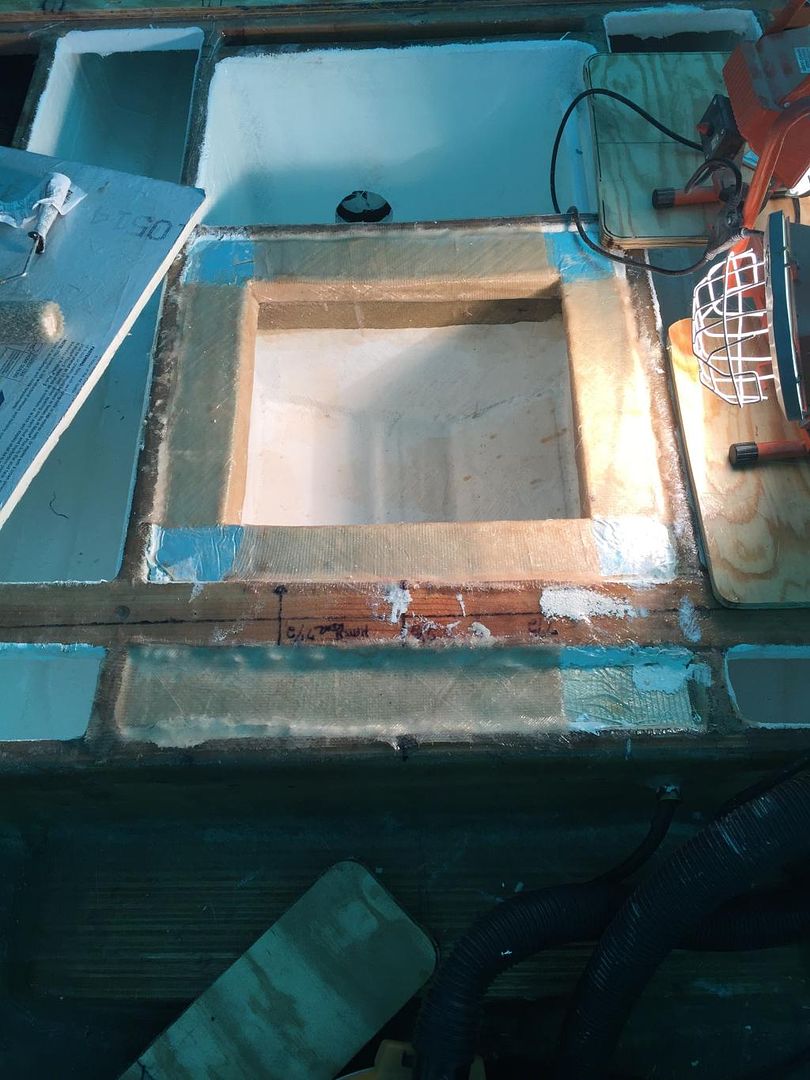
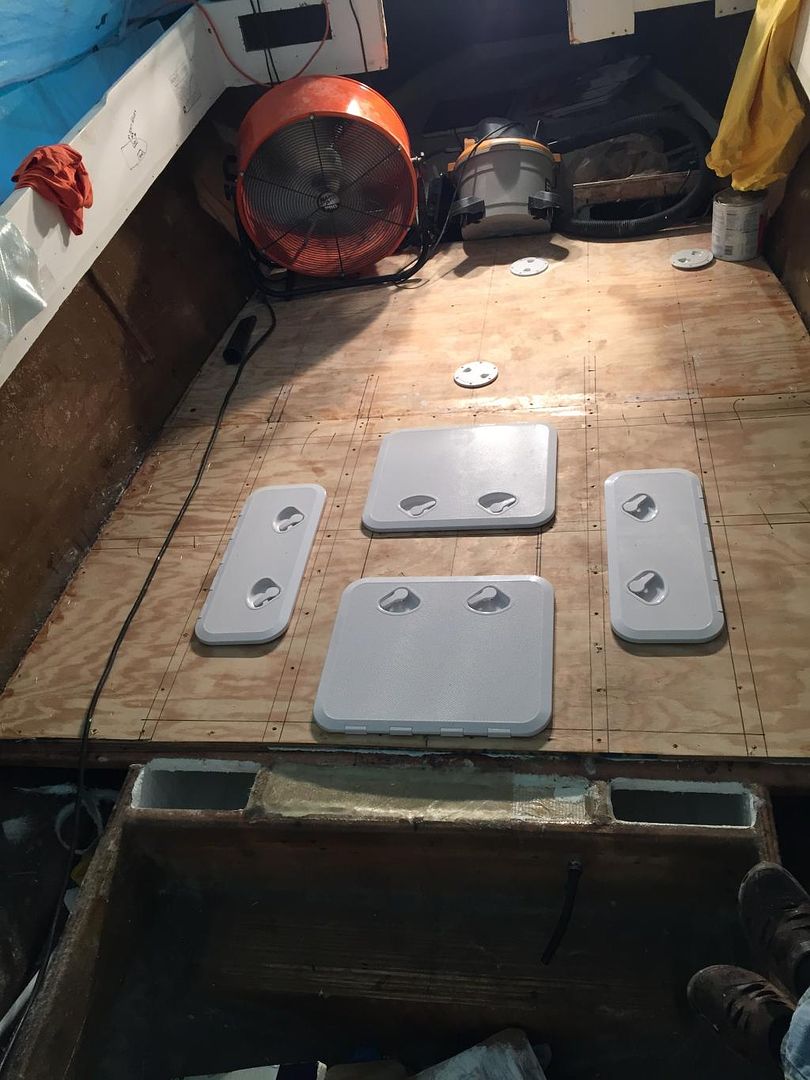
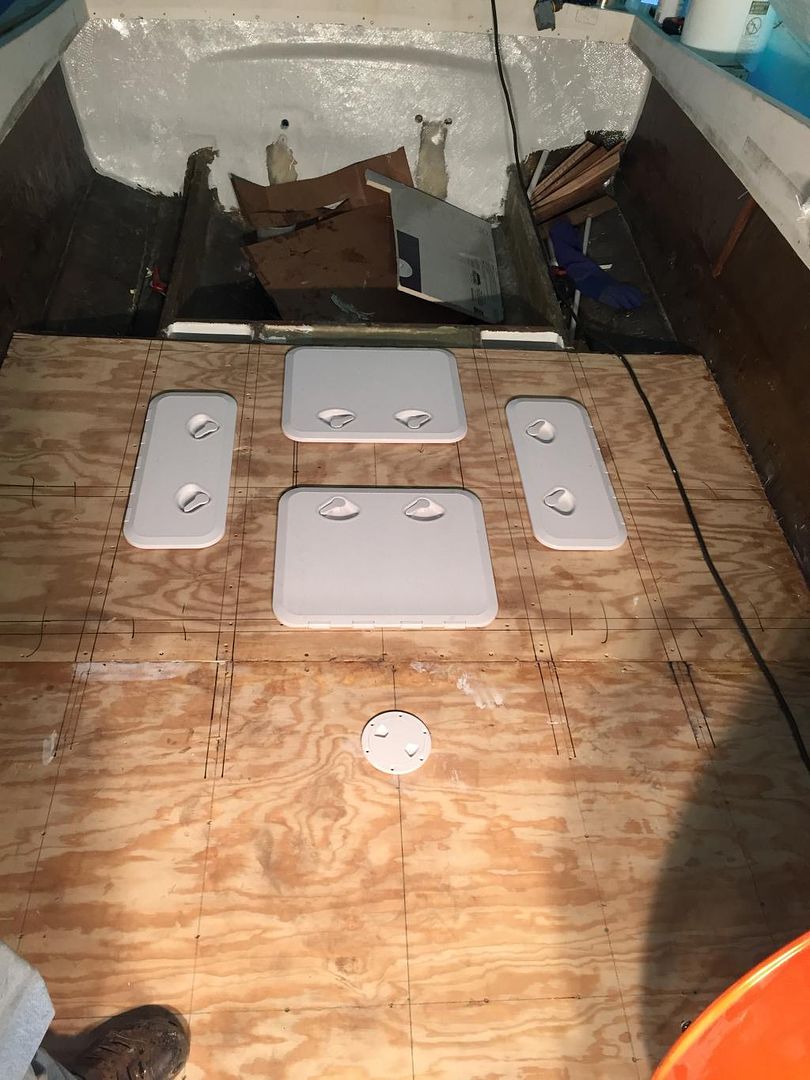
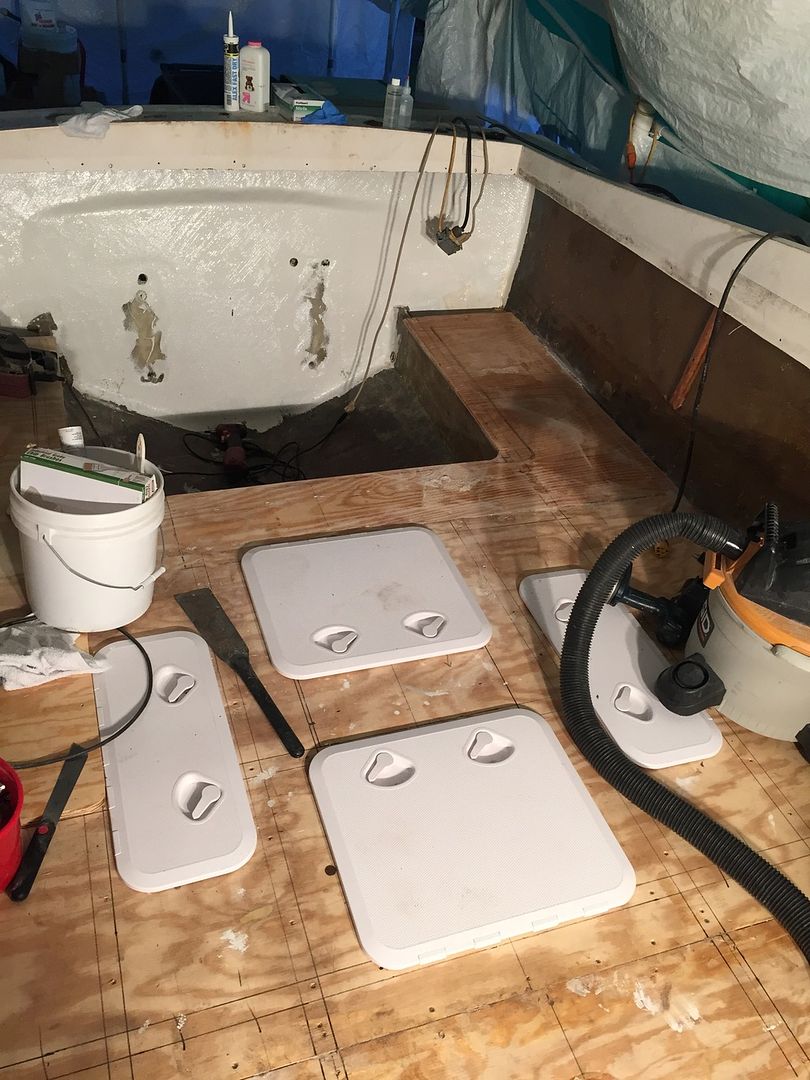
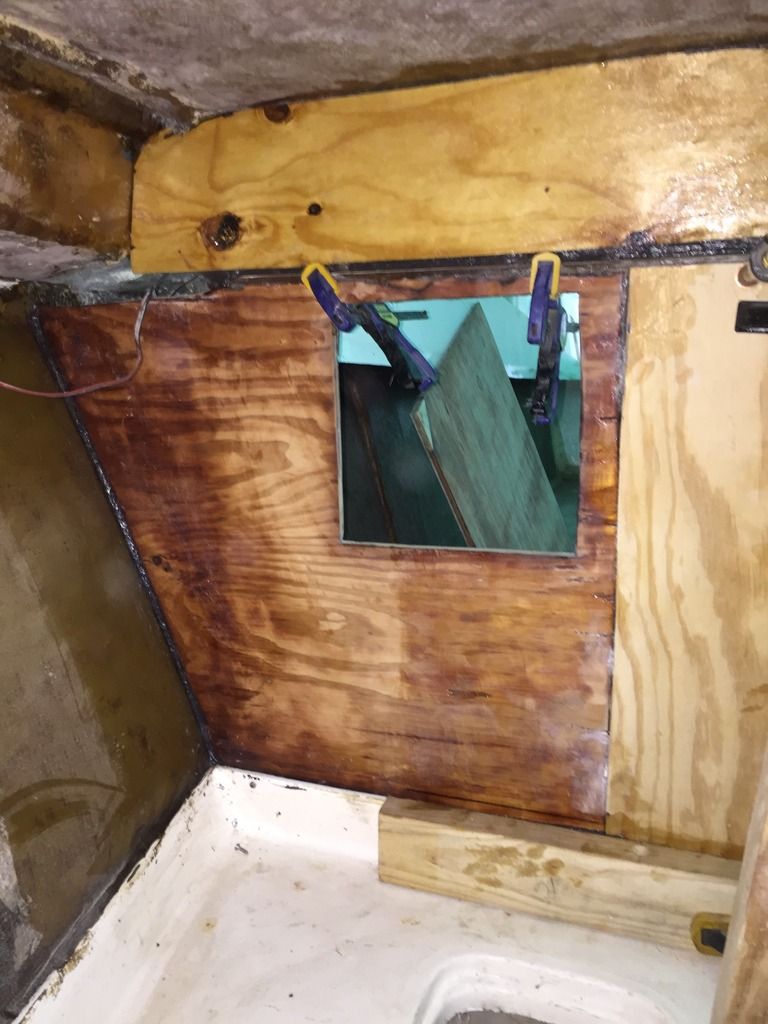
Cut out the holes for the hatches and covered the underside of the deck with a layer of CSM. Put PB on top of all the stringers and bulkheads and used 2 1/2 stainless steel screws to attach it. I now have 2 of the 3 deck boards installed. Its nice to have a solid flat surface to walk around on. The hatches are there just for dry fitting and photos. They wont be installed until after all the deck boards are attached, fiber glassed and painted.


-
-
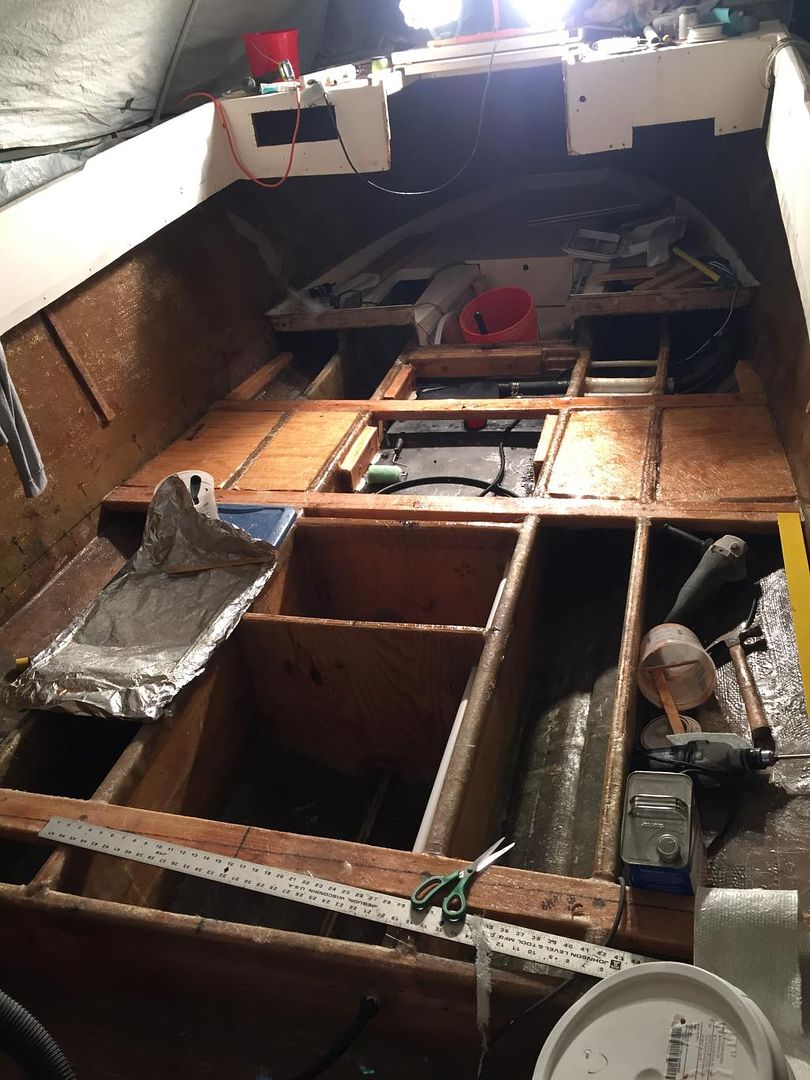
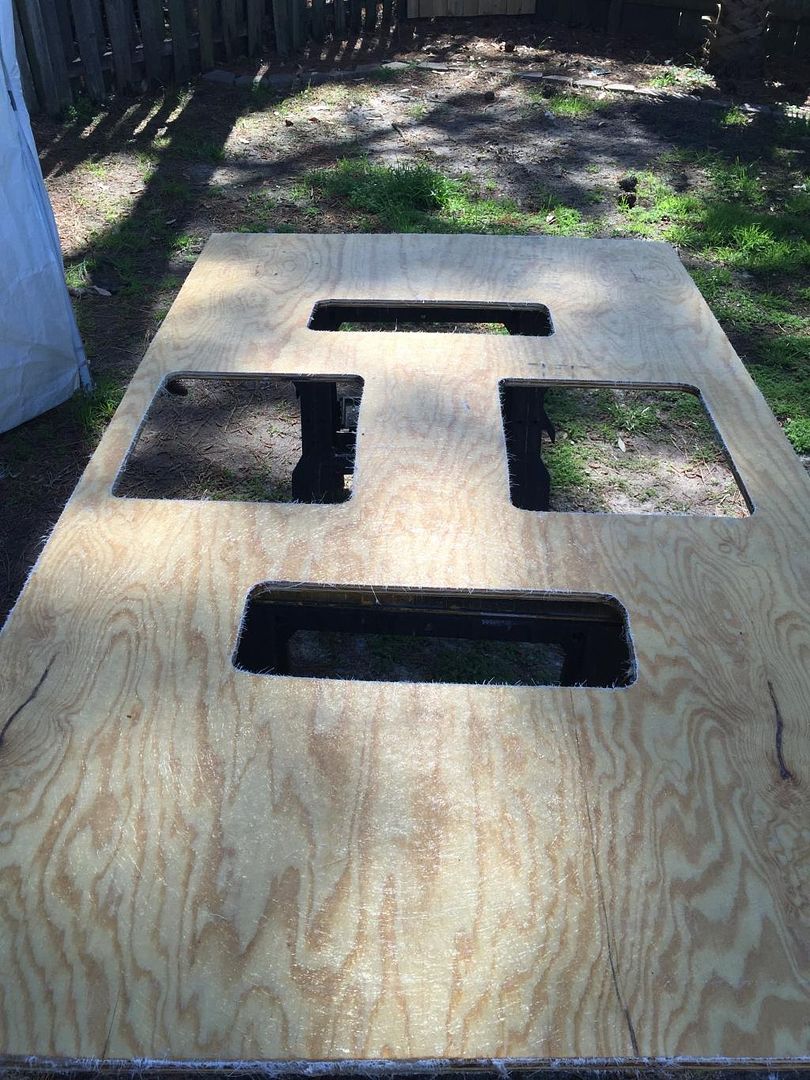
Still working on the deck. I have the last piece cut and just making last adjustments before it gets put down. Making measurements for the engine dog house. Put down cleats that will be PB'd to the hull prior to covering them with 1708.
Made the final trims and PB'd the deck to the stringers, bulkheads and side cleats than screw it down with 2" stainless steel deck screws. Once this is done then I will PB the edges and tab with 1708 onto the sides. Then on to the engines.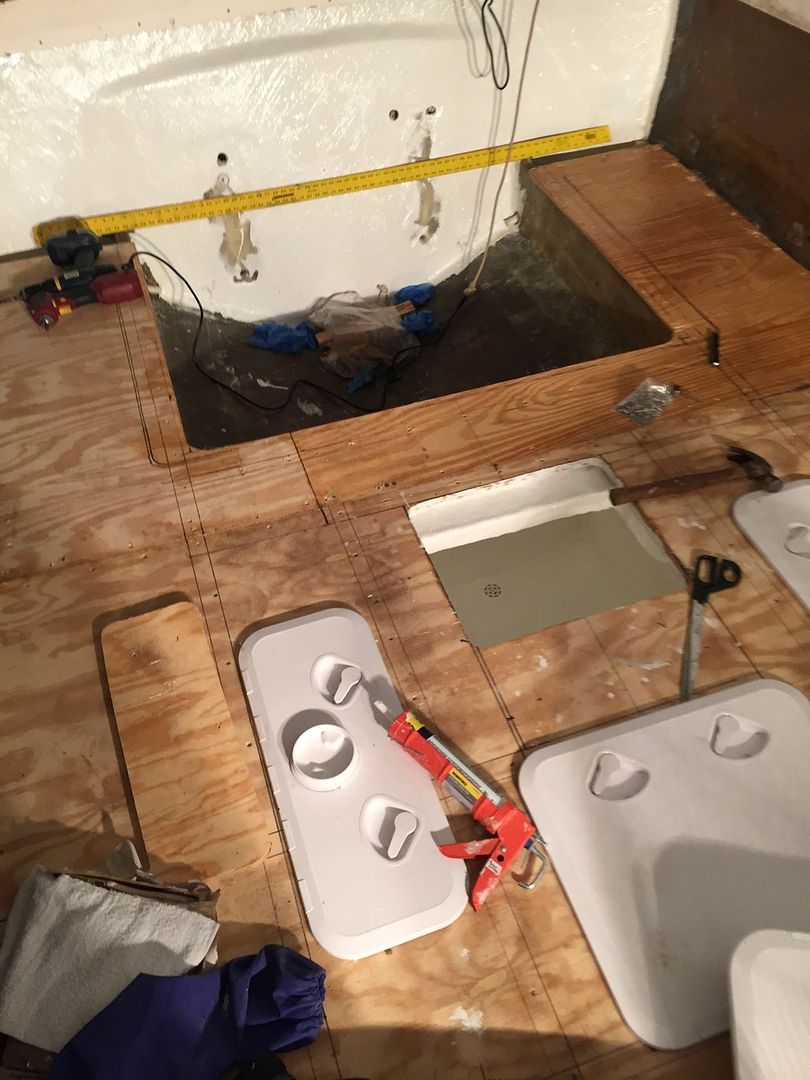


-
-
Well I am still dragging along here. Hope everyone had a good Easter. Mine was good, family events Saturday and Sunday which meant no boat Saturday and Sunday. I did take Monday off from work and tried working on the boat all day. My big goal right now is getting the deck covered in fiberglass and painted. Every time I think I am almost there I find more little technical stuff or details I need to do prior to fiber glassing the deck. I am a go a mile a minute kind of personality but with this project I have learned at times to slow down and just stare at the job and drink a beer. Good ideas pop into my head and I tend to keep problems from occurring that way also.
My progress since my last post. I cleaned up the boat a little. Ground out some of the nasty glass and stuff that has been dropping into the bilge the last 6 months.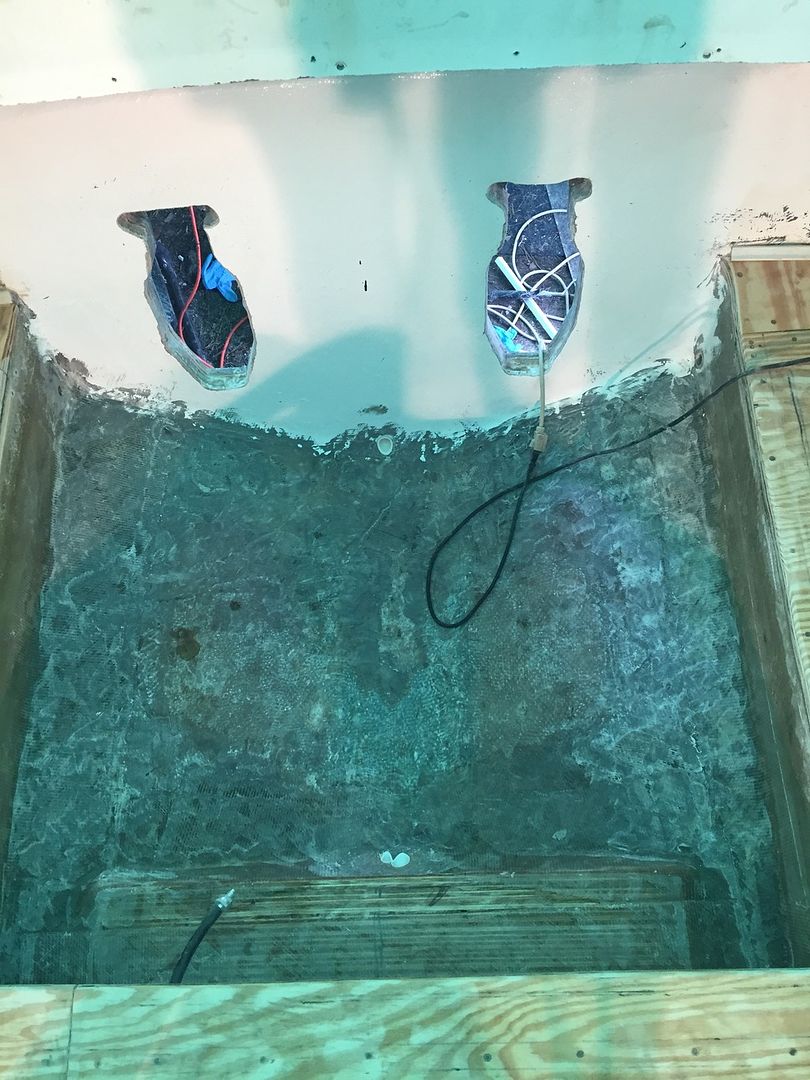
Attached some 3/4 plywood for the bilge pumps. I couldn't decide if I wanted them side by side in the back of the bilge or one in the back and one in the front so I just PB'd 3 pieces in place. After they were in I finally decided to put one in back and one in front that way if the boat was docked and had water coming on board the back one should kick on and take care of the issue by itself. If the water level continued to rise then the second one would eventually kick on and assist the first one.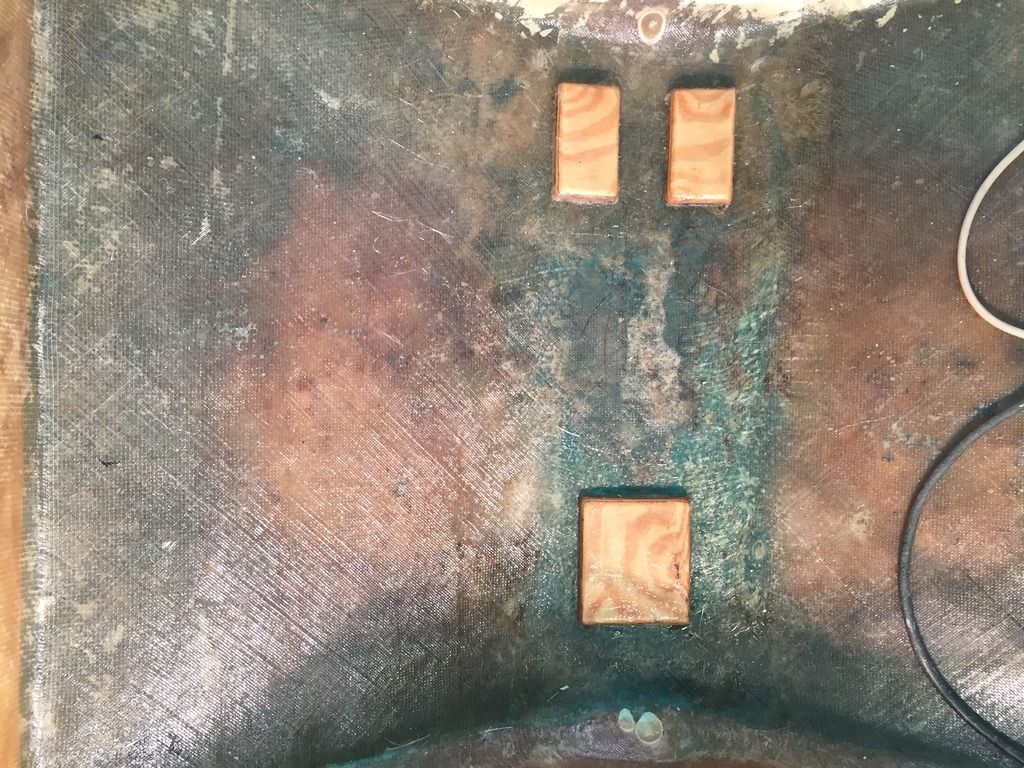
Covered them in fiberglass and a couple of coats of BilgeKote.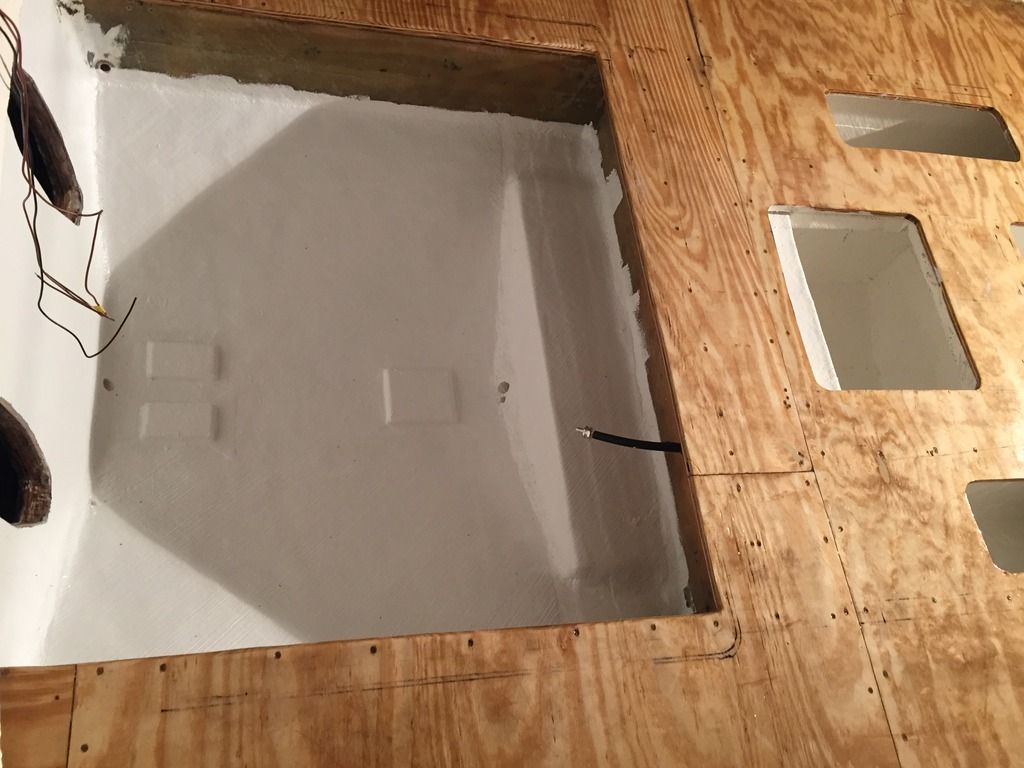
Put a coat of resin on the deck and hopefully this week will put down some fiberglass.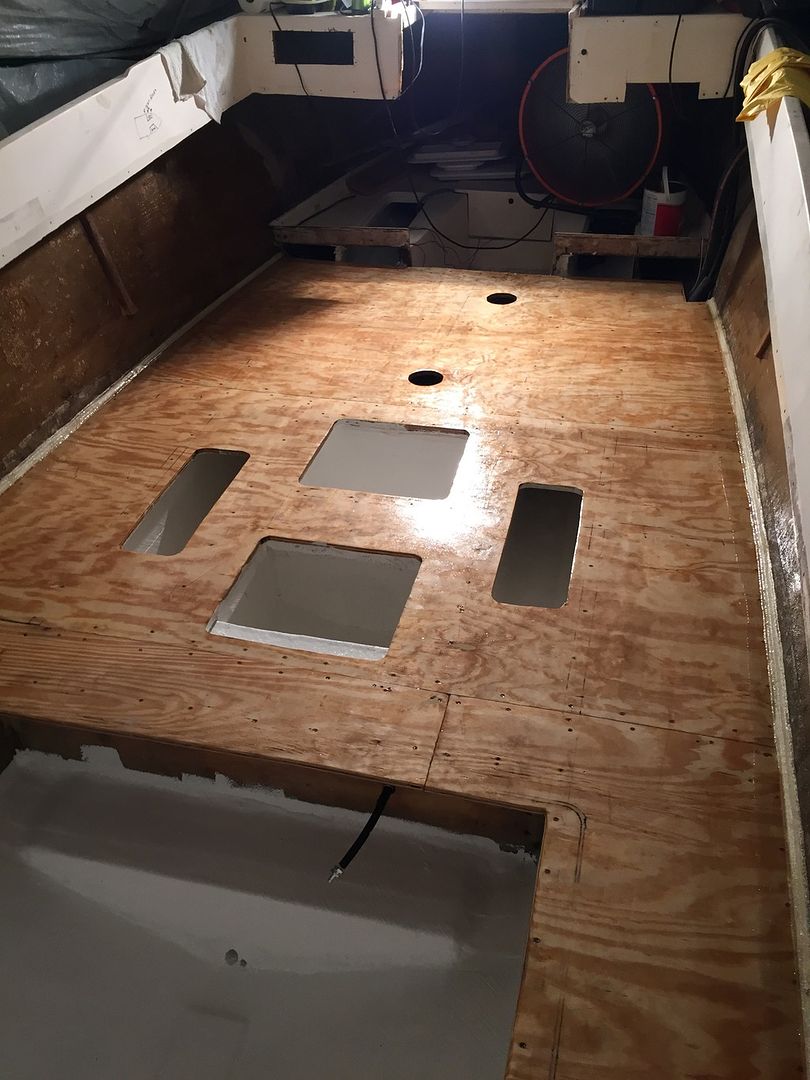


-
-
I finally got a layer of CSM over the deck. Once it sets I will clean it up, sand down any spikes and high spots and get it ready for a layer of 1708. I will get pics soon.Pictures of the deck being covered. Here I am precutting the CSM for the deck. About 7 feet wide by 50" on 2 pieces and the other 3 towards the back are about 20" by 50".
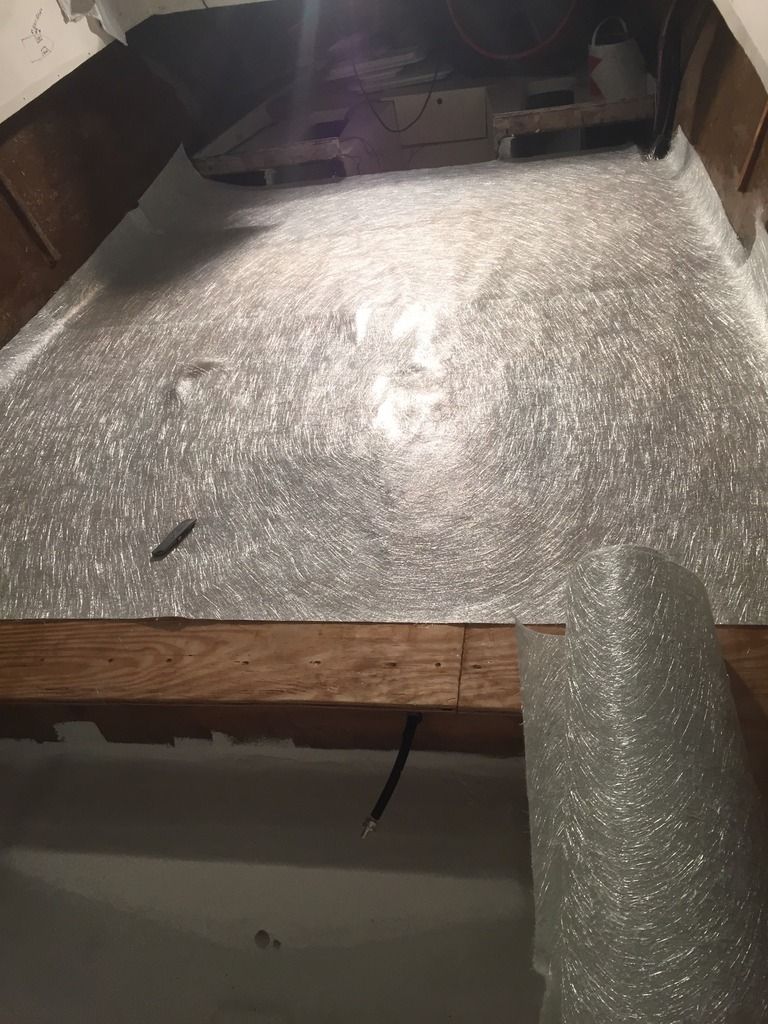
After putting a few liters of resin down and looking good. I just need to knock down any bad spots than cover with a layer of 1708.Forgot the finished picture.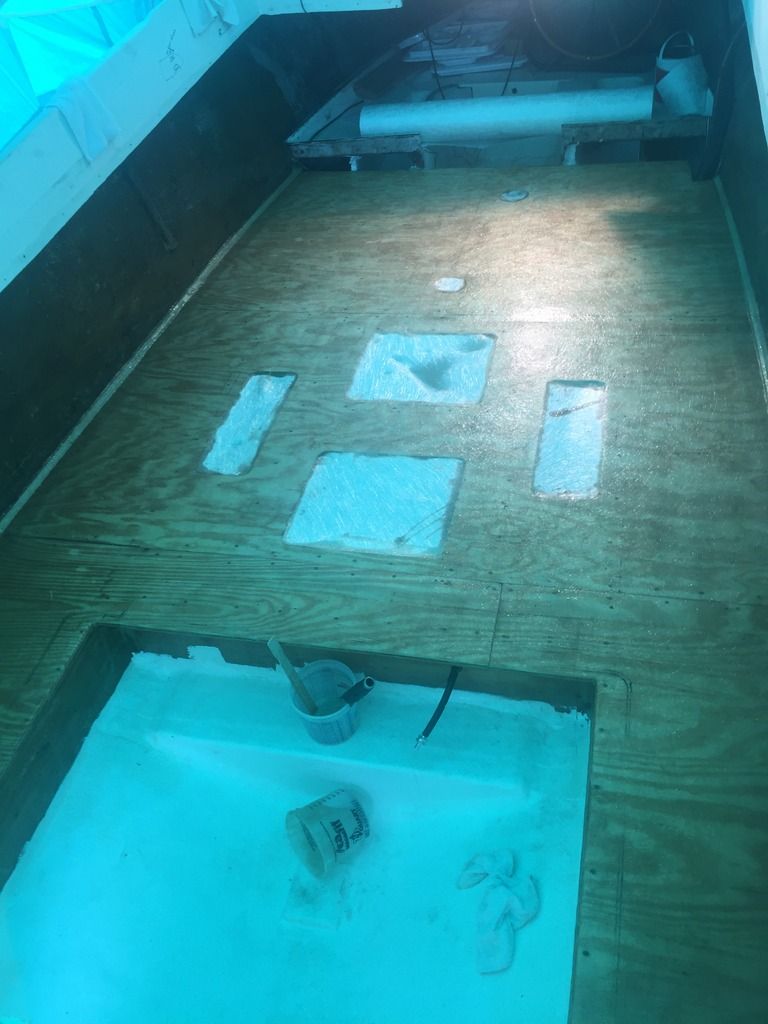


-
-
I put CSM down to seal it and make sure the deck is flat. My father in law also gave me 100lb roll of CSM after I had already gotten 50yards of it so I have a ton of CSM I will never use. I wanted the strength of the 1708 on the deck I also and I like the texture of it. If I find it to be to rough and can cover with a layer of CSM. I want a good durable deck because I tend to abuse things, never was good at babying anything.
I am planning on painting the deck with bilgekote since I have 2 more gallons of the stuff. Then I bought some interlocking plastic like floor covering. Once I got them I really like them and they should work well.Pictures of the 1708 on the deck. First piece.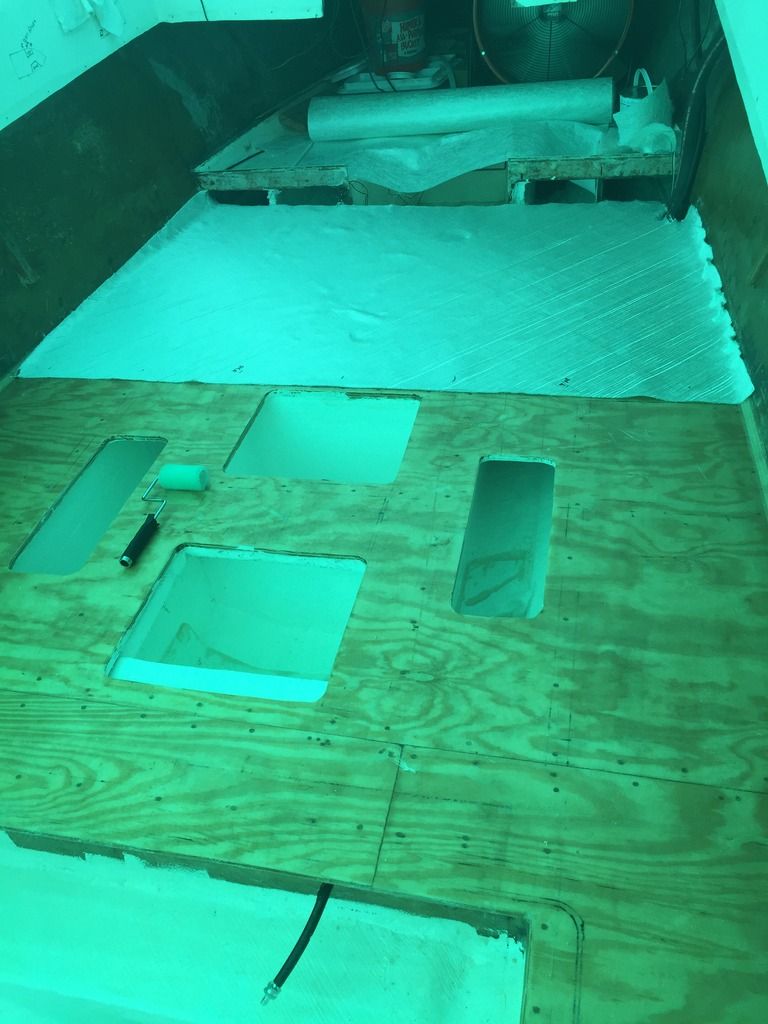
Second Piece halfway done.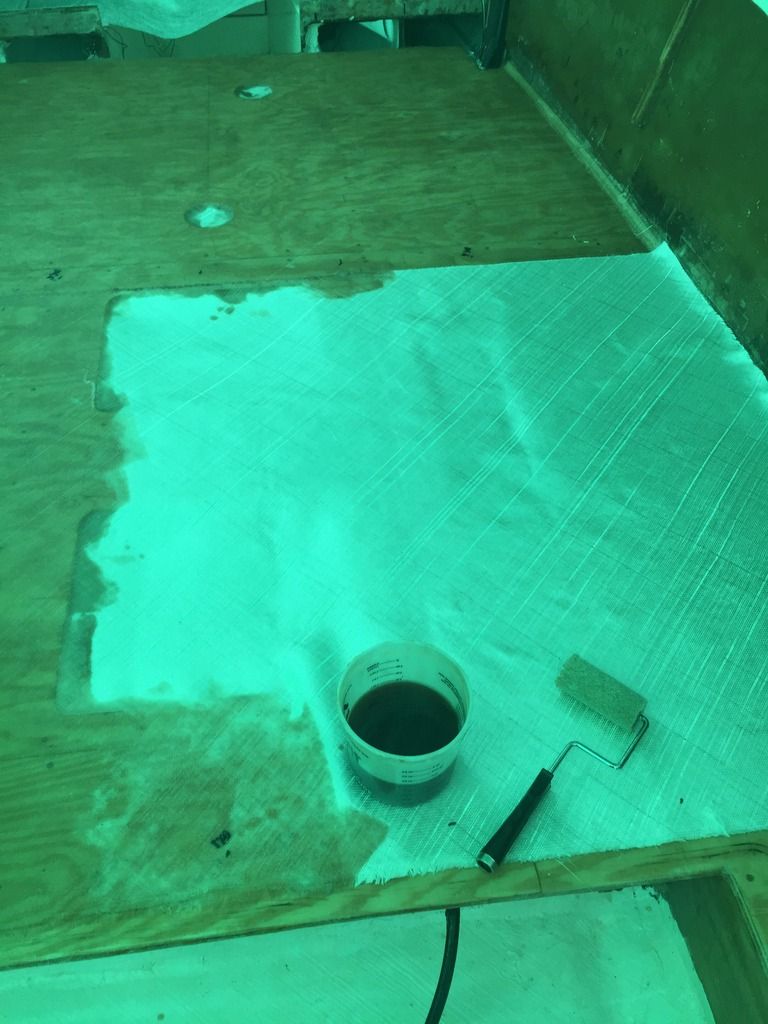
Ran out of 1708 with just a couple of yards left to do.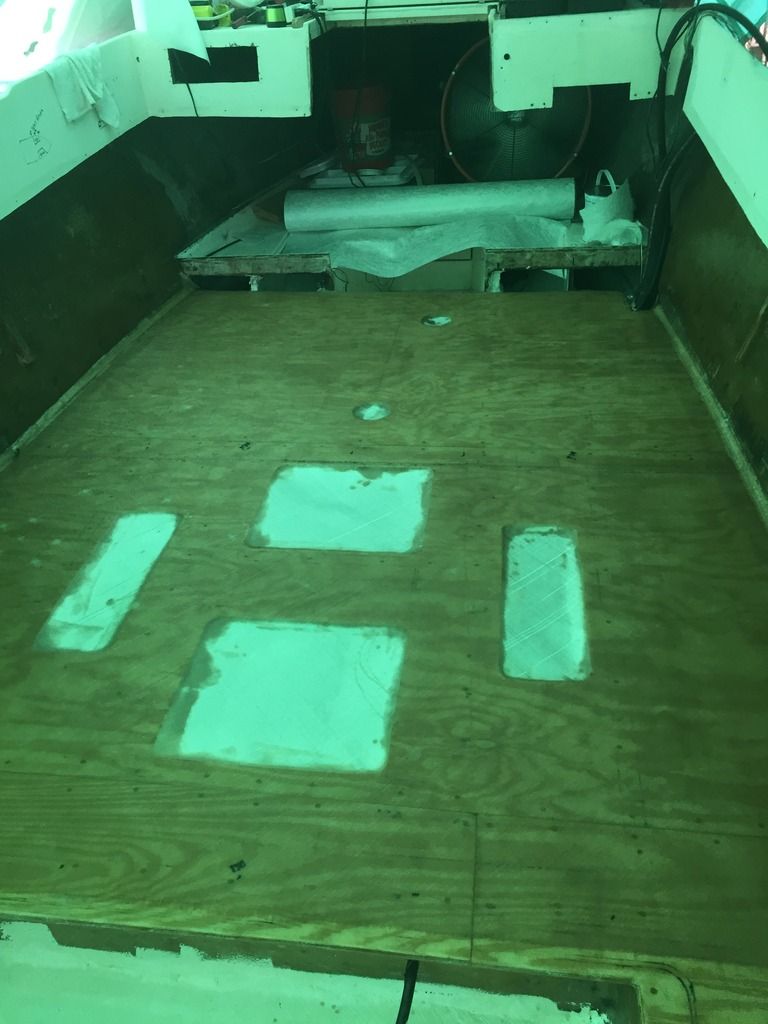
I put down CSM first because I wanted to smooth out any high or low spots and I have like 100 yards of CSM so why not. Once it hardened I sanded it down using a 5" vibrating sander with 100 grit. The CSM was wide enough (50") that it overlapped where the plywood joints were at and since I PB'd all the seams and screw holes the deck turned out flat and smooth. Then I put down the layer of 1708 which overlapped the seams of the CSM. The floor I mean the deck looks great and has that nice 1708 nonskid surface. I like it so far.Once it hardened I use a Rotozip and cut out the hatches again. I decided to use Woods method when I put down the CSM and the 1708. Sanded the deck, cleaned it with Acetone like I always did but this time I laid down the CSM on a dry deck and put the resin on with the roller from the top letting it soak through. Took a little longer but I think I used less resin and the only thing I use is the 4" roller, no bubble buster or chip brush. On both the CSM and 1708 I did it all one after the other all at once. With a day between the CSM and the 1708. It worked out well. While I wait to get some more 1708 I will start working on the panels that are port and starboard of the hatch going into the cabin. Some of the 1/2" plywood has seen better days.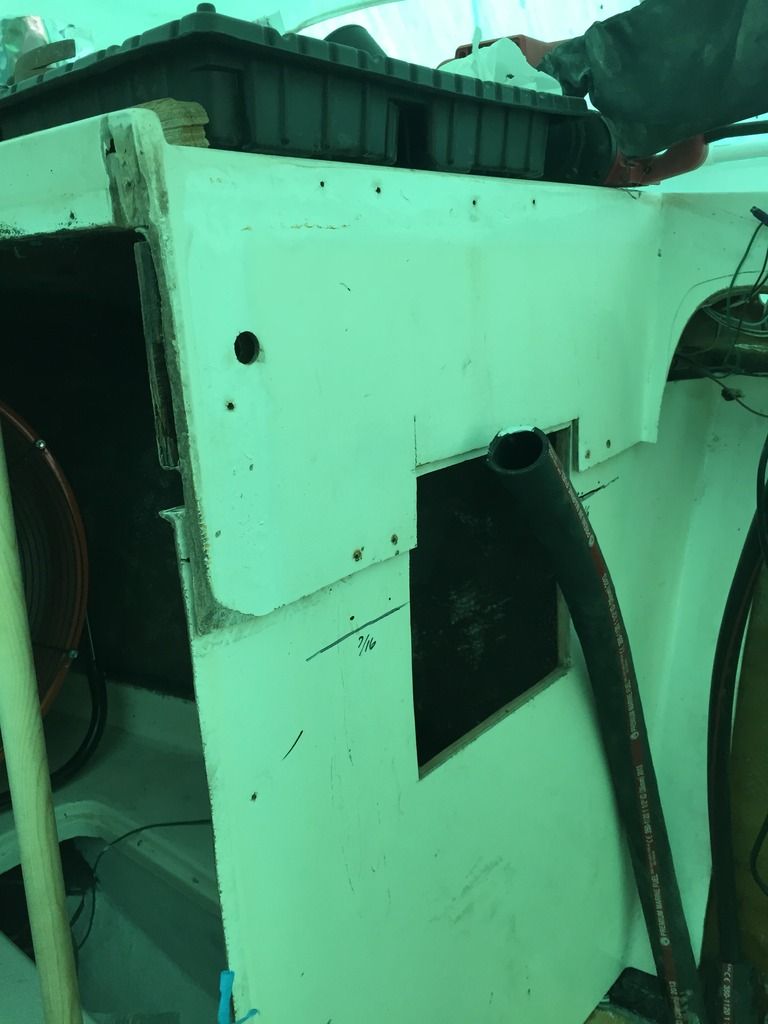


-
-
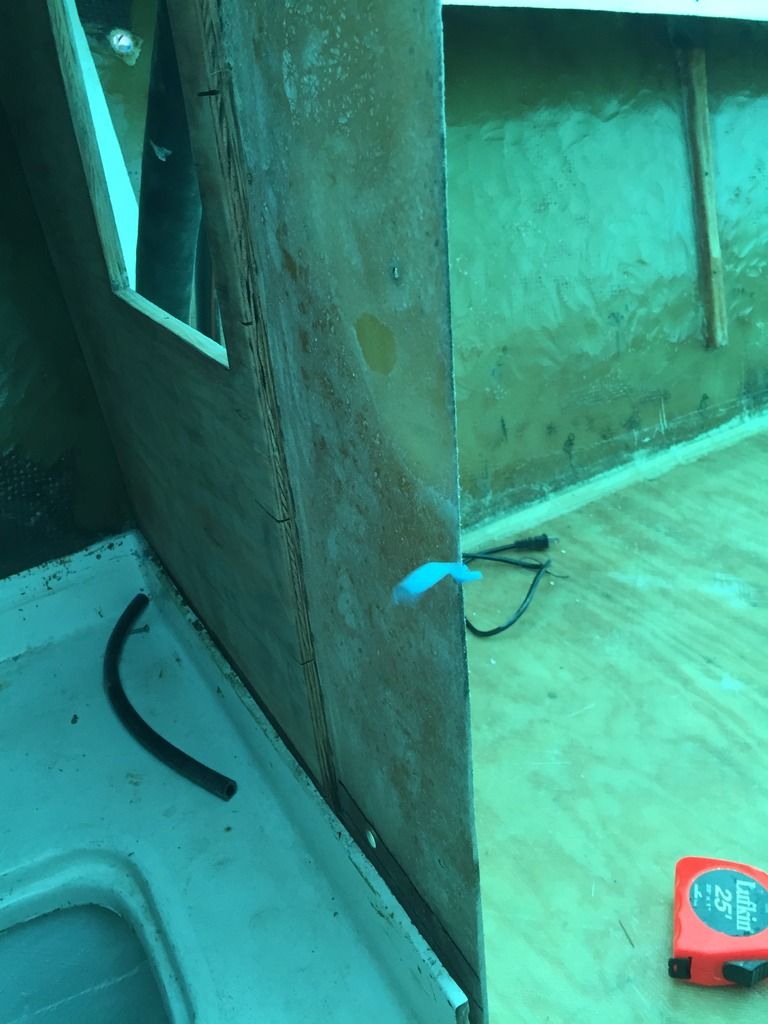
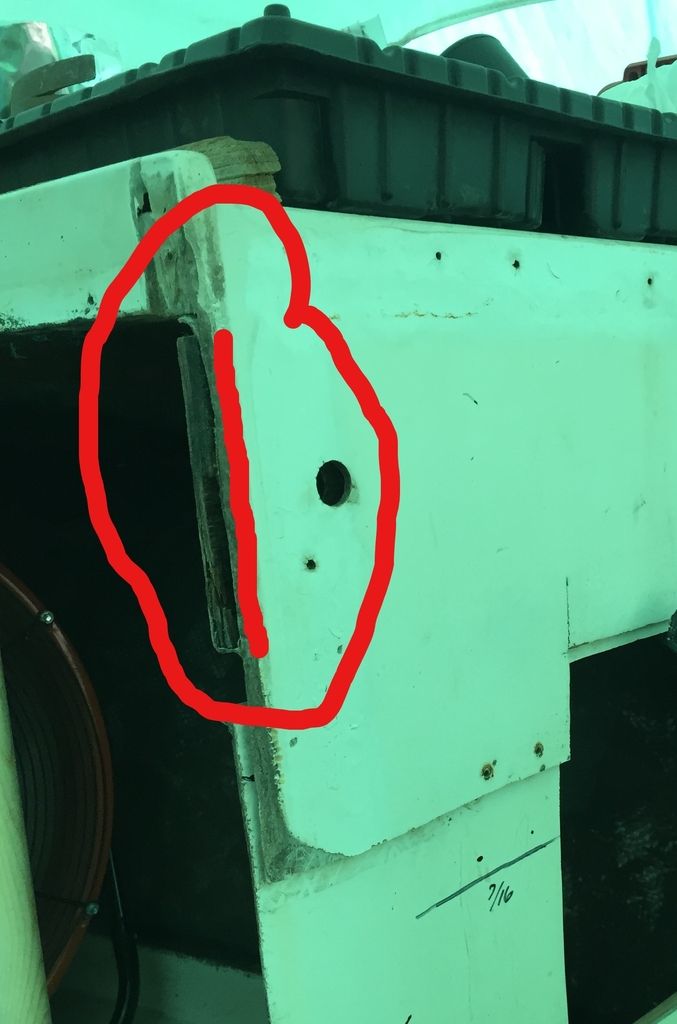
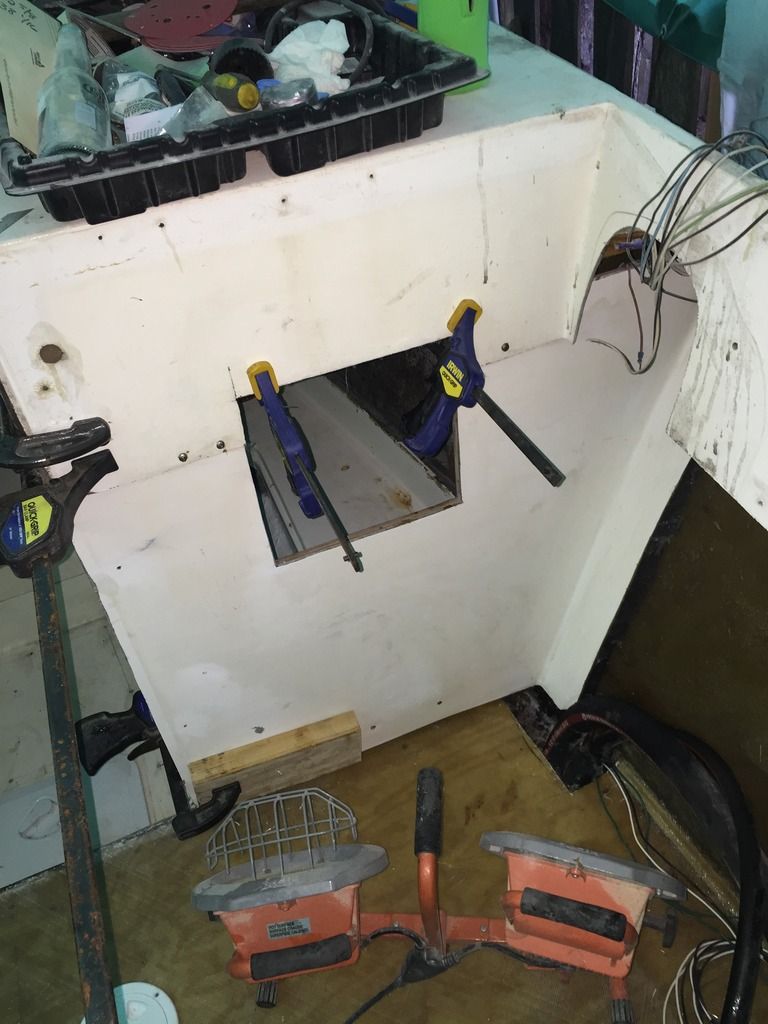
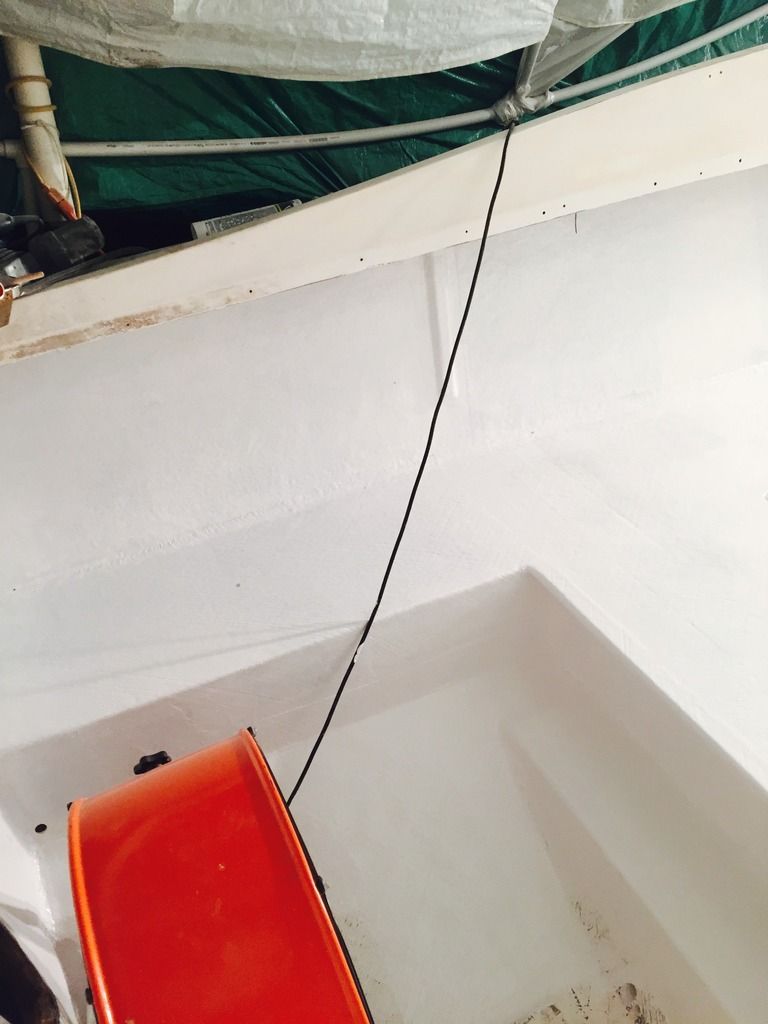
Well the panels that are left and right of the cabin door have 1/2 plywood on the backside. They were never covered in fiberglass and considering that they have held up very well. The one on the port side only had a 2 inch section on the bottom where the door way is from water intrusion so cut out that little corner. The starboard side had wood rot water damage top to bottom on the door way side but only about 2 inches in so I cut about 8" in top to bottom. Replaced it with a new section of 1/2" ply. I grinded the old wood and firberglass out and PB'd the new piece in. I will cover both port and starboard inside sections with CSM this time.
-


-
-
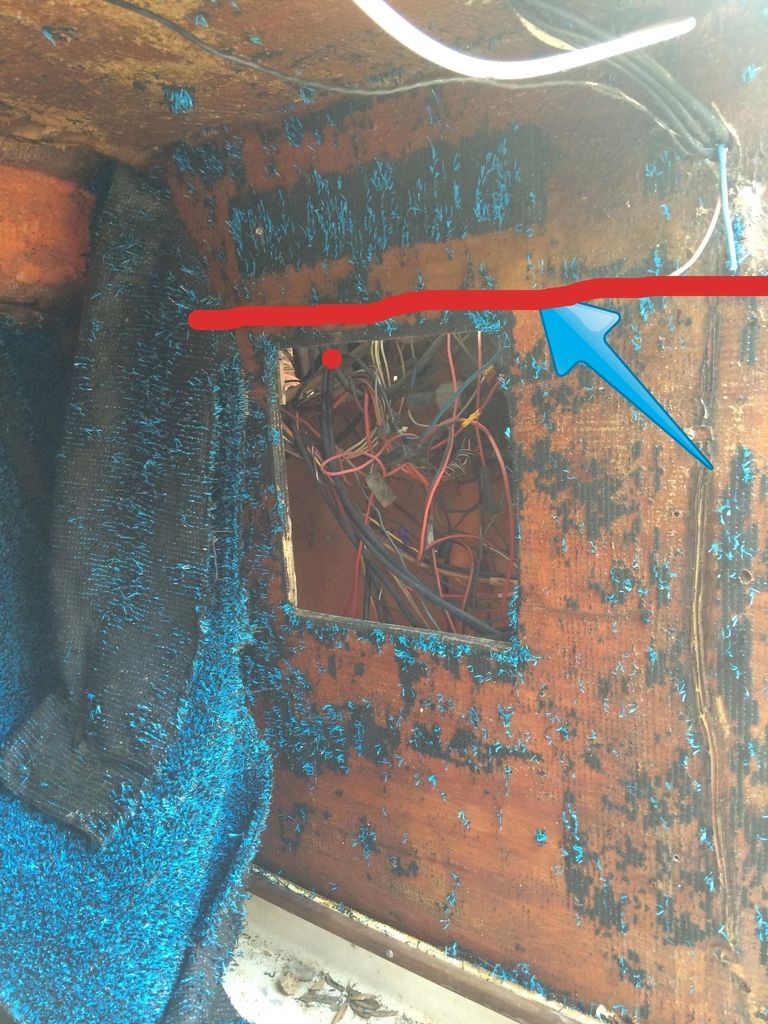
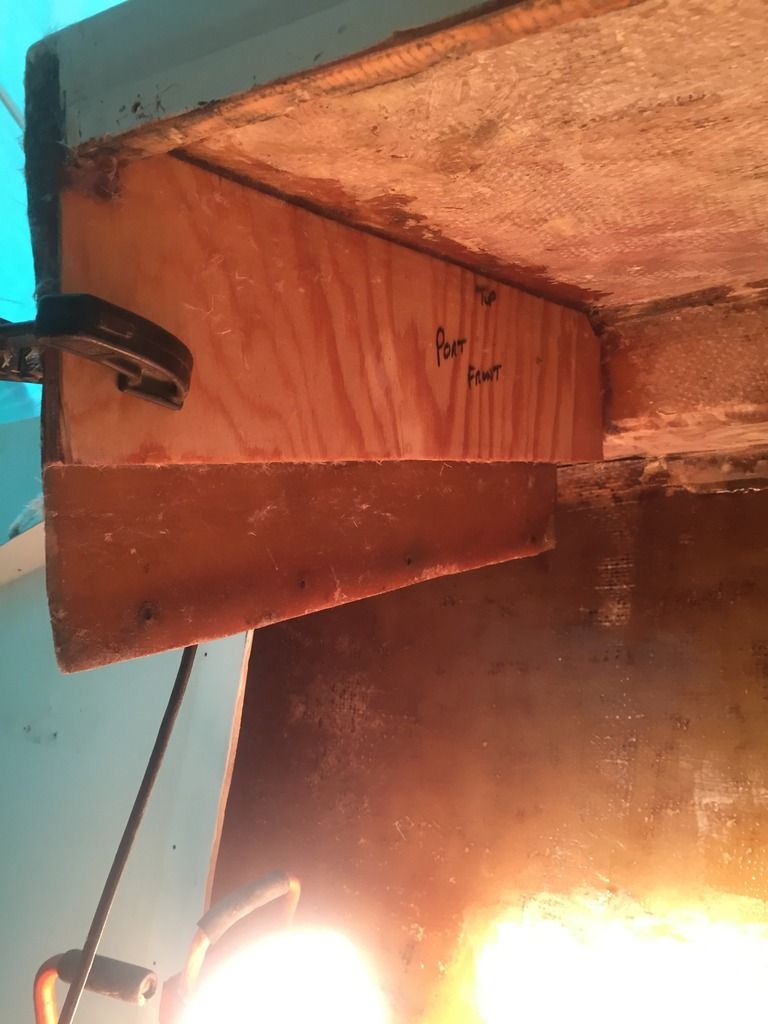
This is the back side of the starboard panel as you go into the cabin. The picture is from the tear down time frame. Anyway, where the red line is at is where the panel is fiber glassed to the cap section right behind and under the console. The top part is also backed by a piece of 1/2 plywood that at water damage so that also had to be removed on both port & star.
Its kind of nice working on something besides stringers, bulkheads or decks.Ok, I had a plan for this past weekend to work on the boat and get certain things done but as always that never works out. I wanted to get the two panels installed right and left of the entry to the small cuddy cabin, paint the deck and install the hatches. Well as I looked at where the hatches go I realized I need to provide a little more support behind the panels and seal up some areas so water would not be able to intrude into these areas.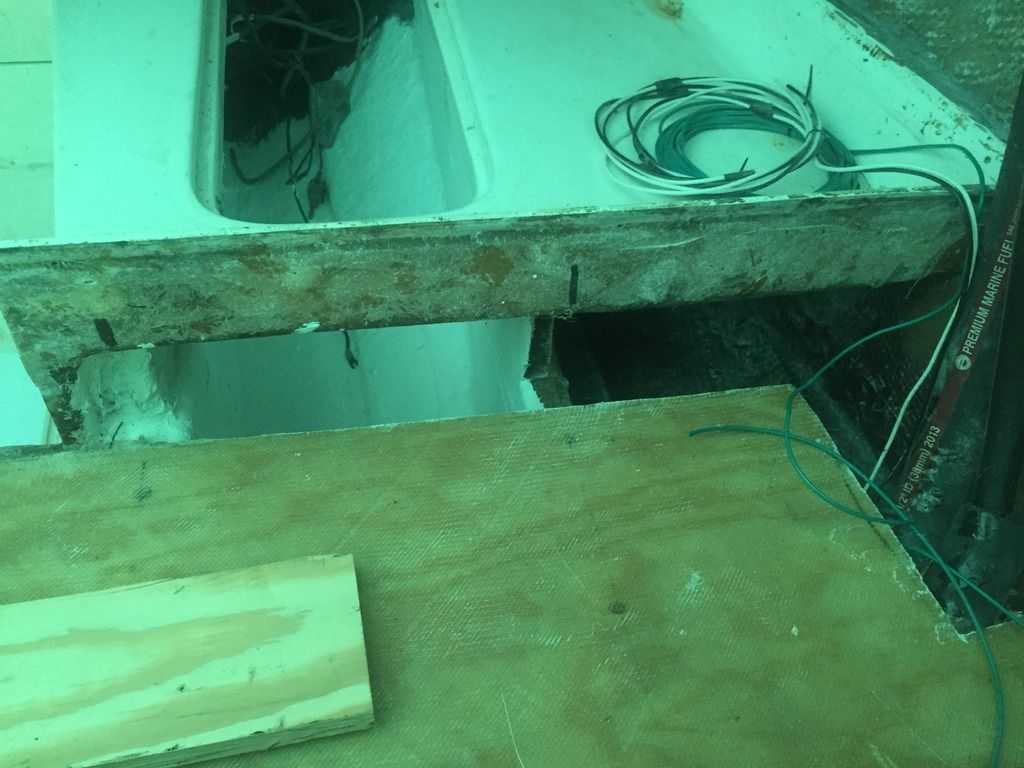
So I sealed up some doubled layers of 3/4 ply, installed them in the gap and covered them with CSM. Its not pretty but it will be behind the panels and never to be seen again and yes that is blood the boat has gotten me again. Truly we do give blood.sweat and tears doing these restores.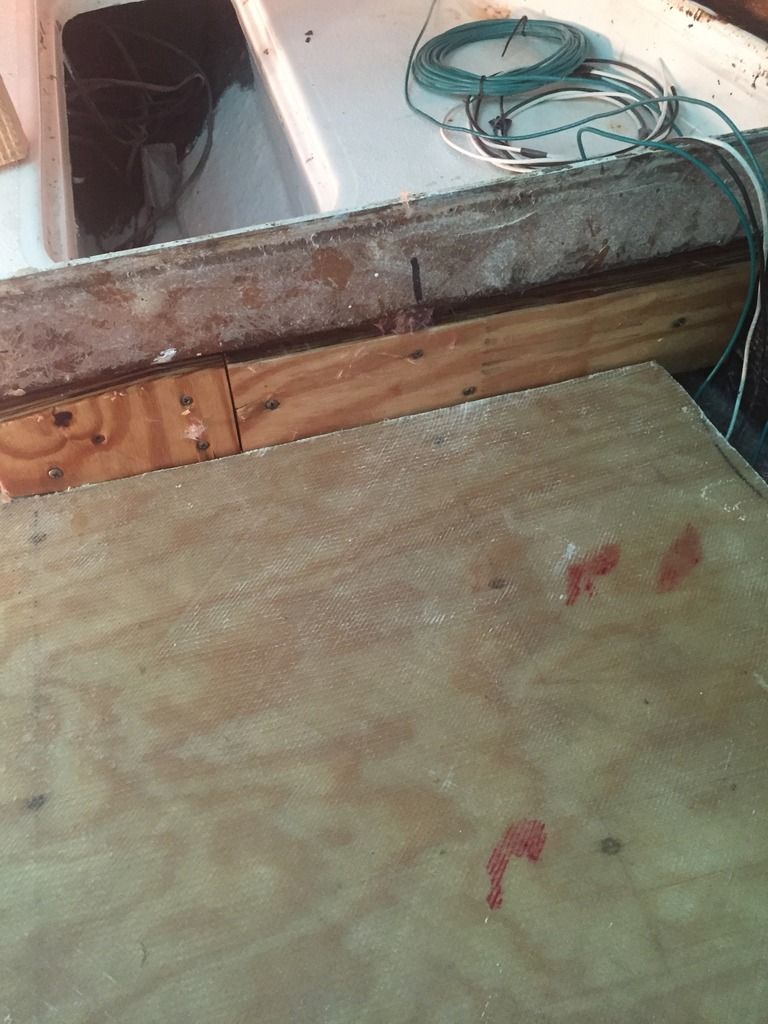
I also got the small back panels PB'd on the inside on each side.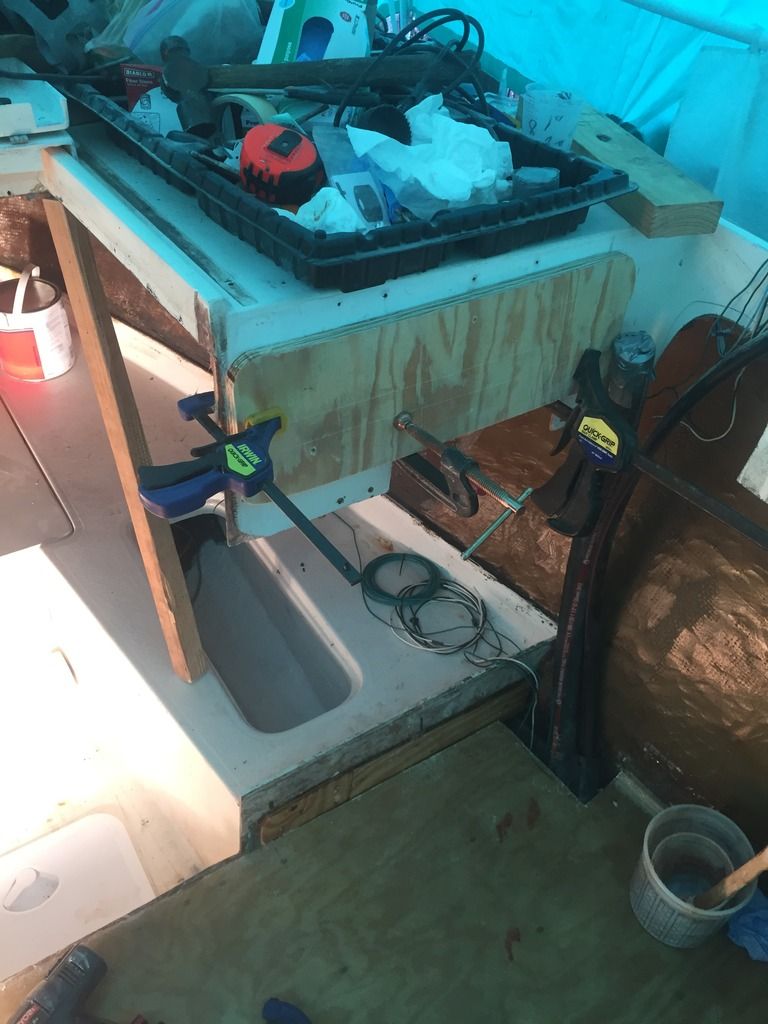
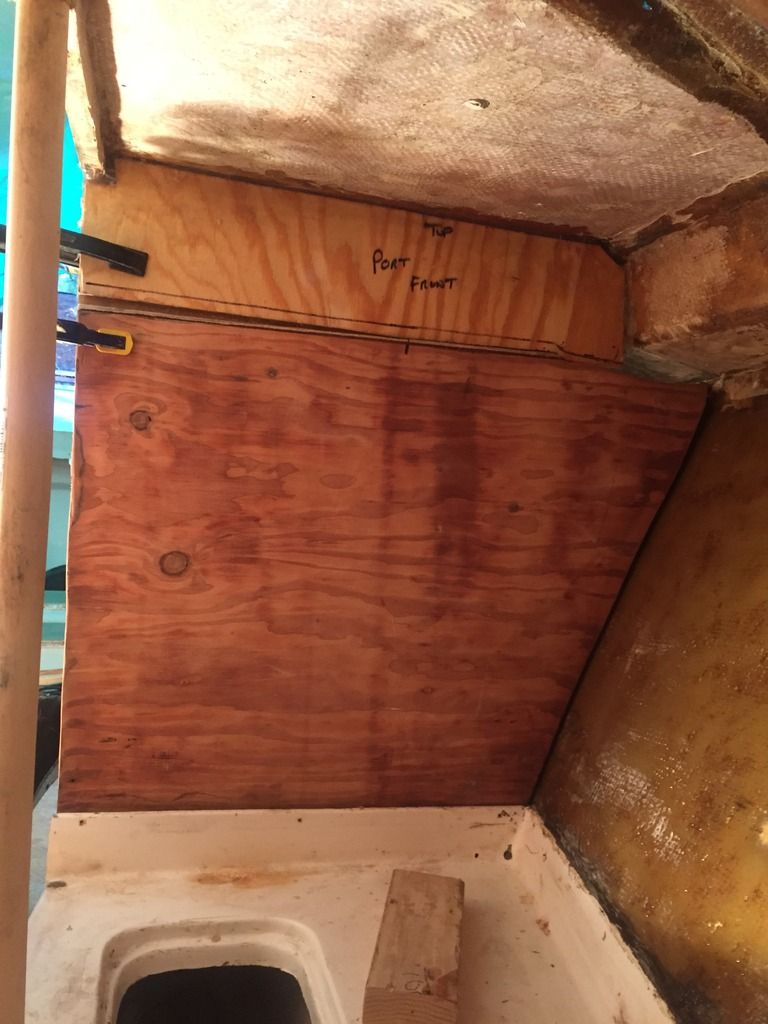
Now that that is done I can finally try and install the panels using PB to attach them to the cabin section and sides of the hull. I will then cover it with CSM attaching it to the deck, sides and cabin area. I also covered the inside walls with a layer of CSM. I ground off a layer getting everything cleaned up so I wanted to add back a little thickness and clean it up a little.Installed the starboard panel last night. After replacing the rotted wood and grinding everything clean.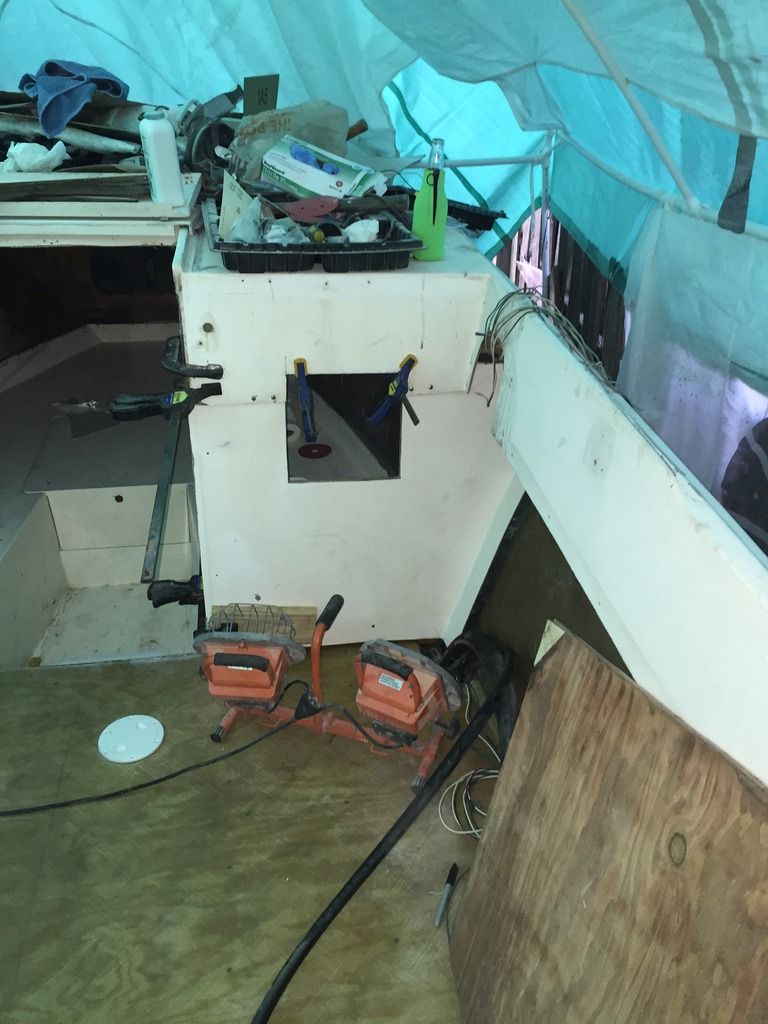
I used PB to attach it to the hull as well as the top and bottom. Then stainless steel screws and clamps to hold it in place.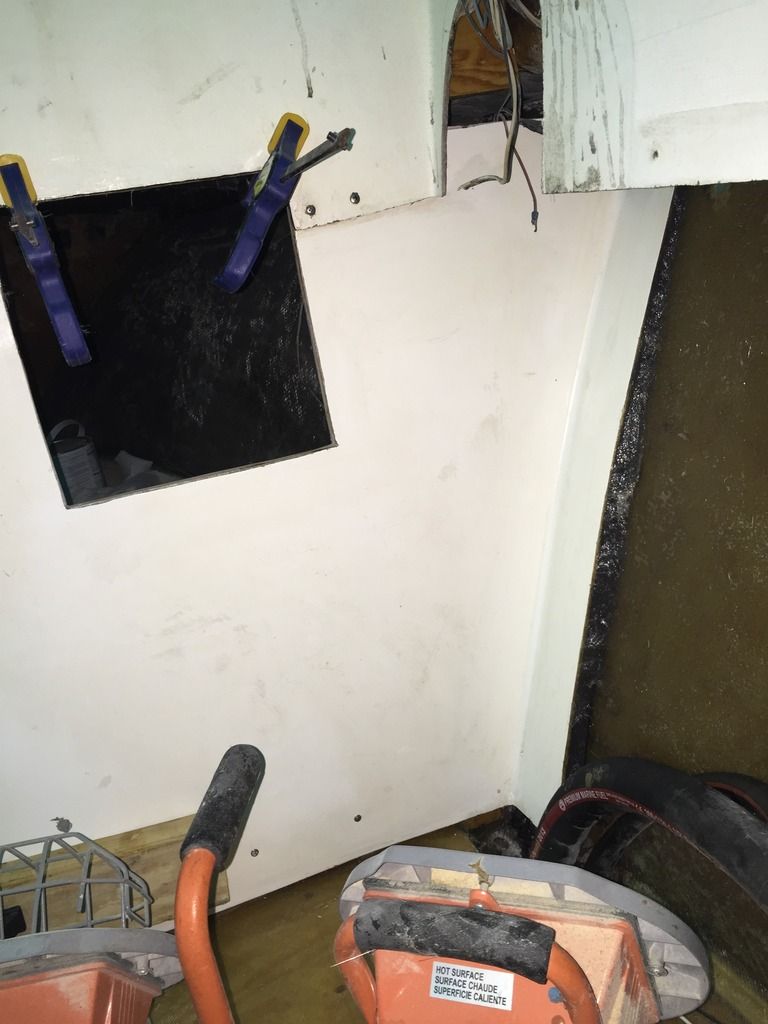
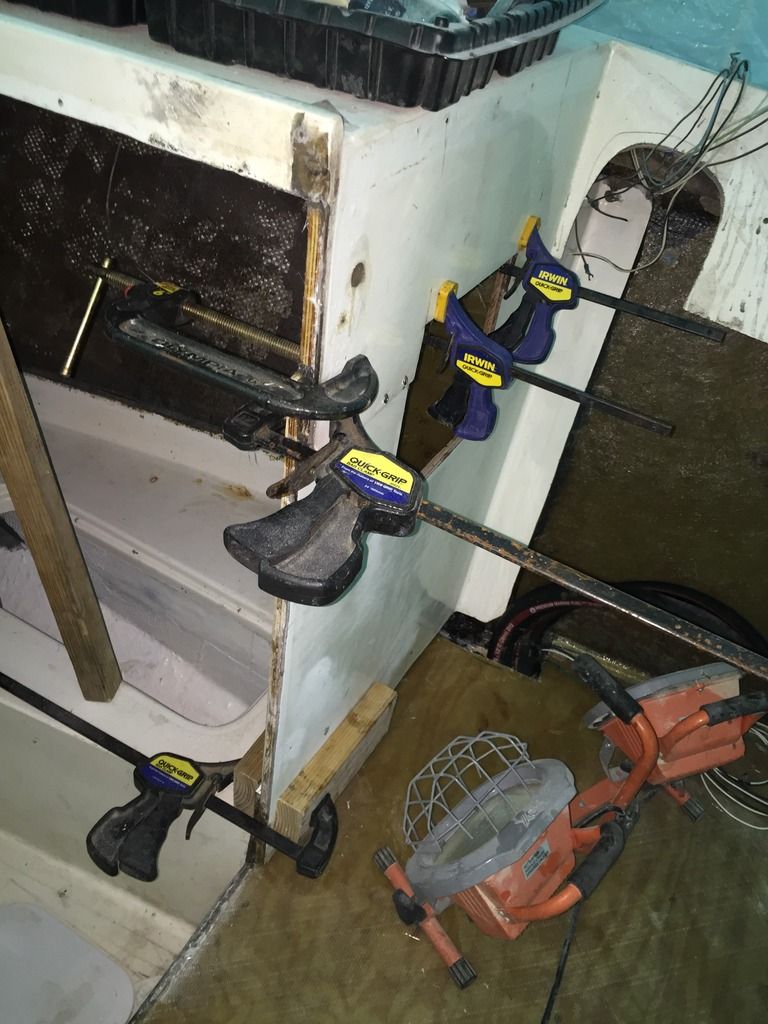
Once it hardens I will attach further with some CSM or 1708.Ok the PB holding the panels on has hardened. I put a little more in places to fill voids and transition onto the deck and sides.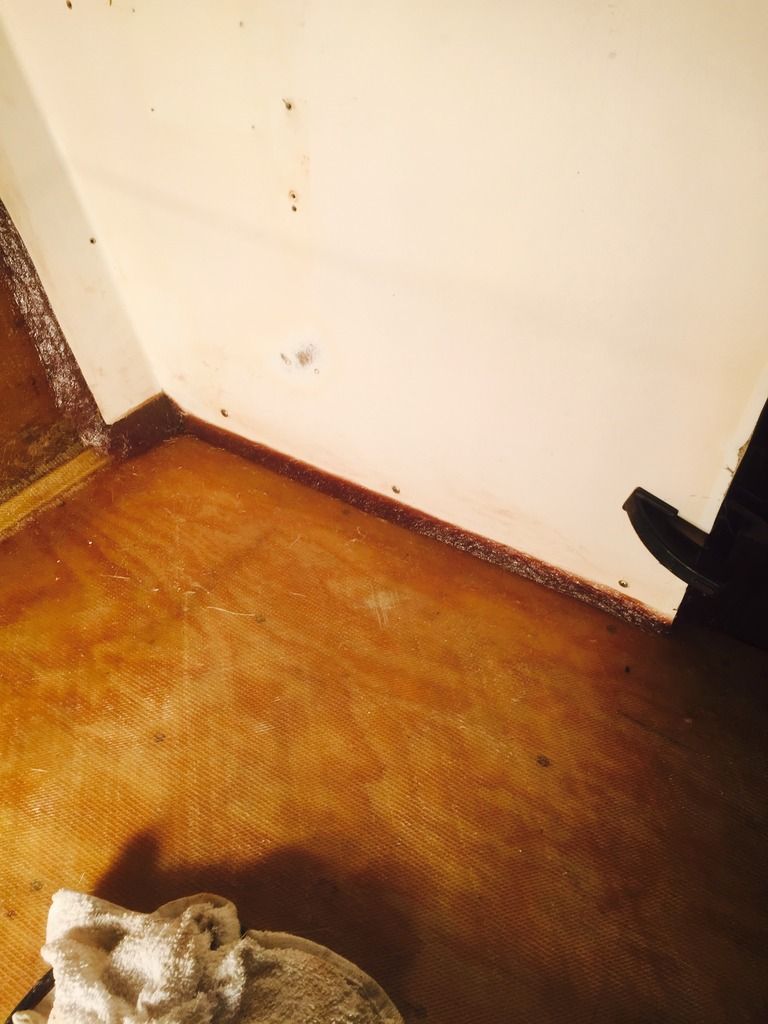
Then I took the 5" orbital sander with 100 grit and lightly sanded everything.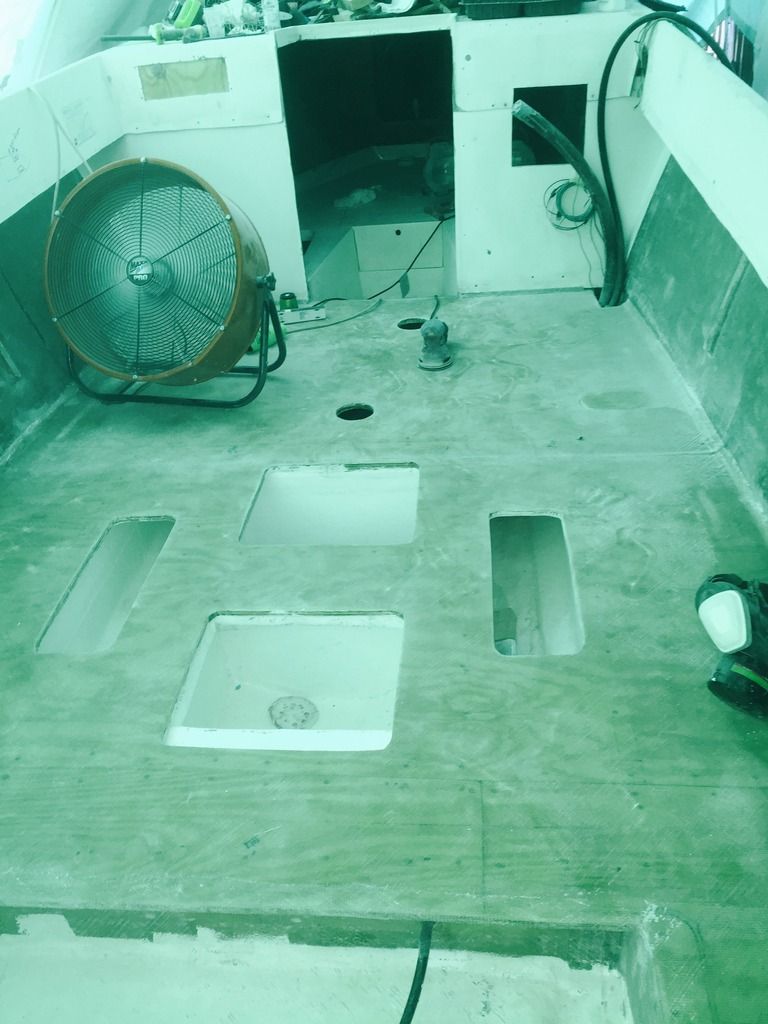
I hate fiberglass itch. After that I vacuumed everything clean and used acetone wiping down everything twice with two different rags trying to get it cleaned up before I painted it. Since I have way to much Bilgekote I painted it with that.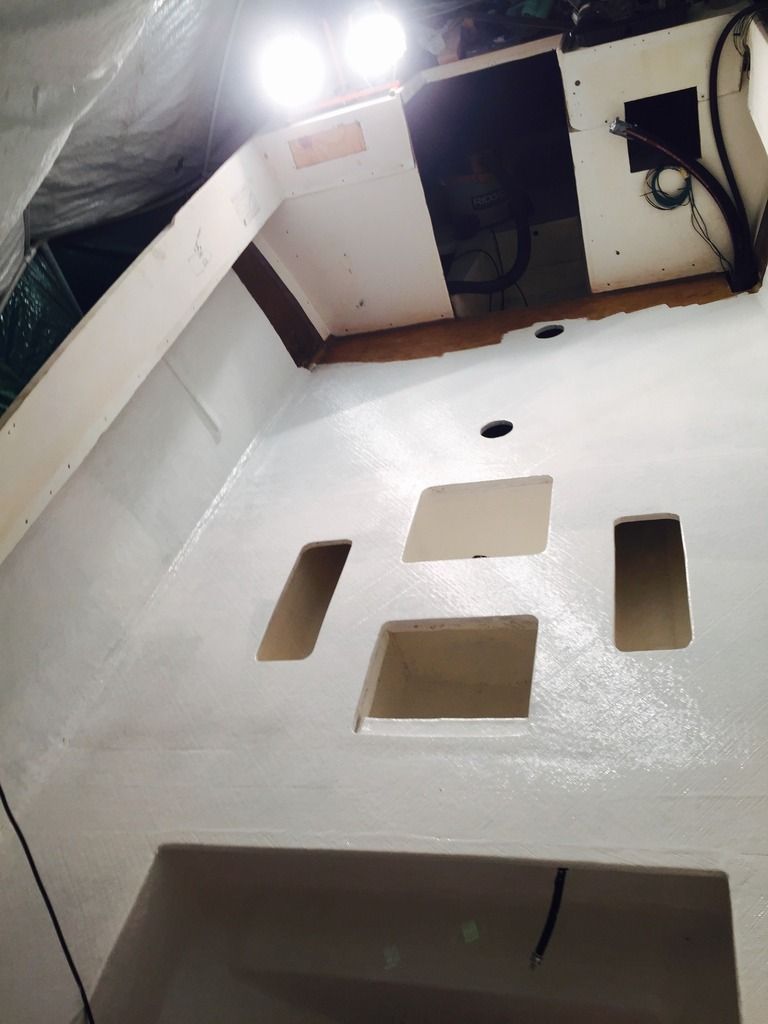

I still have to do a little more fiberglassing up front so I stopped a foot before the panels.I haven't gotten back to the boat itself this week and I don't miss the fiberglass itch. This week I have been working on tearing down the one Gimbal I have and cleaning up the block before I start rebuilding the engine.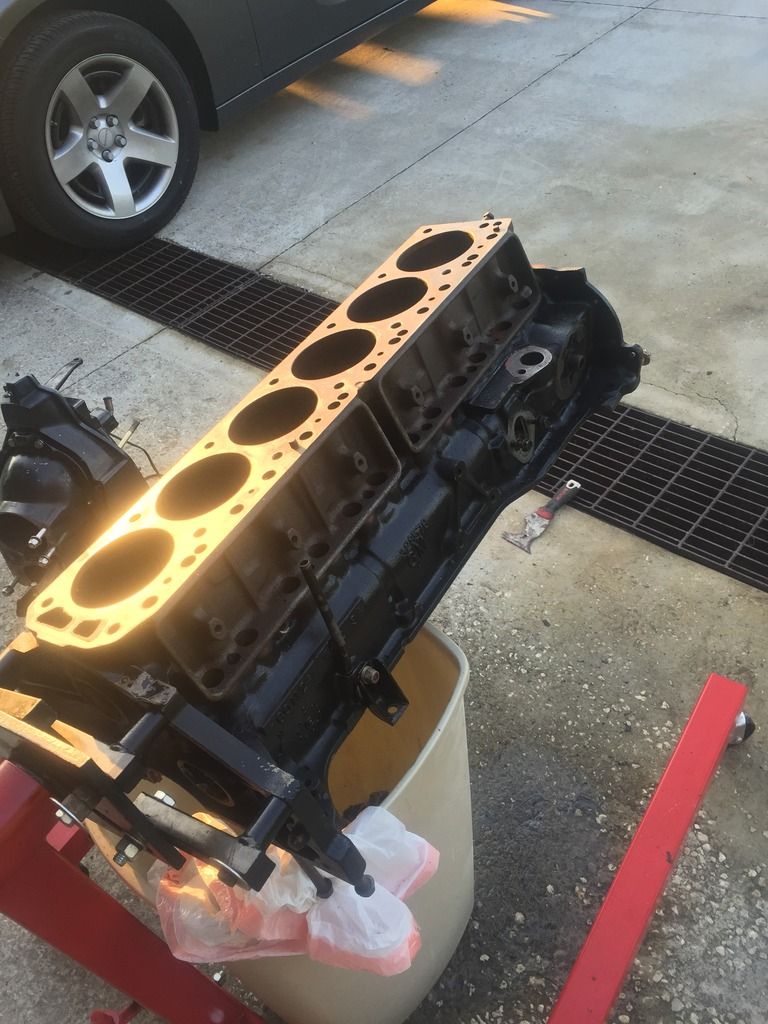


© 2024 Created by David.
Powered by
![]()