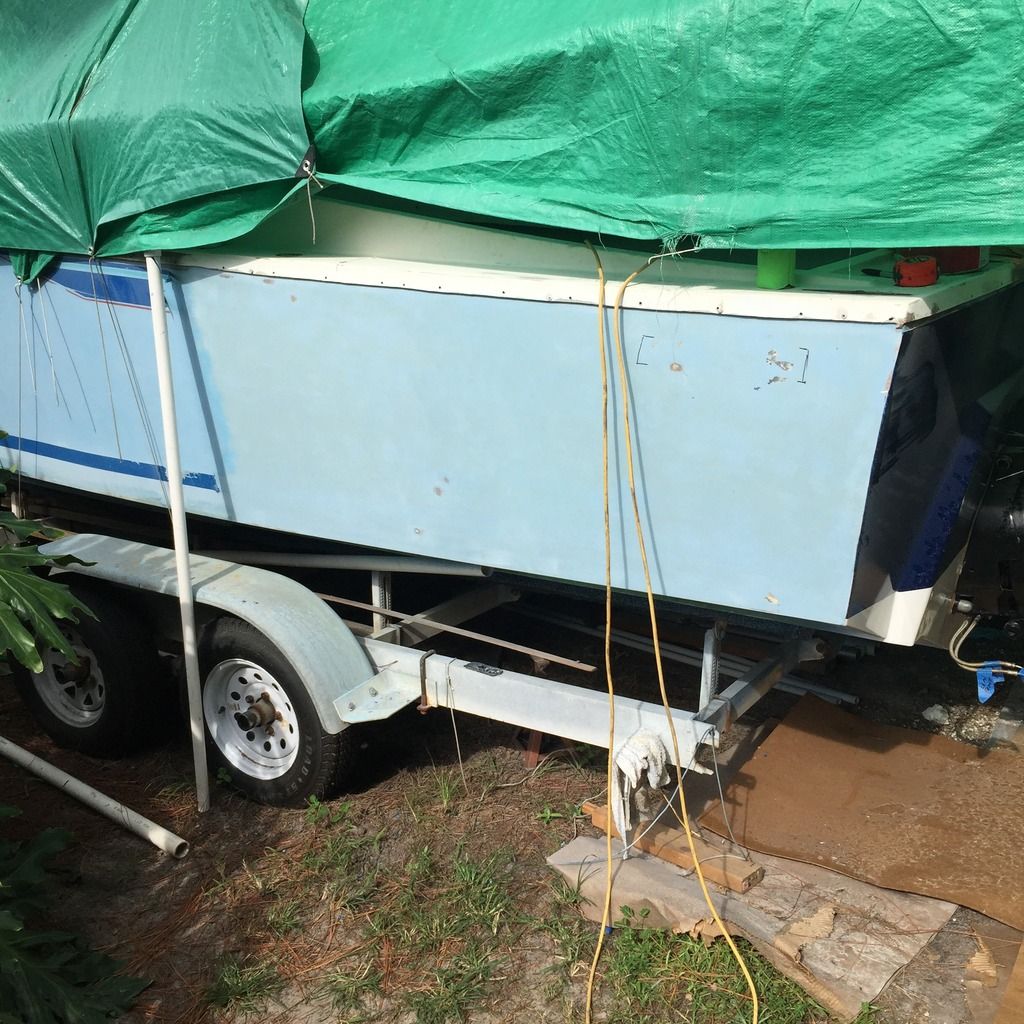
This boat belonged to my father and after he passed away it became mine. The year was 2002 and the port engine had a leak in the block and the fuel tank was leaking. So we pulled her out and I began taking engine and fuel tank out. That same month my wife gave birth to our first child and I was also recently promoted. Needless to say other things became a priority. Now fast forward 12 years, another kid and 2 more promotions and I finally am starting to have time, $$$, and the drive to start this project and most importantly the bosses endorsement. The interior concerns me. I have not dove in there and removed anything else since 2002 so I don't know what awaits. After some research I can only imagine what everything below decks looks like. I have never done any type of boat restoration or fiberglass work. I have recently signed up on a couple of boat forums and have been watching and following several restorations learning a lot. I have been researching and planning for the past month or so and getting the garage ready for this project. My wife or more befitting the nautical theme, The Admiral has endorsed the project and is even willing to pitch in where and when she can. The funds have been set aside so next month I will rehab the trailer enough to get the boat from my moms house to its new home where all the fun will begin. This is what she looked like after sitting in my moms yard for 12 years.
The premier site for owners of the famous 233.
Restoration of my 1972 Formula 233 with twin Merc 165hp. Started on July 2014.
72 Thunderbird Formula w/twin 165hp Mercs
Views: 2280
- Attachments:

Replies to This Discussion
-
Permalink Reply by Mark A on
-
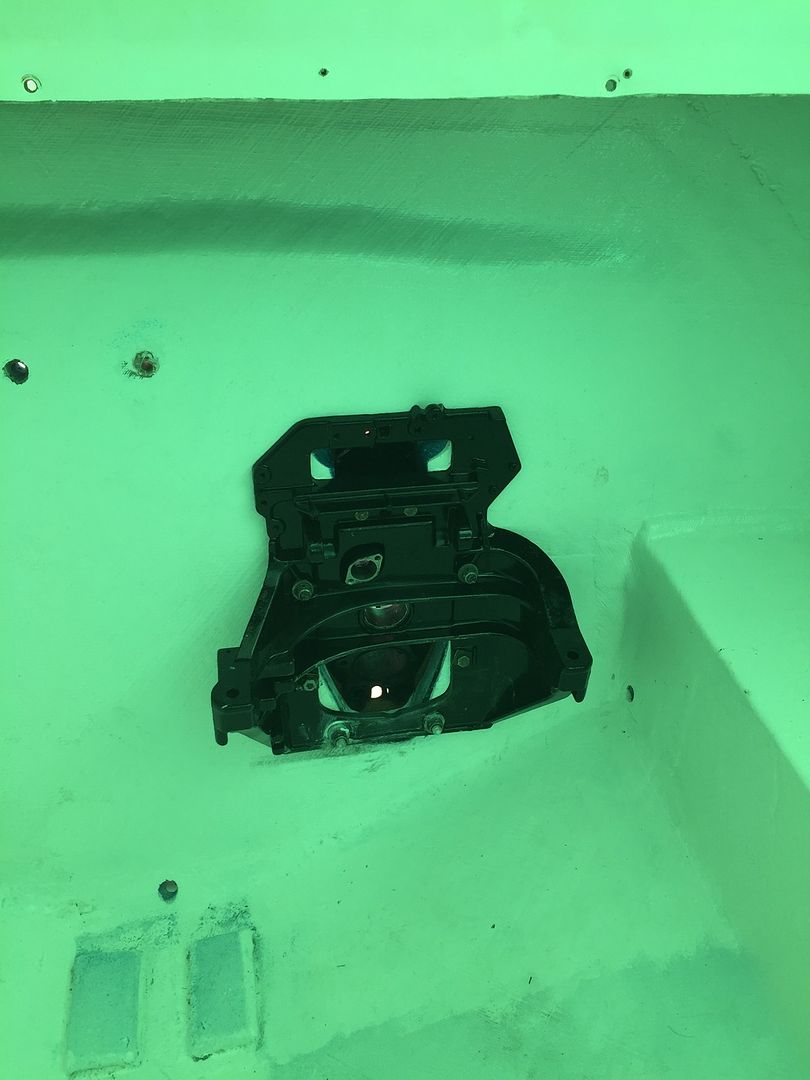
I finally got the port side transom plate and gimbal housing attached. Waiting on parts so I can finish installing the gimbal ring and other parts.
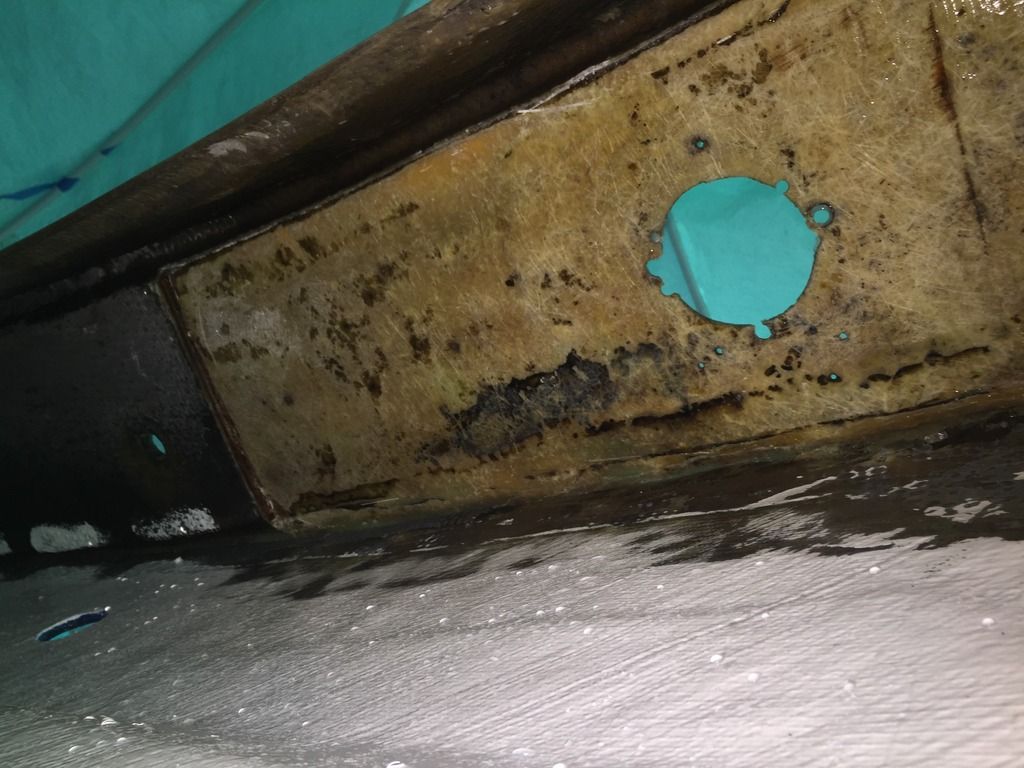
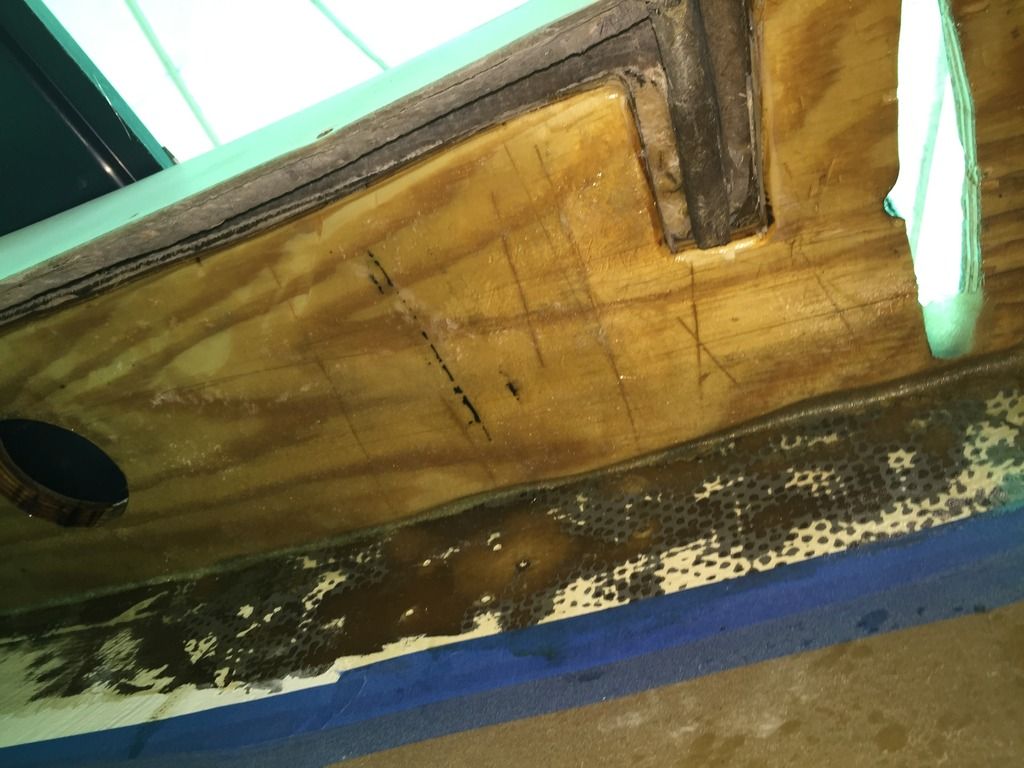
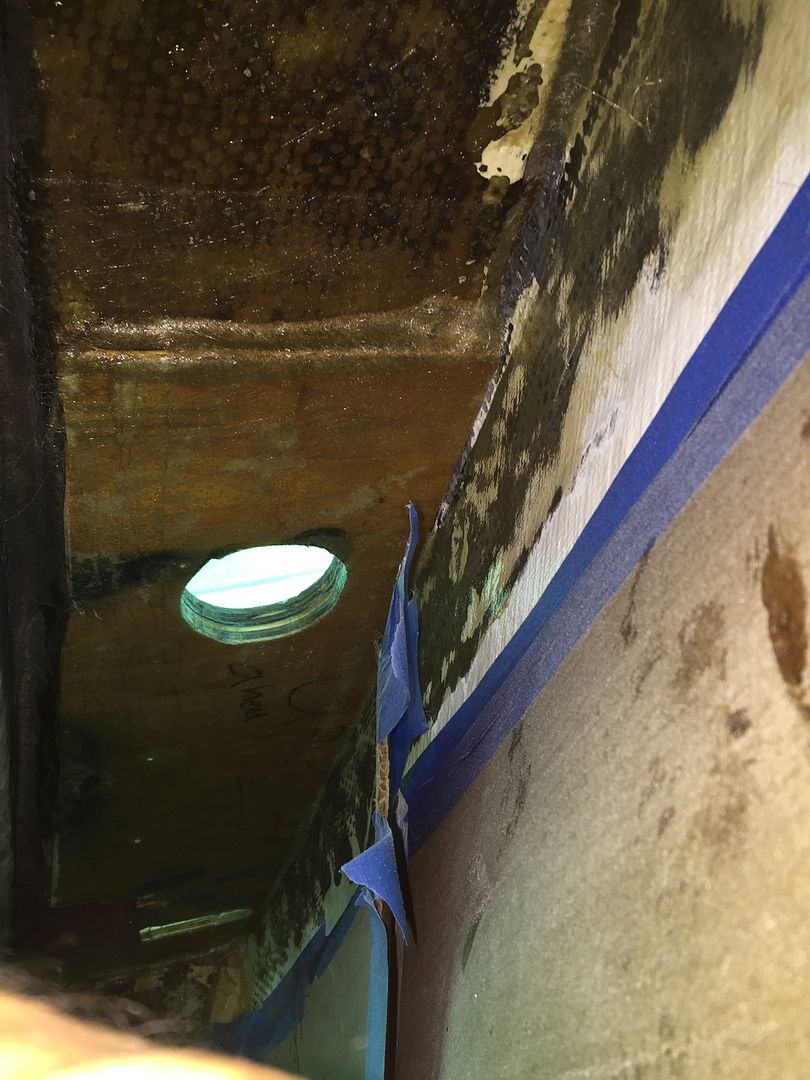
While doing the transom plate I remembered the wood under the gunnels and the back of the boat where the clam shell vents and rod holders go is rotted and still needs to be replaced so took out the vibrating saw and cut out the fiberglass and removed the mulch. So far I have done the port side and about 1 foot on the port gunnel. Then took the grinder to get rid of the old wood still attached and clean off a thin layer of the fiberglass.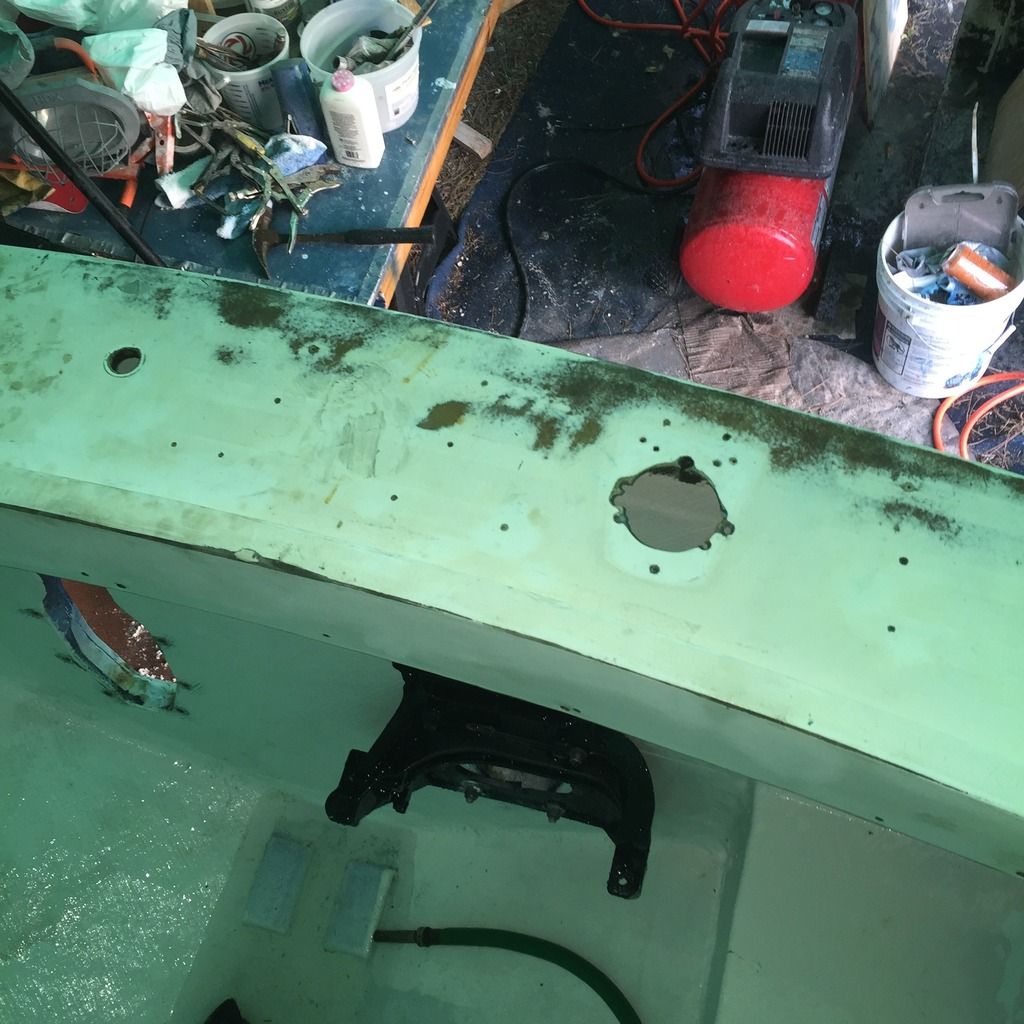
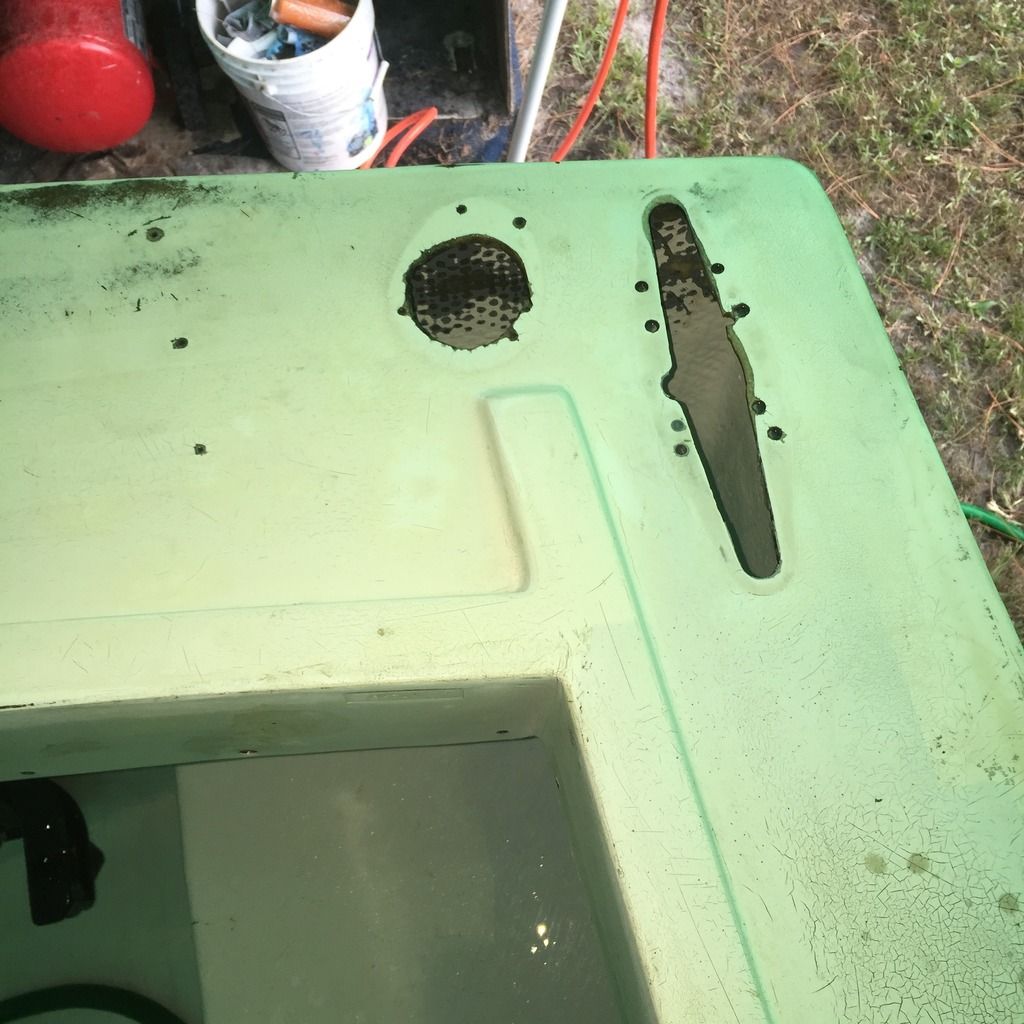
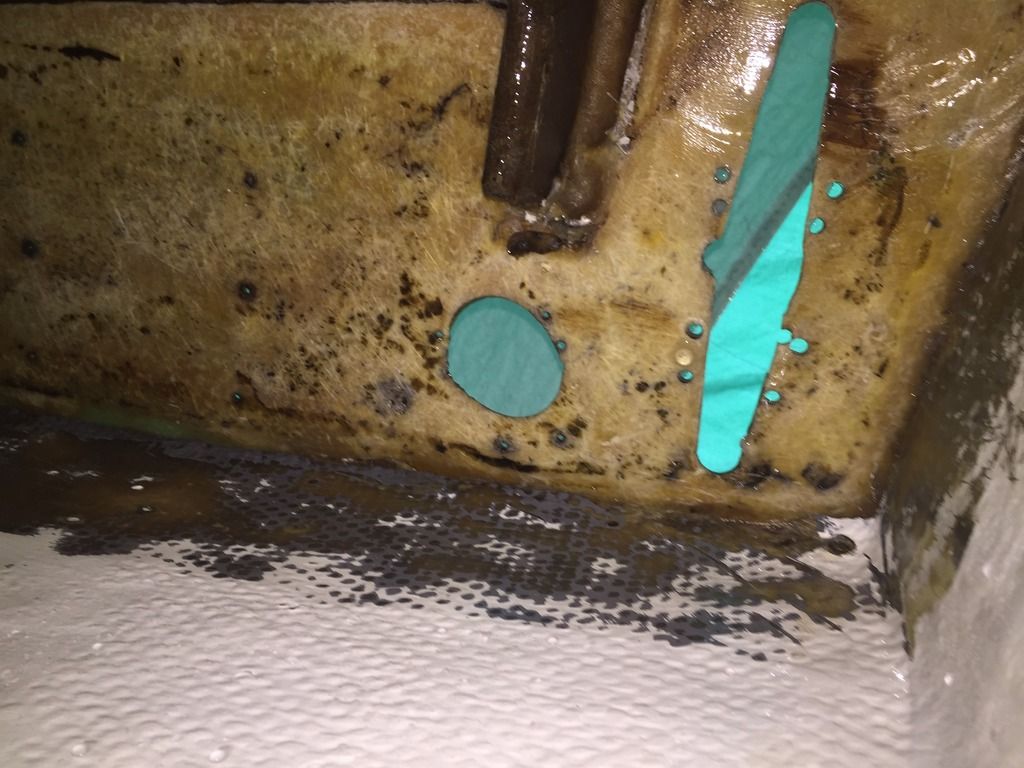
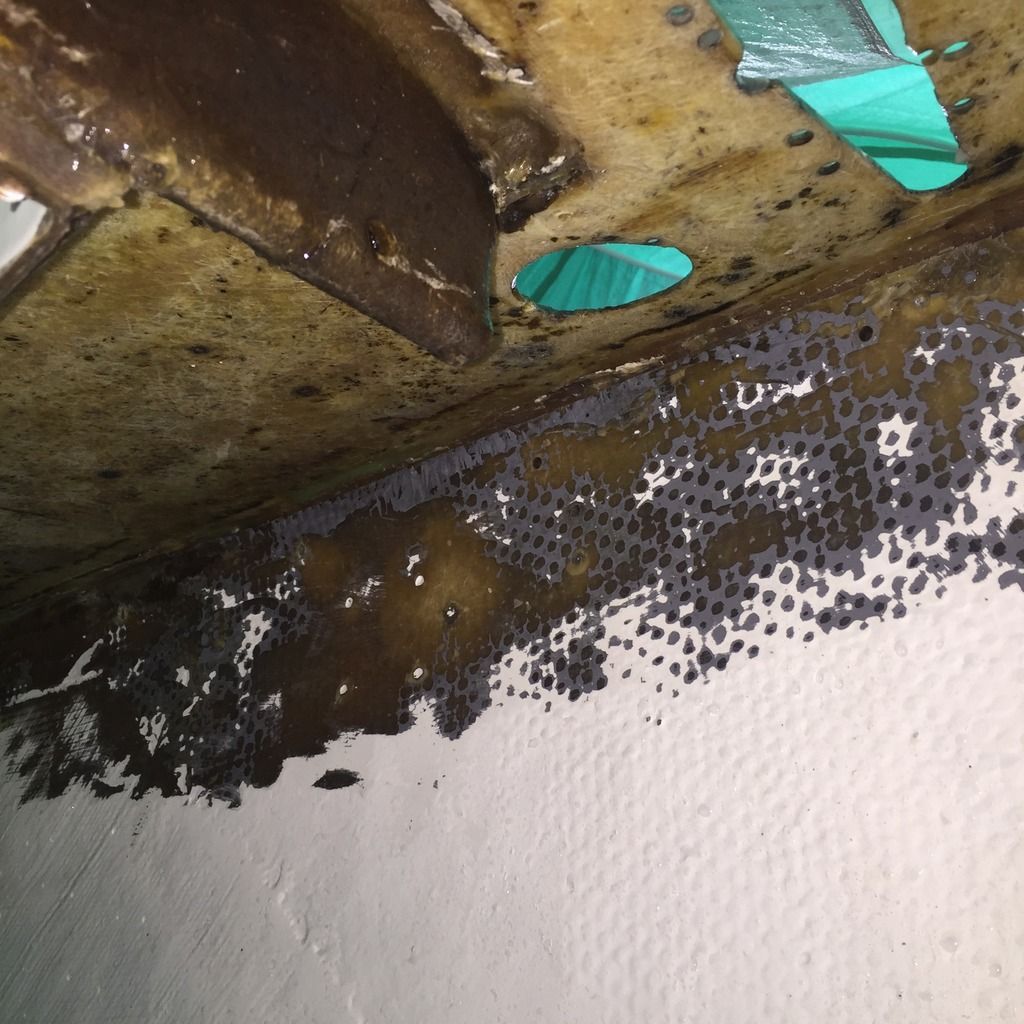
Next step is cut some 1/2 plywood, coat it in resin and wrap it in CSM before I attach it with a thin layer of PB and some 1708 or CSM to hold it in place. Then fill in all those old holes and scars and start making that section pretty again.Well that catches up my restoration up to July 29th, 2015. More to follow soon.


-
Permalink Reply by Steve on
-
NIce restoration! Bet you are excited to get it back in the water. You have done a fantastic job so far, keep it up. I plan to start my restoration next year hopefully. I've learned a lot from your build. I especially liked your itemized material list for the materials used on the transom and stringers, very helpfull.
-
Permalink Reply by Randy Wefel on
-
I like your work ! Well done .
-
-
Hi Mark.. One interesting thing.. My hull is #8 from the original. I notice the stringers closest to centerline , are a lot closer than yours.. I can only slip a 13" wide tank in.. actual is about 14" between stringers. Sooo they changed a lot of details.. Mine is a long deck.. with Left hand drive station..
My only alternative would be to add a tank on either side as there is again about 14" to next stringer either side. So if I were running powder I could stuff a lot more fuel in! ha ha .
If I can get 8gph at cruise the stream is reachable on 16 gallons and 16 back.. We used to run from Japan to Okinawa sweating it all the way.. and land with 1500# not enough to get to anything but water...all without GPS ,just dead reckoning (they call it that for a reason!). So I guess I can be comfortable with 2 1/2- 3 hours fuel to squeeze by on.
-
-
I have seen those long thin tanks on the older models. Looks like they are about 8 feet long. Yes the spread between my main stringers is about 24-25 inches. I am guessing that when you are referring to running Japan to Okinawa your talking plane not boat. The stream?
-
-
Hi Mark.. back to work on the Lehman.. buttoning it up.. on stringers, head-exh manifold on. The problem with this bear is weight,, Head about 175#, Manifold 80?,when you are north of 70 that is not like when you are 40!
Way back had a buddy who built a 292 in a 32 roadster..that was a strong running 6. At the time we all had built flatheads and a 6 was a rarity. Anyway they were running 292,s at Bonneville and they were strong. Figure they had to be pulling 250-275 plus horsepower with a lot of torque. In a boat two would be very interesting.
We were all into porting-polishing-cams (Harvey crane of Crane cams was one of our goto,s) his shop was up the street. Raising compression, The 292 was running 3 carbs..
Those were fun times, it was not money but skill then.. you did not buy your way to the top. Harvey Crane was just back from the army, bought a Storm Vulcan cam grinder, lived at the Miami oval and guaranteed to grind one to outperform the Calif cam you were running.. For $30.. It worked!
Will be adding two small side by side livewells on stbd side as far aft as I can.
Hope to get back on cockpit later in week. Have a good week!
-
-
I wish I had a pair of 292's but these 250's do just fine. I got the block and crank shaft back from the shop, unfortunately he had to bore the block .060 but I think it will be fine there is still plenty of meat left on the cylinder wall for years of serviceable use. So I have my block, crank shaft and head ready to go. UPS should be delivering the engine rebuild kit today so I can start working on this second engine. Once I get the second one rebuilt I will drag the boat from the backyard to the drive way and put these engines into their newly rebuilt home then its on to the stern drives and electrical work which I suck at. I am also in the middle of sanding down the entire hull and cap. I got done with the port side Sunday and have about a 1/3 of the cap sanded down. After everything is sanded then I can start fixing all the cracks and blemishes and sand it down again before the first coat of primer and more sanding.
-
-
A little behind on my updates so here we go.
Update. Still working on this beast. My hobby is now an obsession and a curse. I have been working all over this thing and never seem to get anything done. In no certain order with pictures to follow.
I worked on the fish ice box. Patching some rough areas and prepping it for the last coat of paint. I wanted the inside top to bottom very smooth so I could take a rag and wipe down and clean the inside without snagging on fiberglass hairs or rough spots where fish guts and blood would collect and stink up the boat.
Worked under the gunnels cutting out rotted wood and replacing with either 3/4" or 1/2" resin coated ply PB'd in place and covered in CSM.
Cleaned and painted the second transom plate and gimbal plate. Of course had issues with the gimbal plate where an old roller bearing fell apart so ordered new bearing and seals which should be here today. Once they are installed I am going to attach the gimbal ring before I attach it to the transom.
On the other gimbal plate for the port side that I had already attached to the transom I tried installing the gimbal ring sometimes I wonder about what was I thinking or not thinking. I placed the ring on the gimbal plate, put the bottom shim in and knocked the pin in place with no issues. With my confidence level raised beyond my capabilities I proceeded to install the upper pin. Centered everything and knocked the pin into place, screwed in the 2 1/2" set screw and the bottom allen head plug. Wow that was easy. Did I miss any steps here? Jumped up into the boat to inspect my handiwork from that side, darn forgot to put the top shim and steering arm on, is that really needed?
  Take it all apart and figured out a way to hold the steering arm in place and knock the pin into place. OK perfect now tighten down that 2 1/2" set screw and what's this? Its stripped out, awesome. And look here when I check the clearance with the shims in place the movement up and down exceeds specs by quit a bit so now I have ordered a .06 and .03 shim and new bolt. So I remove the steering arm bolt, allen head plug, 2 1/2" stripped set screw and drop the pin again (and I do mean drop into the dirt with it covered in grease) and now the top oil seal falls out, turns out it got pinched and smashed during the second installation of the pin so lets go order more stuff. When I started working on this boat a year ago I didn't even like beer that much and if I drank one a month that was a rarity. By the time I am done with this boat I will be an alcoholic.
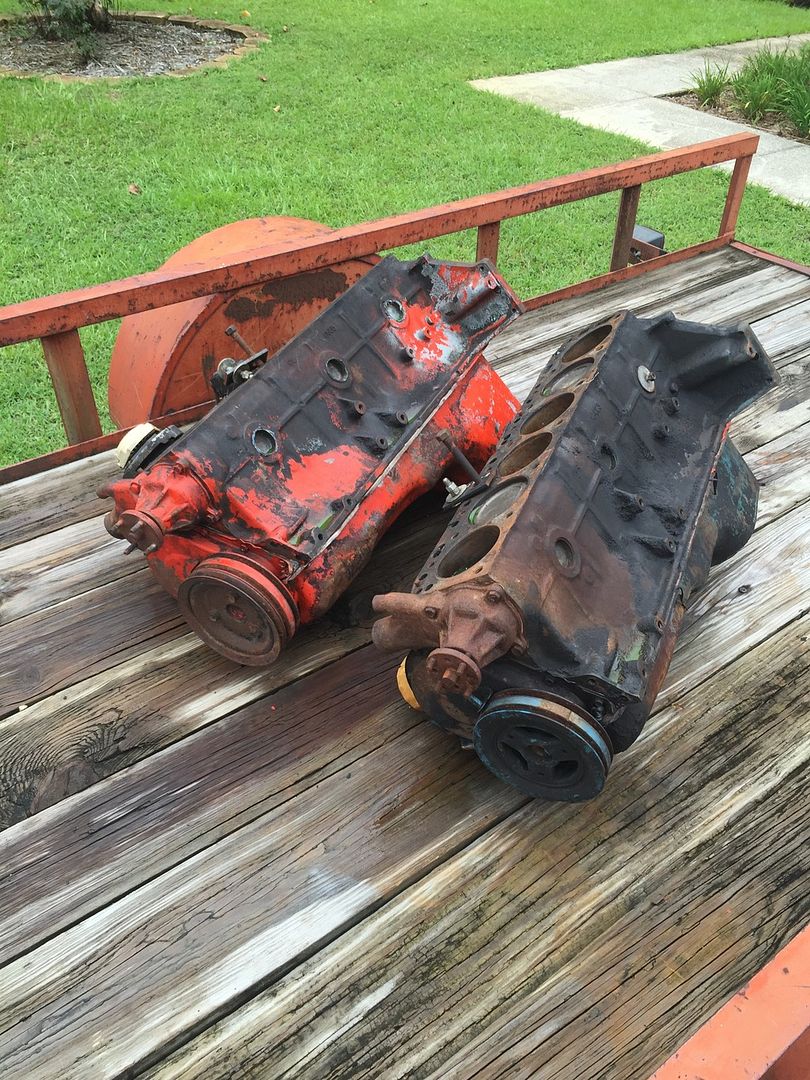
Lets turn our attention to the second engine which I haven't even touched yet. The block minus the head and oil pan is leaned up over in the corner of the garage . I started looking very close at it and realized it has a lot of rust where the water pump mounts in the water jackets. I popped the freeze plugs and don't like what I am seeing. So I strip everything off the block leaving just the block and pressure wash inside all the openings to the water jackets, wow that's a lot of rusted metal flakes coming out of this thing. I decided that too much of the cylinder walls and block have turned to rust and the landing is pitted everywhere. Lets move to plan "B". About 25 years ago I drove down to south Florida with a small trailer in tow to visit my brother who was working for this company that made kit cars. Somewhere they collected 2 Chevy truck engines that happened to be Chevy 250's, 4.1L inline 6 engines which they wanted to give away as in free. Since they have never been used as boat engines they have no real rust issues. I brought them back for spare engines for the boat and put them in the shed behind my dads house. 25 years later I am loading them on a trailer again and moving them to my house. Turns out both engines look great. I removed all the parts I couldn't use and cleaned off a 100,000 miles of grease and dirt which took a pressure washer and 4 hours. The cylinder walls have the expected wear and tear but they are standard bore so I will be able to have them bored out .030 over and buy a .030 over rebuild kit . Back in business. I have done a ton of other little things but not worth reporting on.Here are the pictures for proof.


-
-
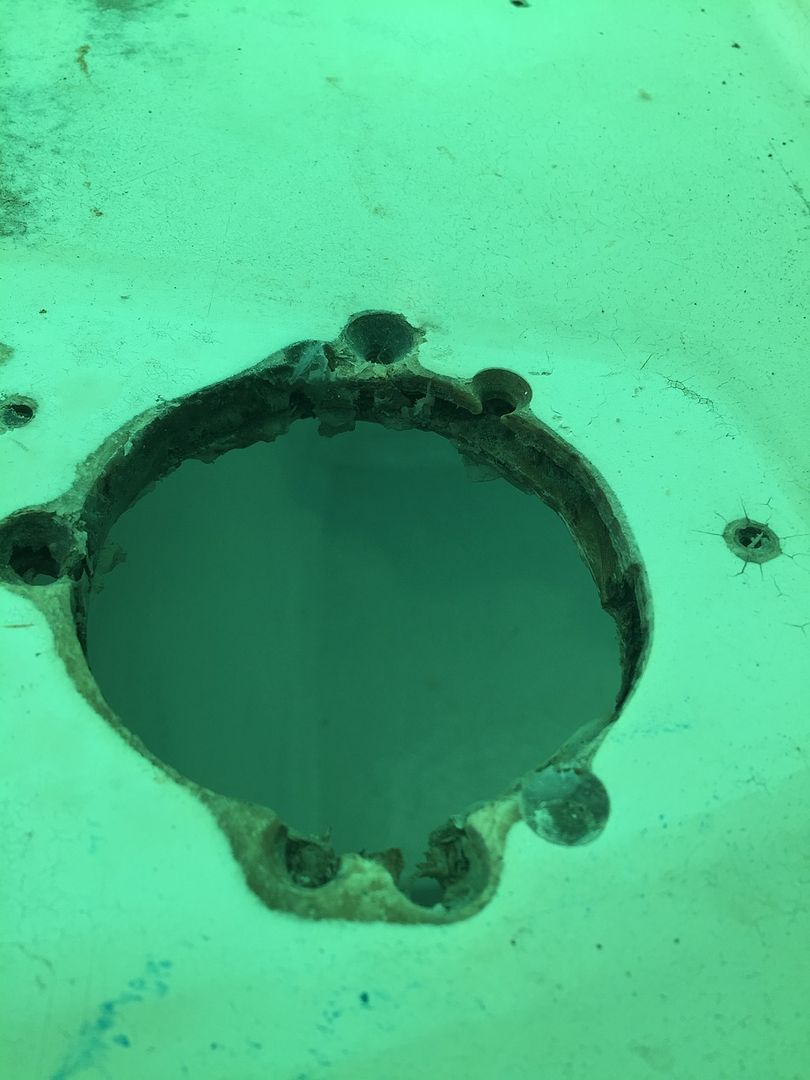
I ran into 2 problems on the starboard side. The first I knew was coming and now it is here. The old deck on the port side of the starboard engine the deck had a notch cut out of it about 10"s x 4"s x 3"s deep, which allowed the trim motor room to be mounted.

I didn't make a notch in the new deck, I have a little stand from one of the donor engines that the trim motor will mount onto and then I will just attach that to the deck making sure to seal up any screw that go into the deck.
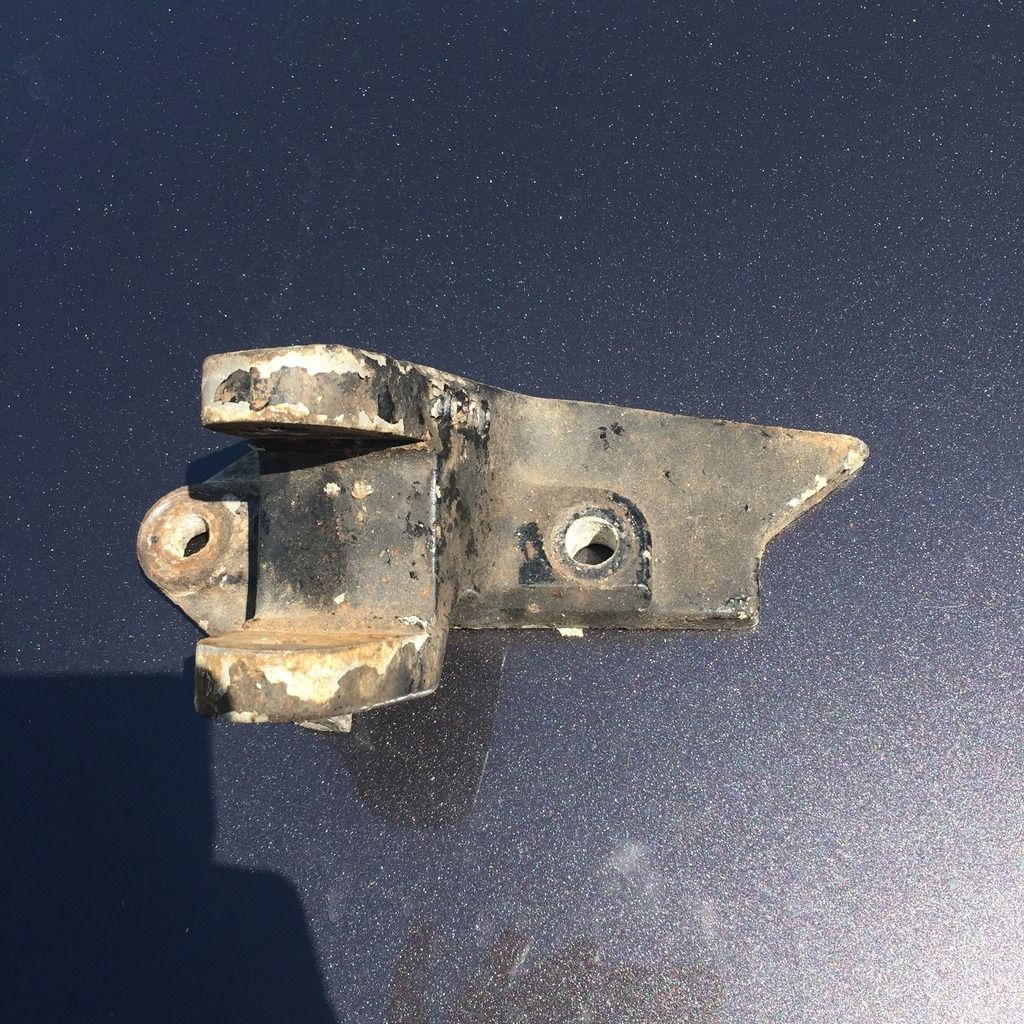
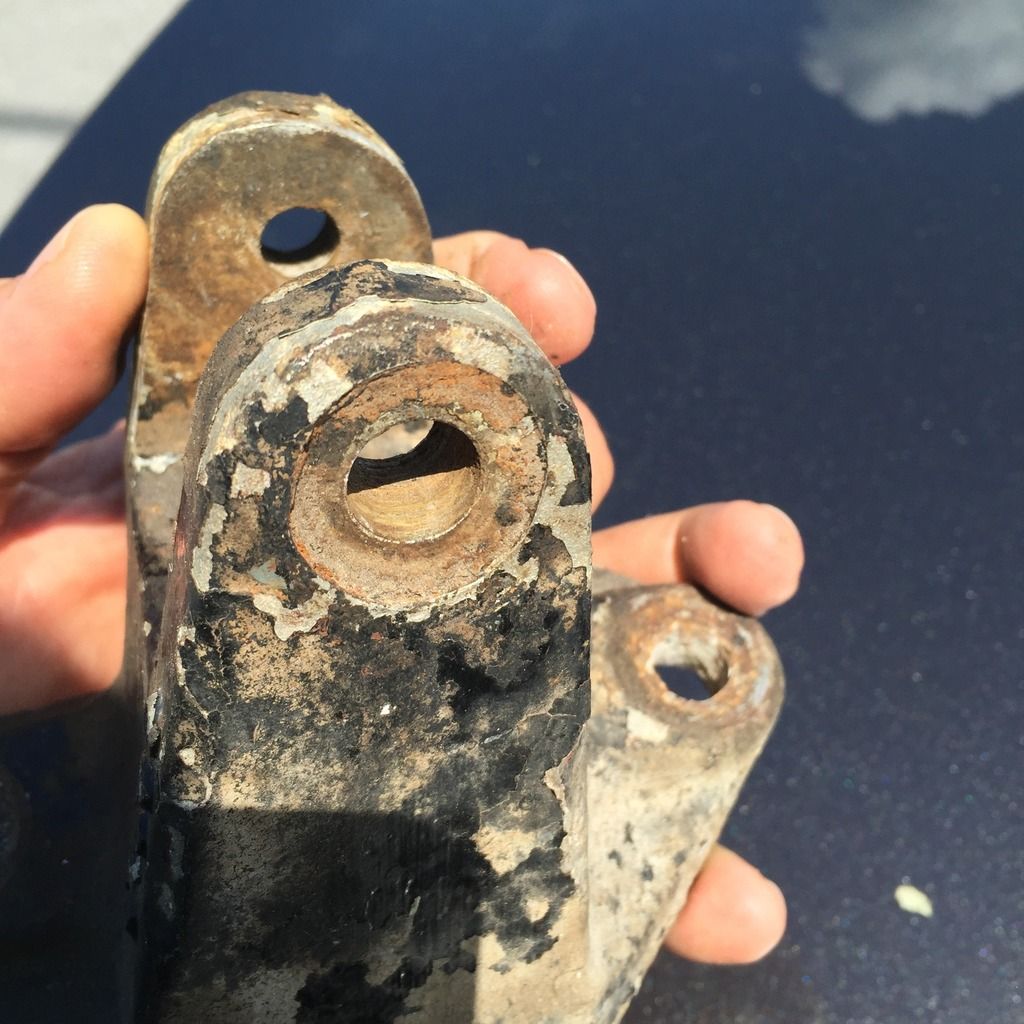
The other problem is with the power steering ram. The old one is a rusted piece of metal with worn parts. I have two other ones again from the donor engines but they are configured differently and attached to the transom plate in such a way that you cant with this in line 6 engine so back to the old one. I disassembled the old one and cleaned all the rust off of it and its starting to look pretty good except the part that the ram attached to is worn out. It has two bolts that go thru the transom with stainless steel lag bolts. The bracket is shaped to conform to the upper port side of the starboard transom plate and then the ram is attached using 2 specialized bolts with tips or studs that lock into the end of the ram and hold it in place. The problem is the bracket that is aluminum the threads for the top bolts are completely corroded away, gone, smooth. Because of these specialized bolts I cant just get a larger bolt and make some new threads it has to be the size of the old bolts. So I guess I need to find a welder who can fix it.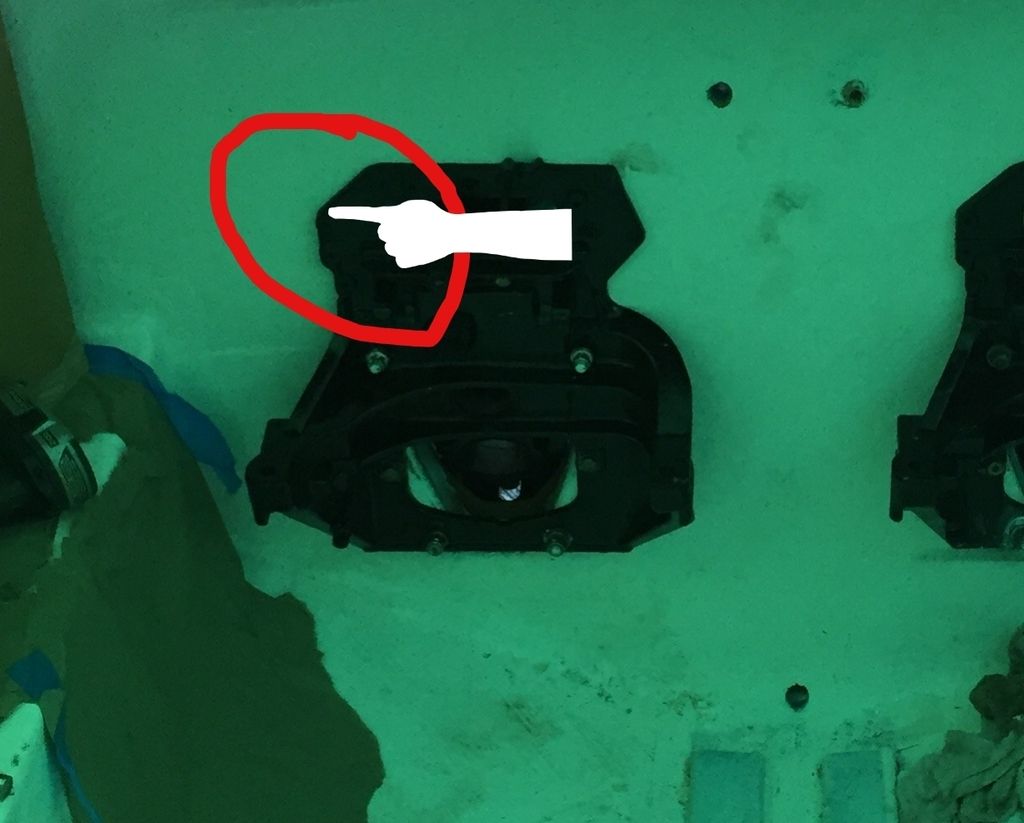


-
-
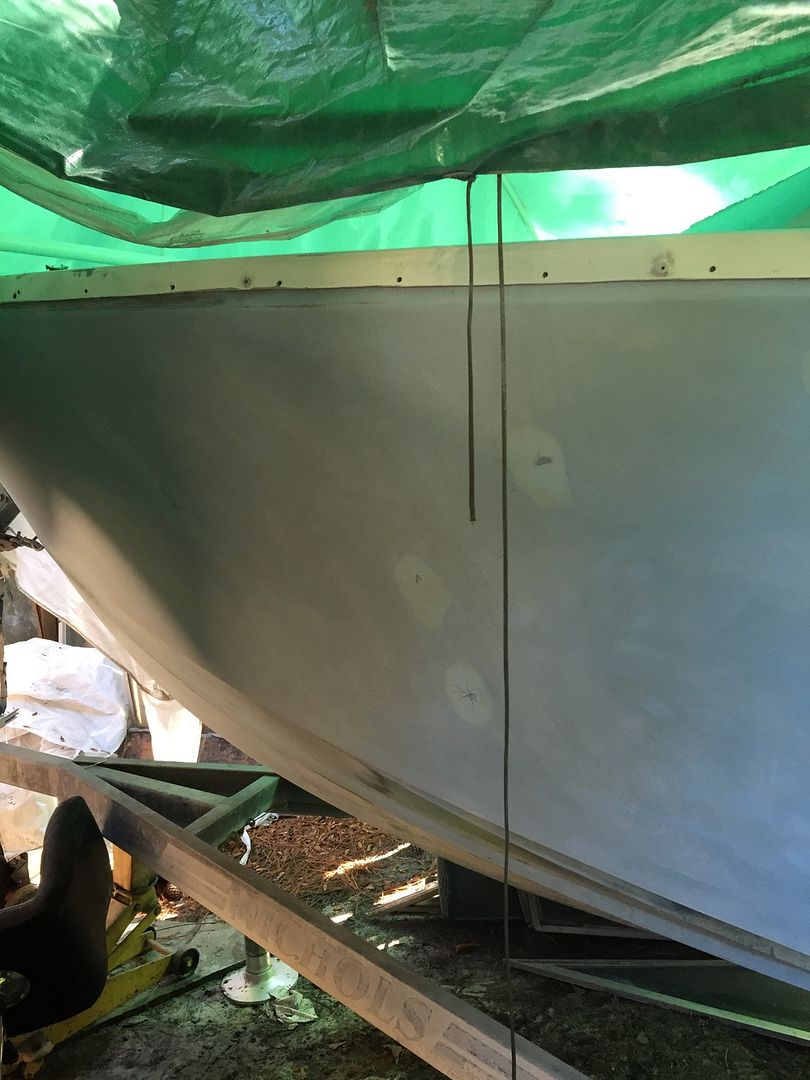
I also started sanding down the outside hull prepping it for painting. I didn't realize someone had apparently painted or applied another layer of gel coat to this boat. Once I started sanding off the first layer there is a faded blue under the top coat and I can still see the shadows of the original Formula plaque in the corner and where it was riveted in place. The writing was script letters not block and I think there was a small Thunderbird Eagle at the end. The sign was not very big only about 2 1/4" tall and about 14" long. I havent been able to find any new or old signs or plaques on evilbay. Anyway the plan is sand it all down with the 80grit then go back over it with 220 before filling in all the dings and dents. Drill out the old rivets and Dremel a little deeper into the gouges to get any loose stuff out and give something for the fairing compound to grab a hold of. This is going to take a few days
Its hard to see the shadow of the old Formula sign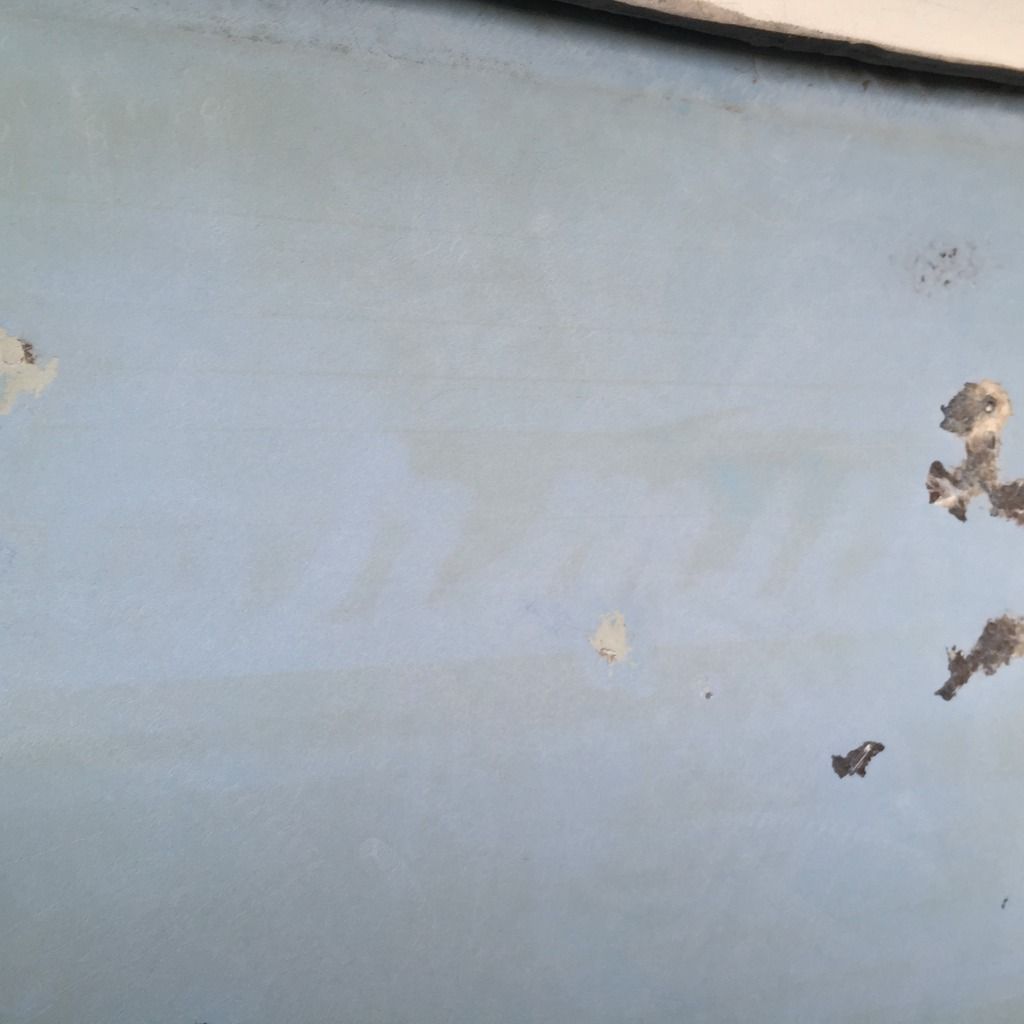


-
-
Some good news, I took that worn aluminum part that holds the steering ram to a repair shop and they can fix it for $25 and it will be better then new. That saves me about $125 because the only place I could find one was on ebay attached to other component's for $150. So now I can spend that $125 to replace other worn out steering parts. For those asking how much $$$ does it take to rebuild a 43 year old 23 foot twin engine Formula 233, I am around $14,000 to $15,000 and counting
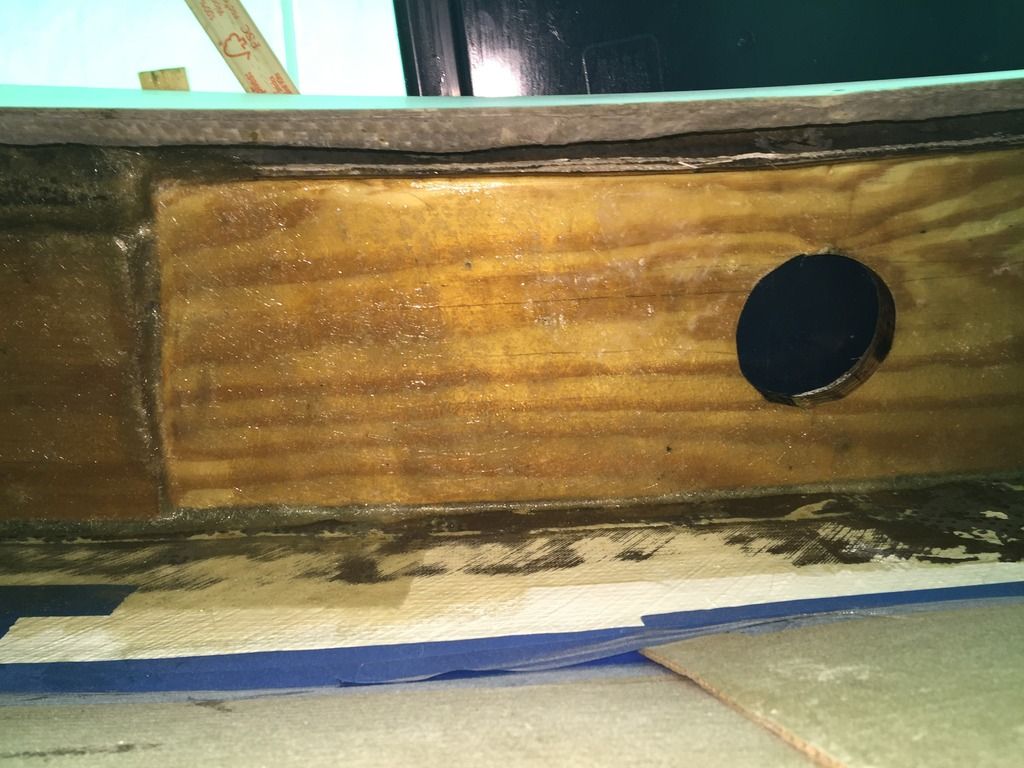
 . Don't tell the Admiral.Well my plan for not doing the notch below didn't work out. I forgot about the steering ram taking up a lot of room in that corner and the hoses on the trim pump aren't long enough so painfully I cut out the deck and stringer.
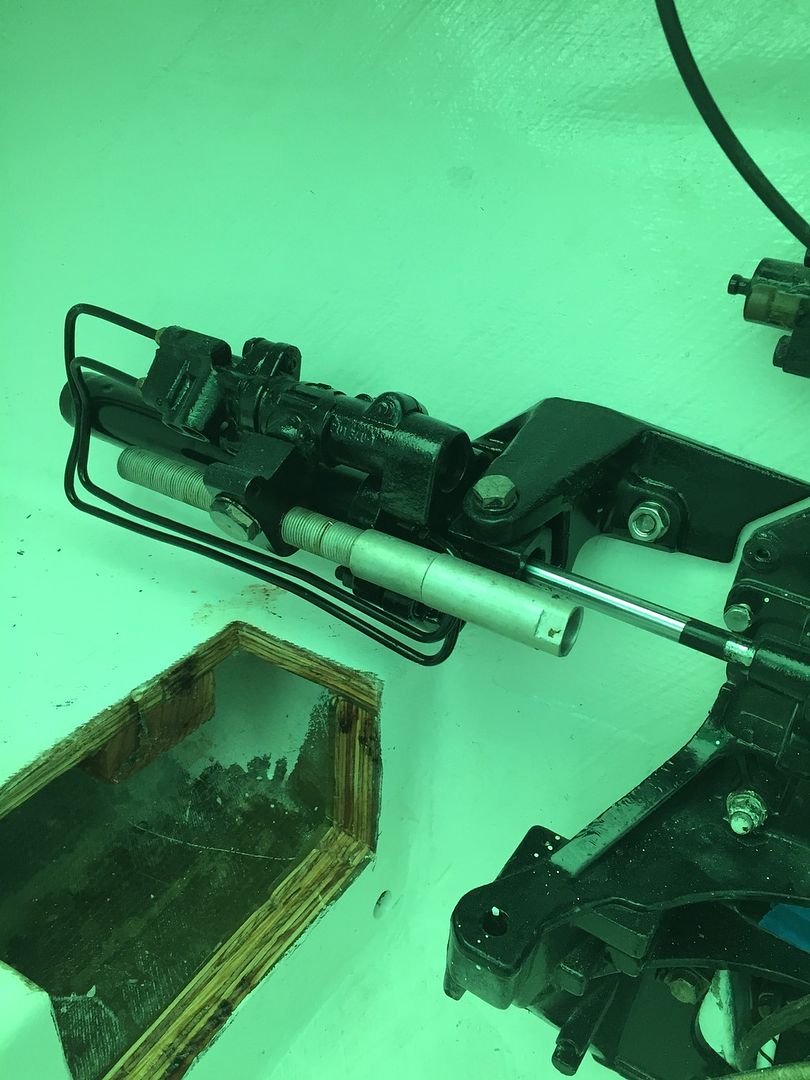
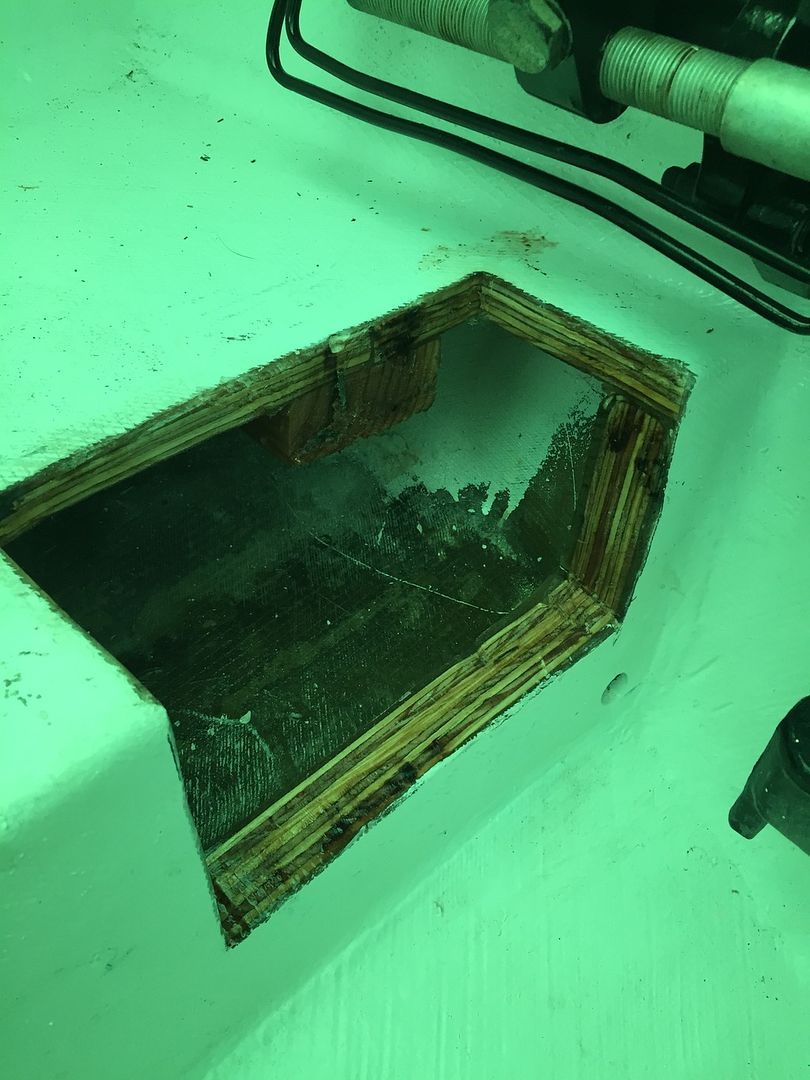
That is a thick heavy piece of wood that came out of there. I have made a half box out of 1/2 ply that will go here and create the notch for the trim motor to extend into. I just need to finish covering it in CSM before I attach it then I will cover it with 1708 so it matches the rest of the deck.I got the bracket back from the fabrication shop where they fixed the stripped out bolt hole better than new.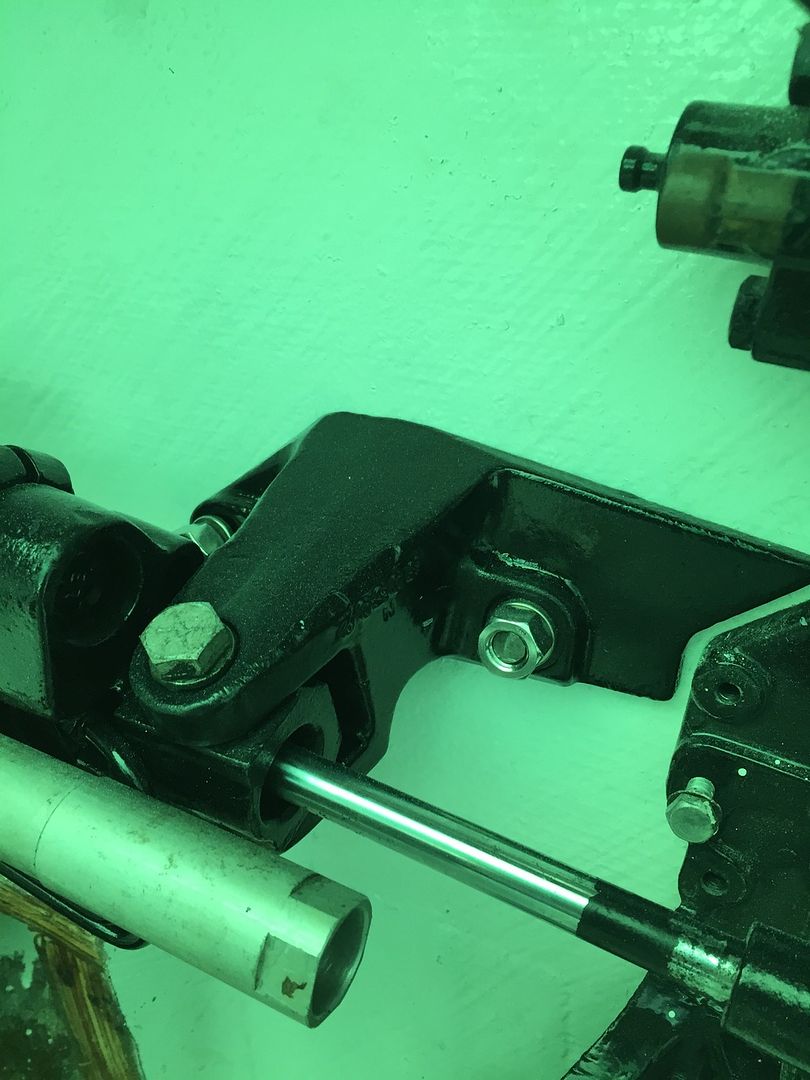 I also got one side of the boat sanded down and ready to start patching cracks and blemishes.
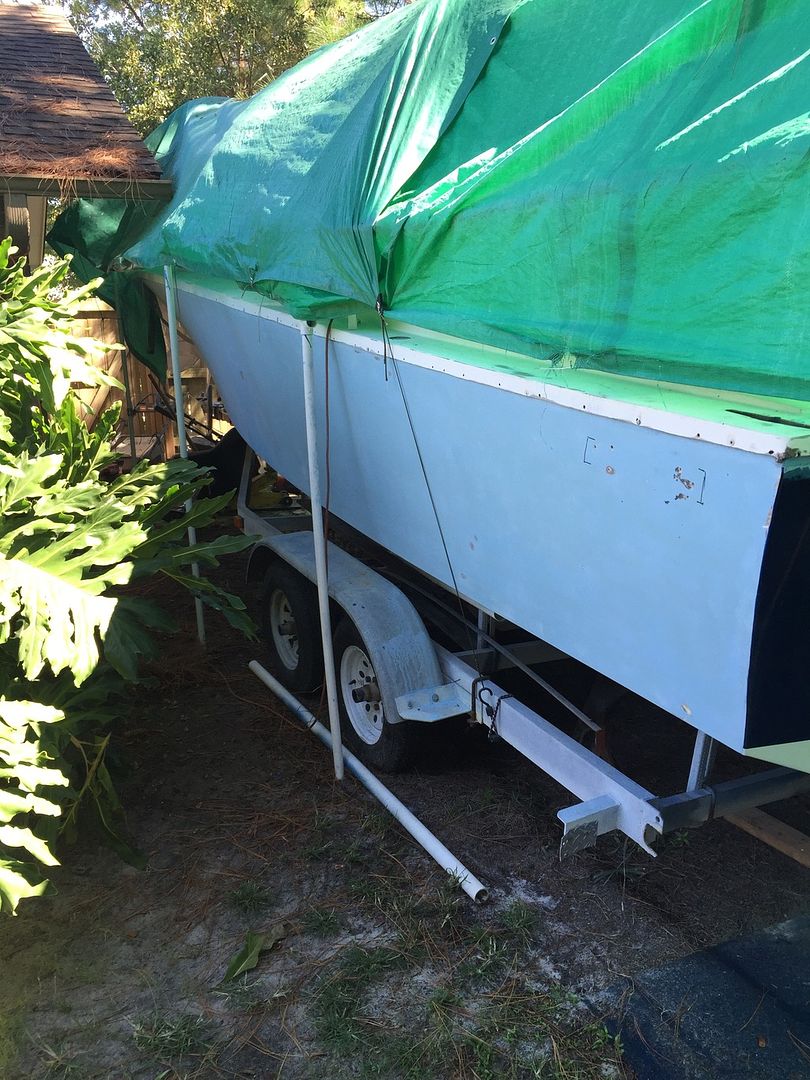
 That gets it all caught up.


- ‹ Previous
- 1
- …
- 4
- 5
- 6
- Next ›
© 2024 Created by David.
Powered by
![]()